I made almost every single thing for our wedding. It was a humongous undertaking, but I don’t think I would have felt good about ordering much from Etsy knowing full well that I could make it myself, for both budget and pride reasons (the latter being the most important to my ego).
Note: Most of these crafts were made using my Cricut! If you don’t have one, and are planning on doing a DIY wedding, I highly recommend getting one. My Cricut beginner’s guide is here.
Here’s pretty much everything I made for the wedding. Comment if you have questions! xo
//
Out Of Towner Gift Bags
I loved making our out of towner gift bags! In them, we included:
- AZ-shaped cookies from Sun Flour Baking Company
- A printout of the itinerary and things to do while in Scottsdale
- Lots of snacks
- A door hanger (tutorial here)


To make the bag tags, I printed the image out a bunch of times, and printed them on cardstock using my laserjet printer. Then, I topped with gold foil and fed it through a laminator (here’s a tutorial on how to do this) to get the gold gilding effect. Then, I cut each and every one out with hand by scissors–I wanted to use my Cricut’s print-then-cut functionality, but it was just a little too complicated with trying to get the gold gilding on as well. I actually ended up really liking the hand-cut, imperfect look!

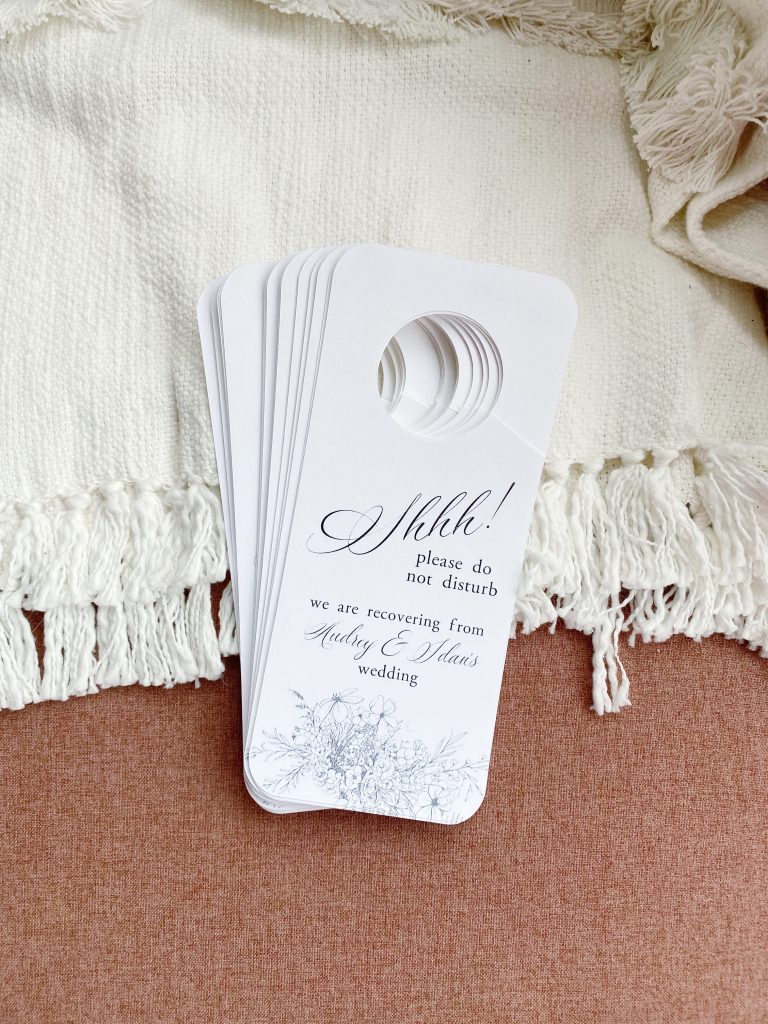
I did, however, use Cricut’s print-then-cut functionality for the door hangers–I did a tutorial on that here!
//
Unplugged Wedding Sign


I converted our wedding monogram into an SVG file and imported to Cricut Design Space, and cut this all out in our apartment in NYC. My friend Whitney went shopping for me in Arizona at Homegoods and found this pinboard! She was sweet enough to measure it for me so I could cut out my files to the right size. Once I got to AZ for the wedding, I ironed it on! It turned out great, although, I will say that probably at least 15 of our guests completely ignored the sign. Oh well!
//
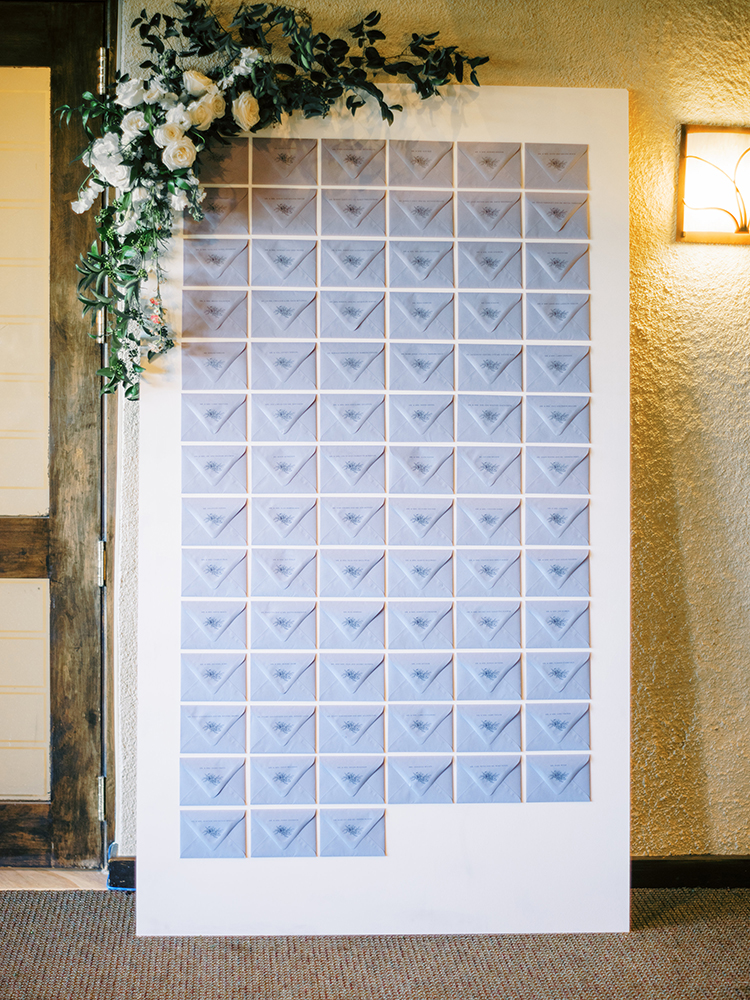
Escort Card Wall


This escort card wall was my Everest, and it turned out exactly how I wanted it to. BUT, it took hours, and hours, and hours of work–a true labor of love.
I wanted an escort card wall that was really unique, that would make an impact, and that wouldn’t look picked over as people grabbed their cards. Because Idan and I love to travel, we decided that each table would be a city we’ve visited and loved.
This is the mock up of how it was supposed to look–although I mis measured and wasn’t able to add the “Our favorite people” or “our favorite places” line–you win some you lose some! Math has never been my strong suit.


How I made this:
- I painted a large piece of particle board white
- I created watercolor pictures of all of Idan and I’s favorite places we’ve visited over the years
- Because I became quite good at this, I put these in my Etsy shop!
- I printed out all of the pictures large for the table cards, and half-sheet for the place cards (I used an inkjet printer for these). The person’s name was on the back, along with the name of the place and the meal indicator (fish, chicken, or vegetarian)
- I printed out each couple’s name on the back of the envelopes, including our signature floral set that we used on all wedding things. I did this using our laserjet printer. We did 2x placecards per envelope to save room on the board, as the majority of our guests were couples!
- I used glue dots to close the envelopes so they would stay closed and look clean when on the board
- I used rubber cement to adhere the envelopes to the board so people wouldn’t rip the envelopes off of the wall (they still did, unfortunately)
- It was incredibly difficult to measure the board to make sure all the envelopes were perfectly placed, and this part took the longest other than making the placecards themselves
- My florist decorated the wall with fresh florals!
//
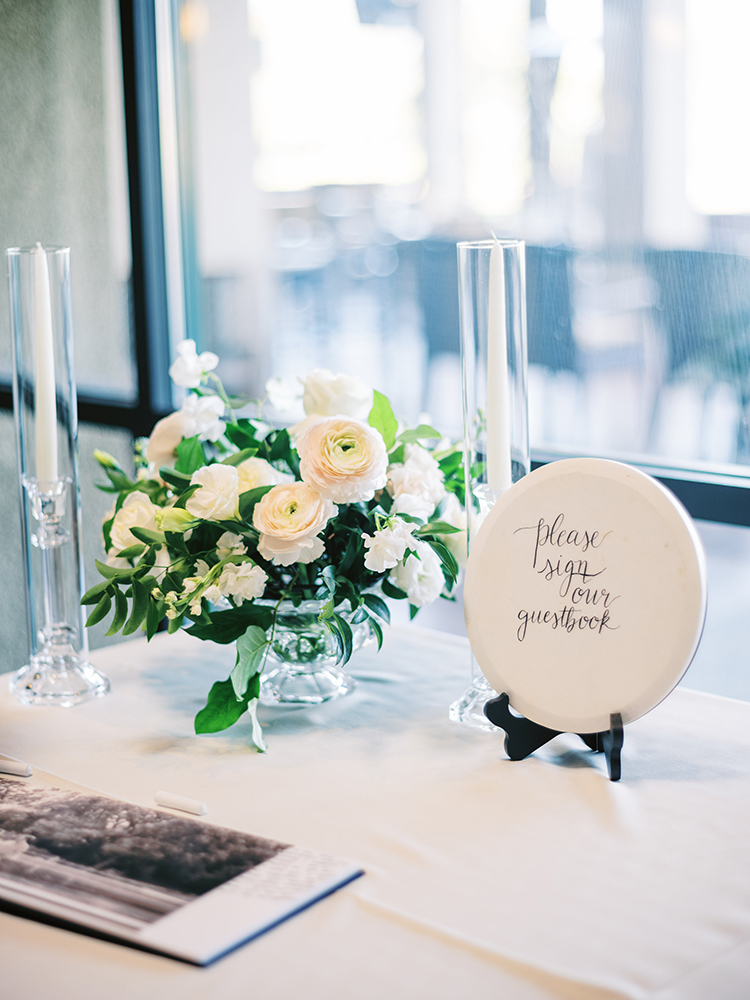
Bar Menu

You won’t believe this, but the bar menus were actually marble cheese boards from Walmart! They were incredibly heavy, but worked really well for me to write directly onto using my calligraphy pen and ink. I also made this “please sign our guest book” sign using the same thing.
//
Bridesmaid Gifts
I was very intent on making bridesmaids gifts that my friends would actually use again in the future–this meant no plastic champagne flutes that they’d throw out, etc. I found comfy, long-sleeve pajamas on Alibaba and made monograms using our wedding floral pattern (seriously, I used our wedding floral pattern for everything).


I used Illustrator to make the monograms and then imported to Cricut Design Space as SVGs. Here are the exact pjs I got! They do run large so I recommend sizing down. I’m wearing a medium in the photo and they were too big for me (but I still wear them because they’re sooo comfy).
The cosmetic bags came from a Stoney Clover Lane sample sale in NYC and I ironed on everyone’s initials to those!
Invitations

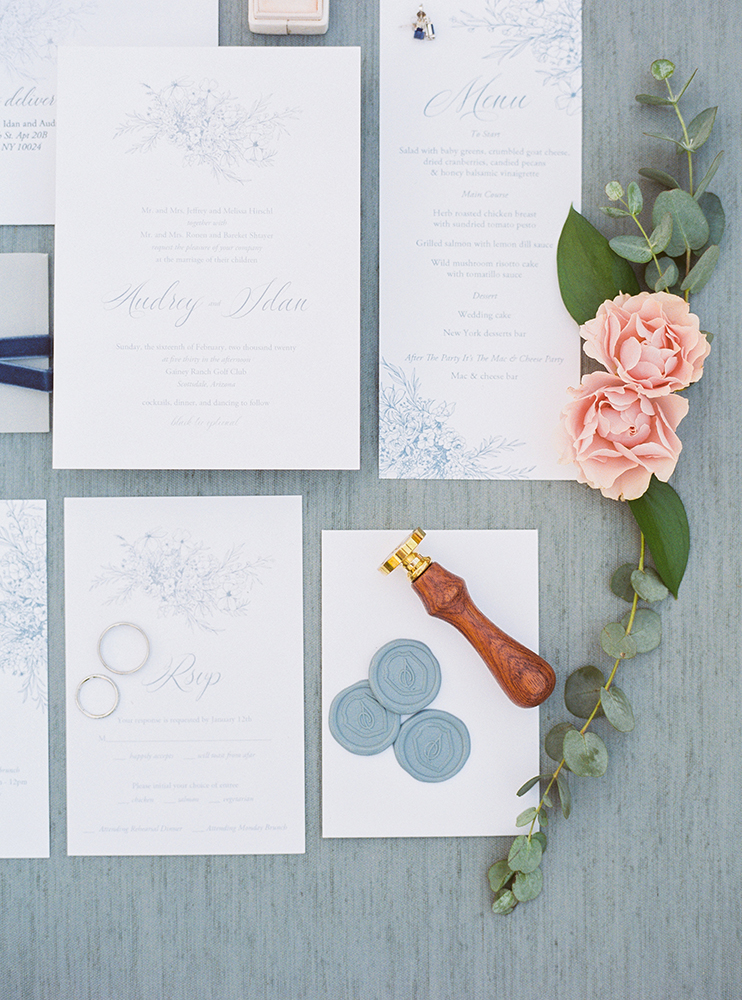
My good friend and bridesmaid Nicole designed our invitations and couldn’t have done a more amazing job. She completely read my mind with what I wanted!
We had them printed with Essence Printing in San Francisco; a company my co-worker recommended to us that we also used for our Save The Dates. They did a fantastic job! They also printed our Save The Dates.
Once the invitations were printed, our friends Charlotte and Colin came over to help us assemble them. I cut vellum strips using our paper cutter, then we wrapped velvet ribbon around them. I ordered a custom-made wax seal using our monogram from Back to Zero, along with some sealing wax from Artisaire. Both were great to work with! I also bought a hot glue gun specifically for this project, which worked out great with the sealing wax. I ordered 5 boxes of the sealing wax to make 150 invitations, but ended up with 1 extra box. I would still recommend ordering extra if you can, just in case they sell out of or discontinue your color when you’re in the middle of your project!


One huge tip that I’m glad someone told me: make sure you take your finished invitations, in their envelopes, to the post office BEFORE putting postage on them! Ours needed 2x stamps each so I’m very glad we got a price quote first.
Flip Flop Tags

These were pretty easy to make! I just printed them out on our printer at home on card stock, and cut them using a paper cutter. Idan was in charge of using a hole punch to punch holes in them all. Easy peasy!
Faux Leather Jacket

I very stupidly forgot to wear this on our wedding day, but I still am in love with my white leather wedding jacket because it don’t *scream* wedding, so I will wear it again in the future. I bought this exact jacket, cut our wedding date out in Roman numerals using iron-on vinyl, and VERY carefully ironed it on.
//
If you liked this post, you’ll like:
Sustainable bridesmaid proposal ideas
Cricut beginner’s guide
How to make a door hanger with your Cricut
The perfect wedding gift for a Friends fanatic
Save for later:


