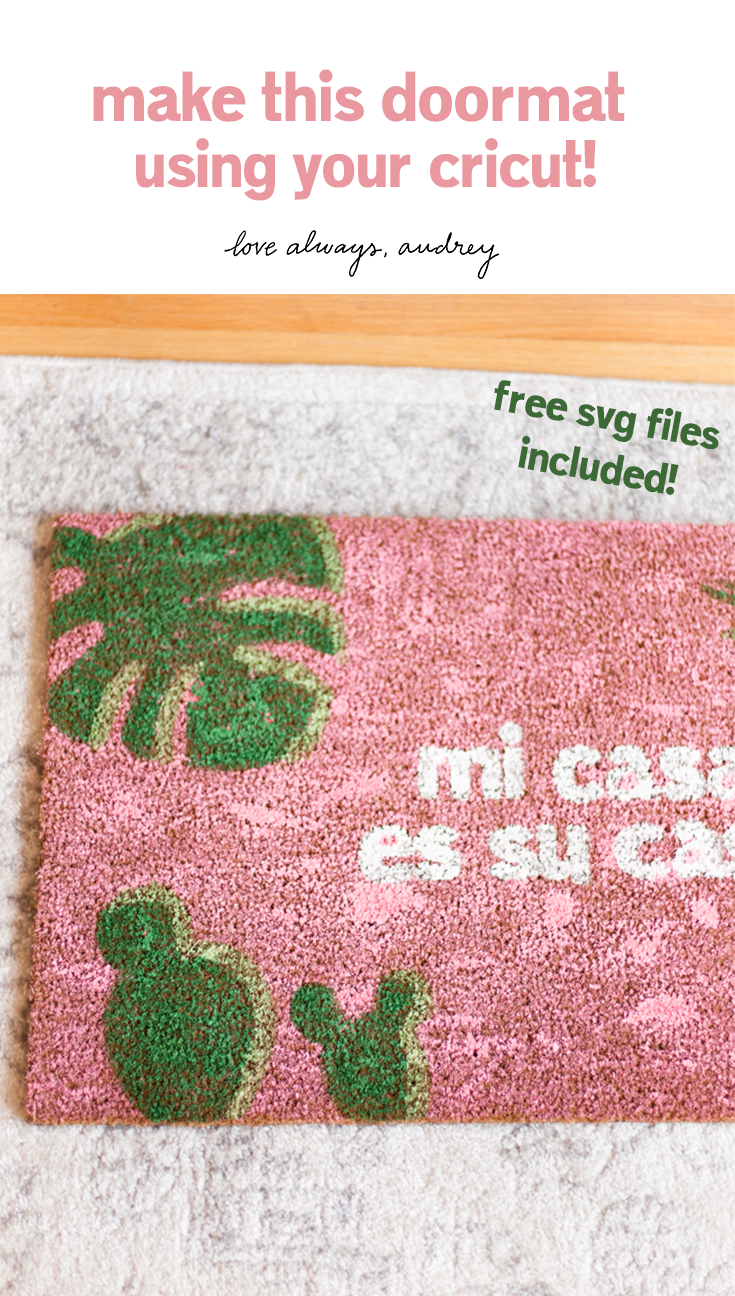
It’s been a minute since I’ve posted a DIY on here! I’ve been thinking on this particular one for quite a while so I’m SUPER excited to finally share it with you guys.
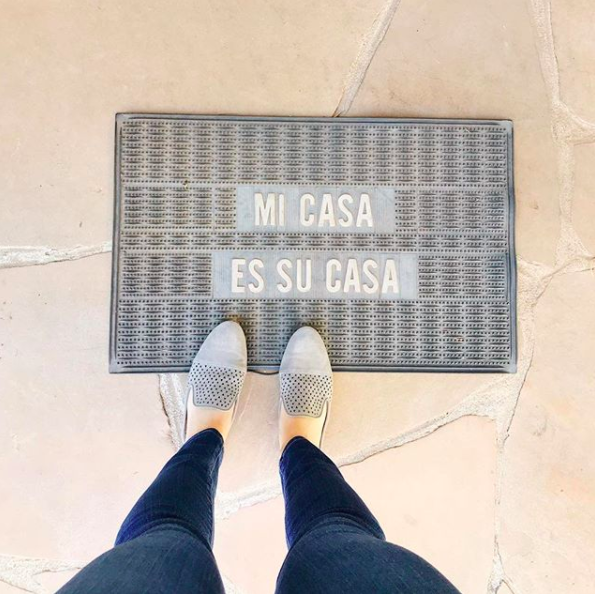
A few months ago, I came across this doormat on one of my all-time favorite blogs, designlovefest. It immediately reminded me of the doormat that has graced my grandma’s front door in Arizona ever since I can remember:
The doormat from The Woodsfolk inspired me to make my own version! Using my Cricut Explore Air 2, I created some stencils and used Martha Stewart Outdoor Paint to stamp up a plain doormat. NOTE: SVG files are at the end of this post!
//
Here are the details for your own DIY Mi Casa es Su Casa Doormats:
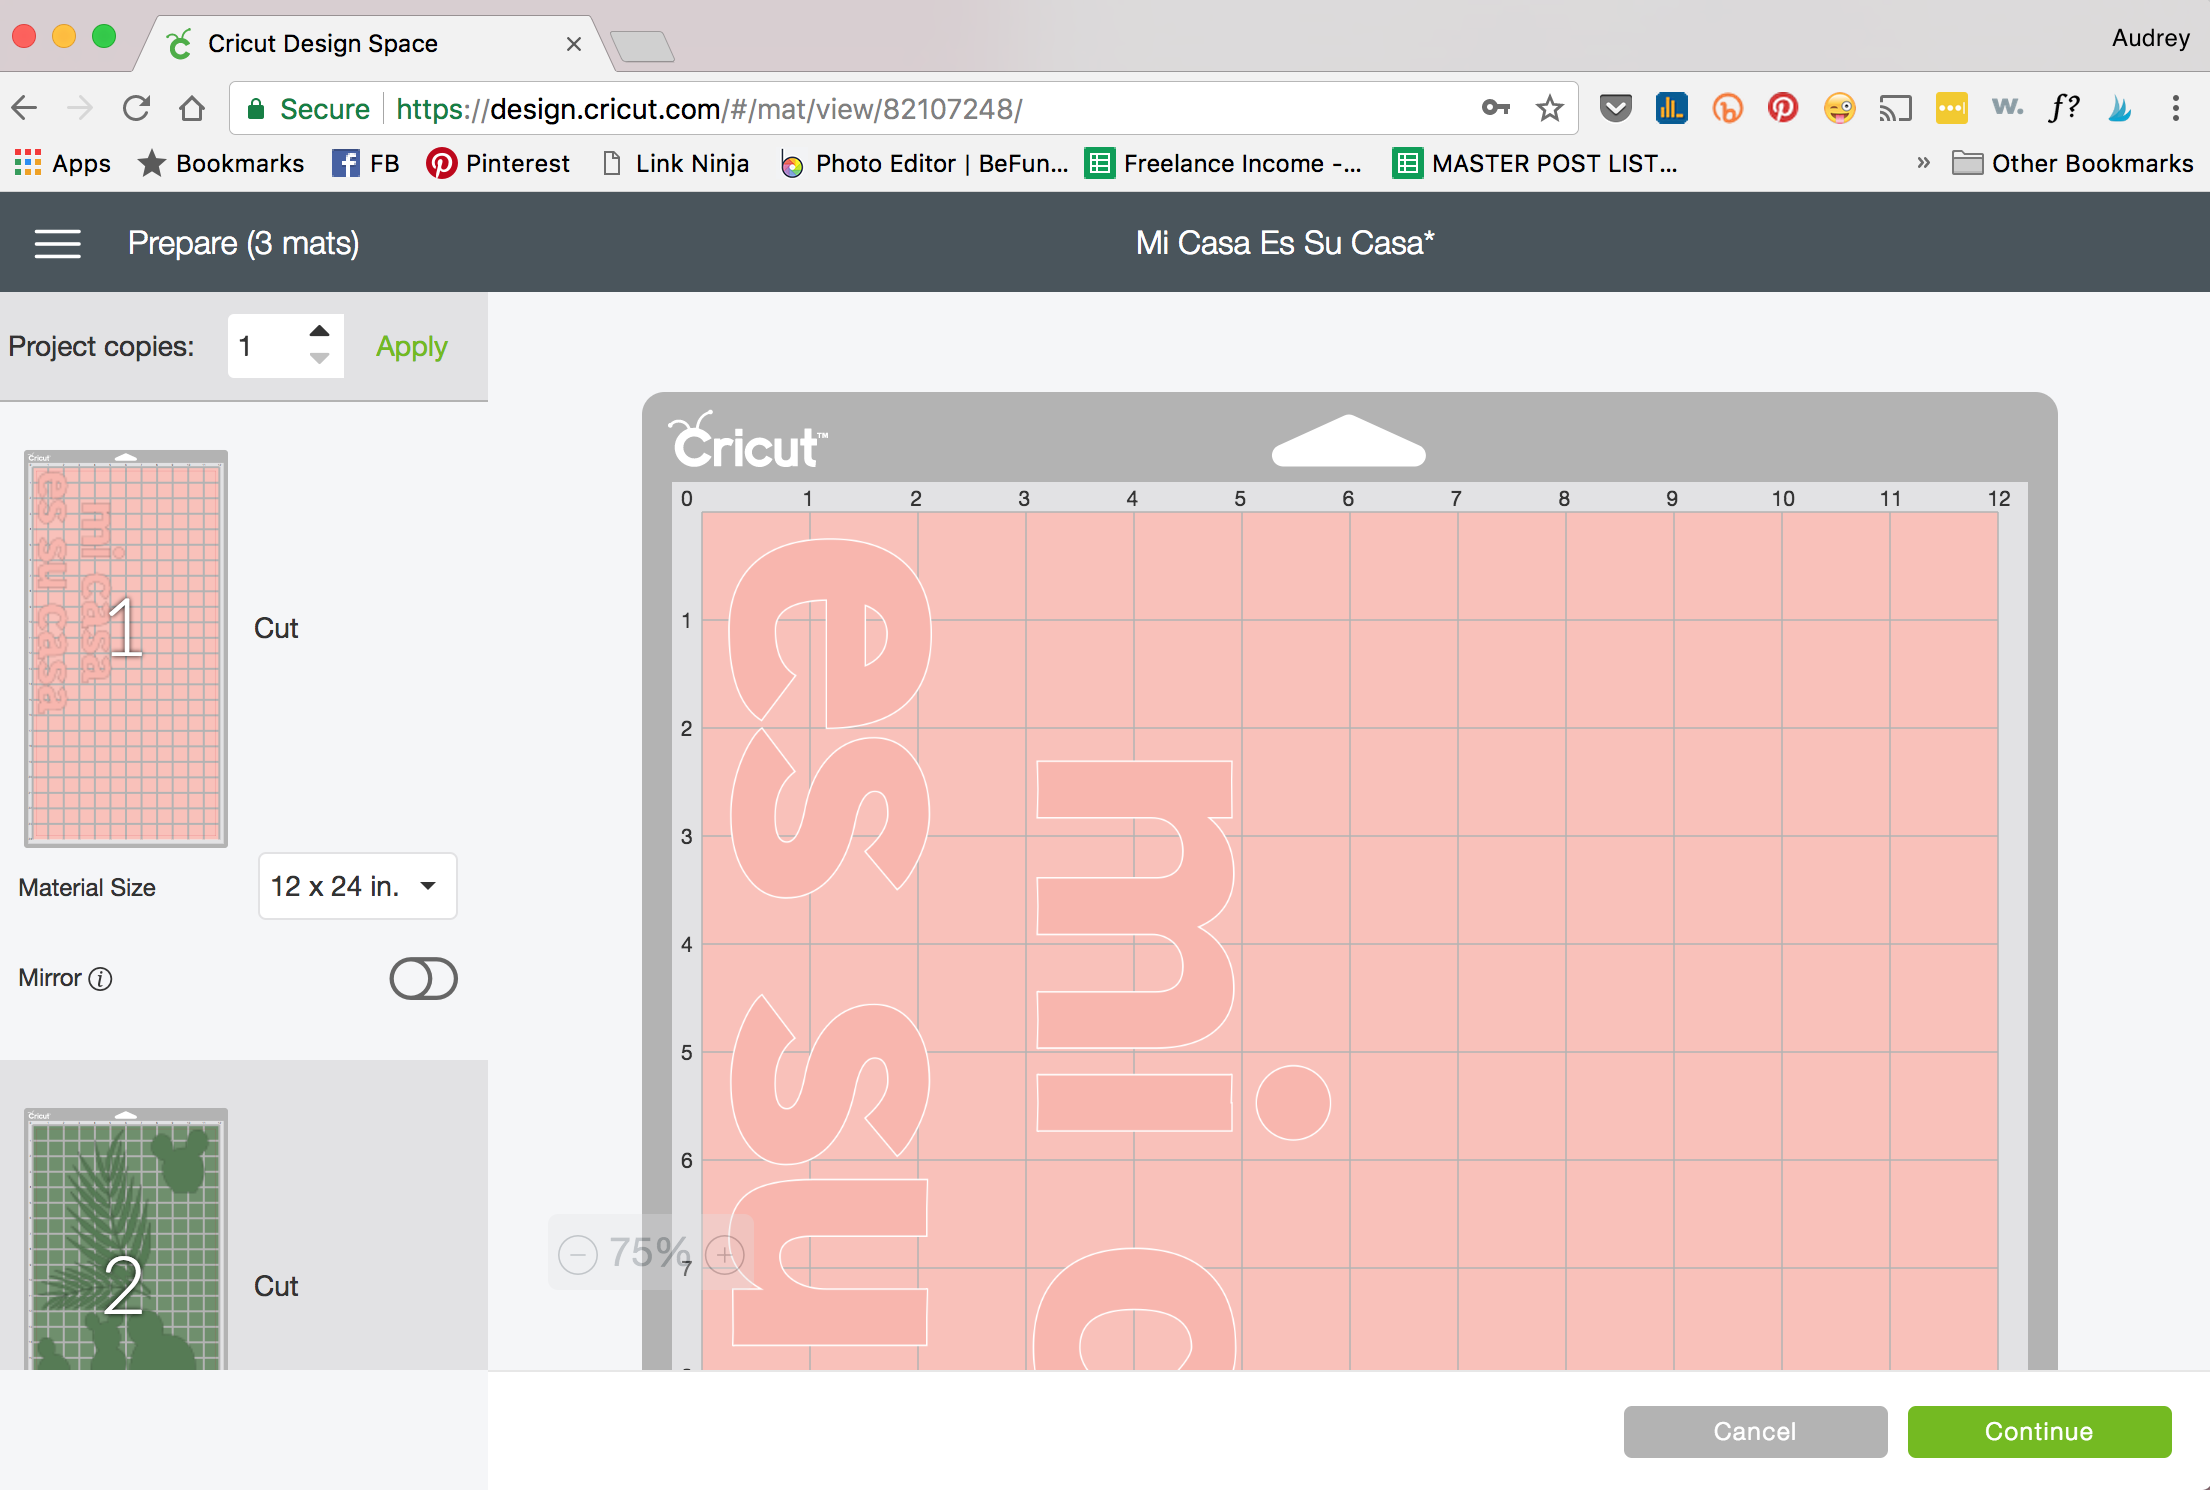
I opened Cricut Design Space and created a big pink rectangle the exact size of my doormat – I wanted to be able to line everything up perfectly. This particular mat is 30″x18″.
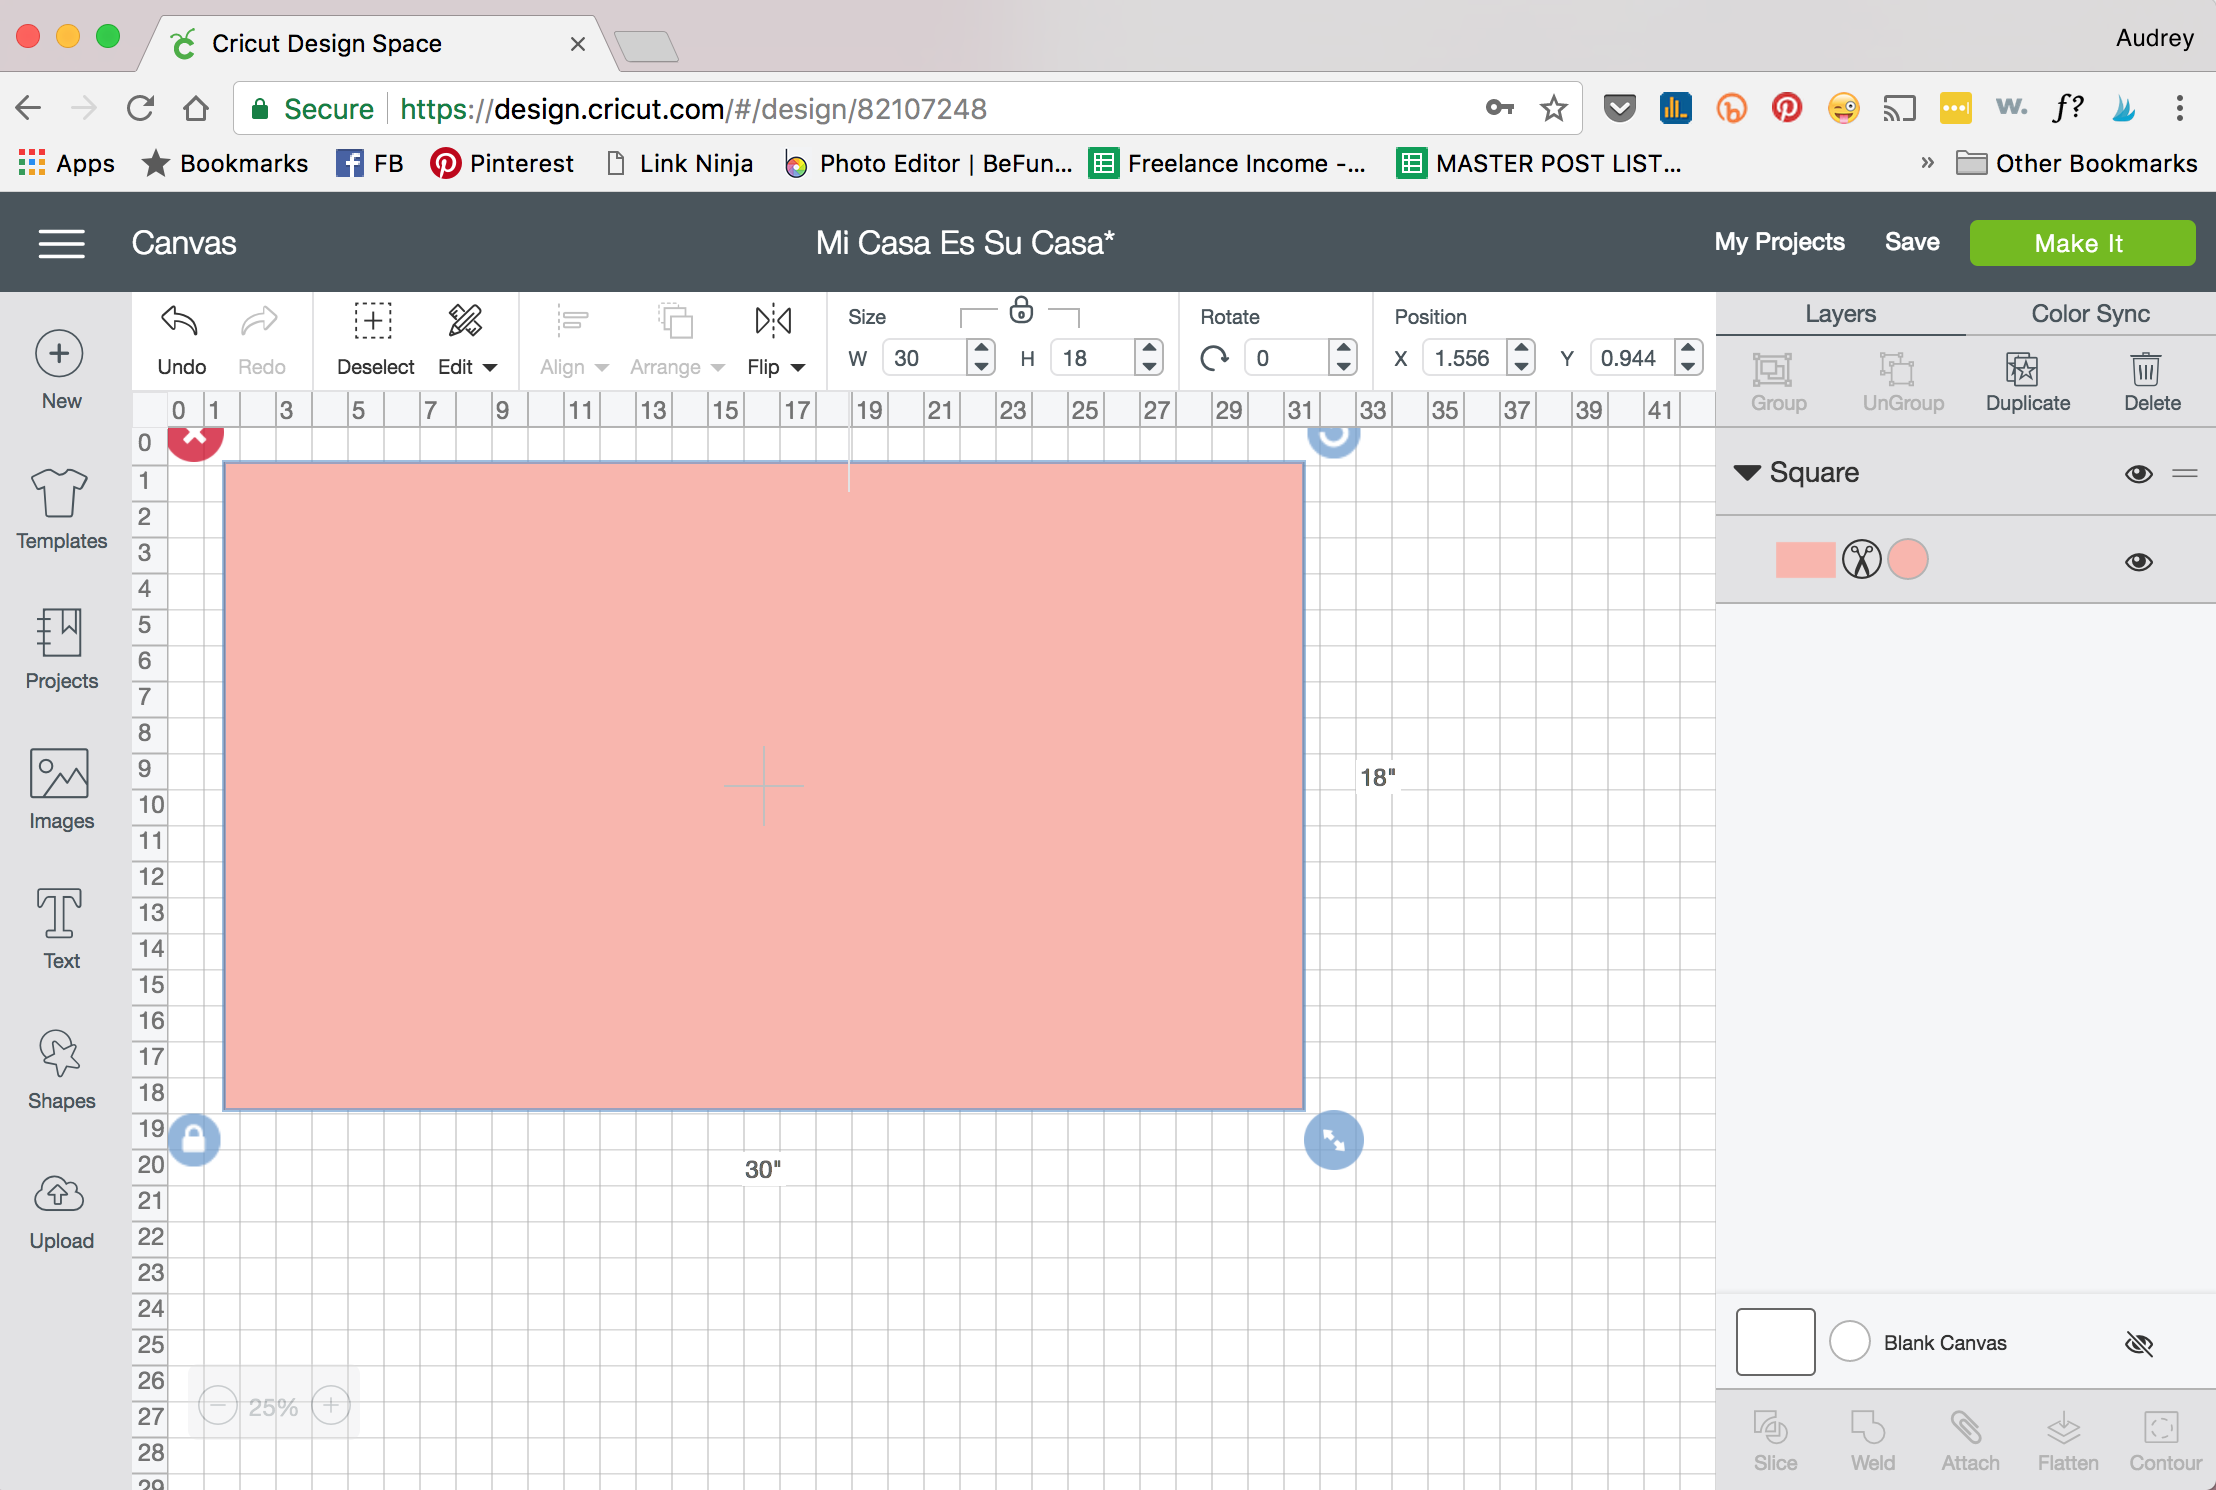
I then created my stencils in Adobe Illustrator and exported those files to SVGs. Then, I imported them to Cricut Design Space and re-colored everything by which mat I wanted them to be on.
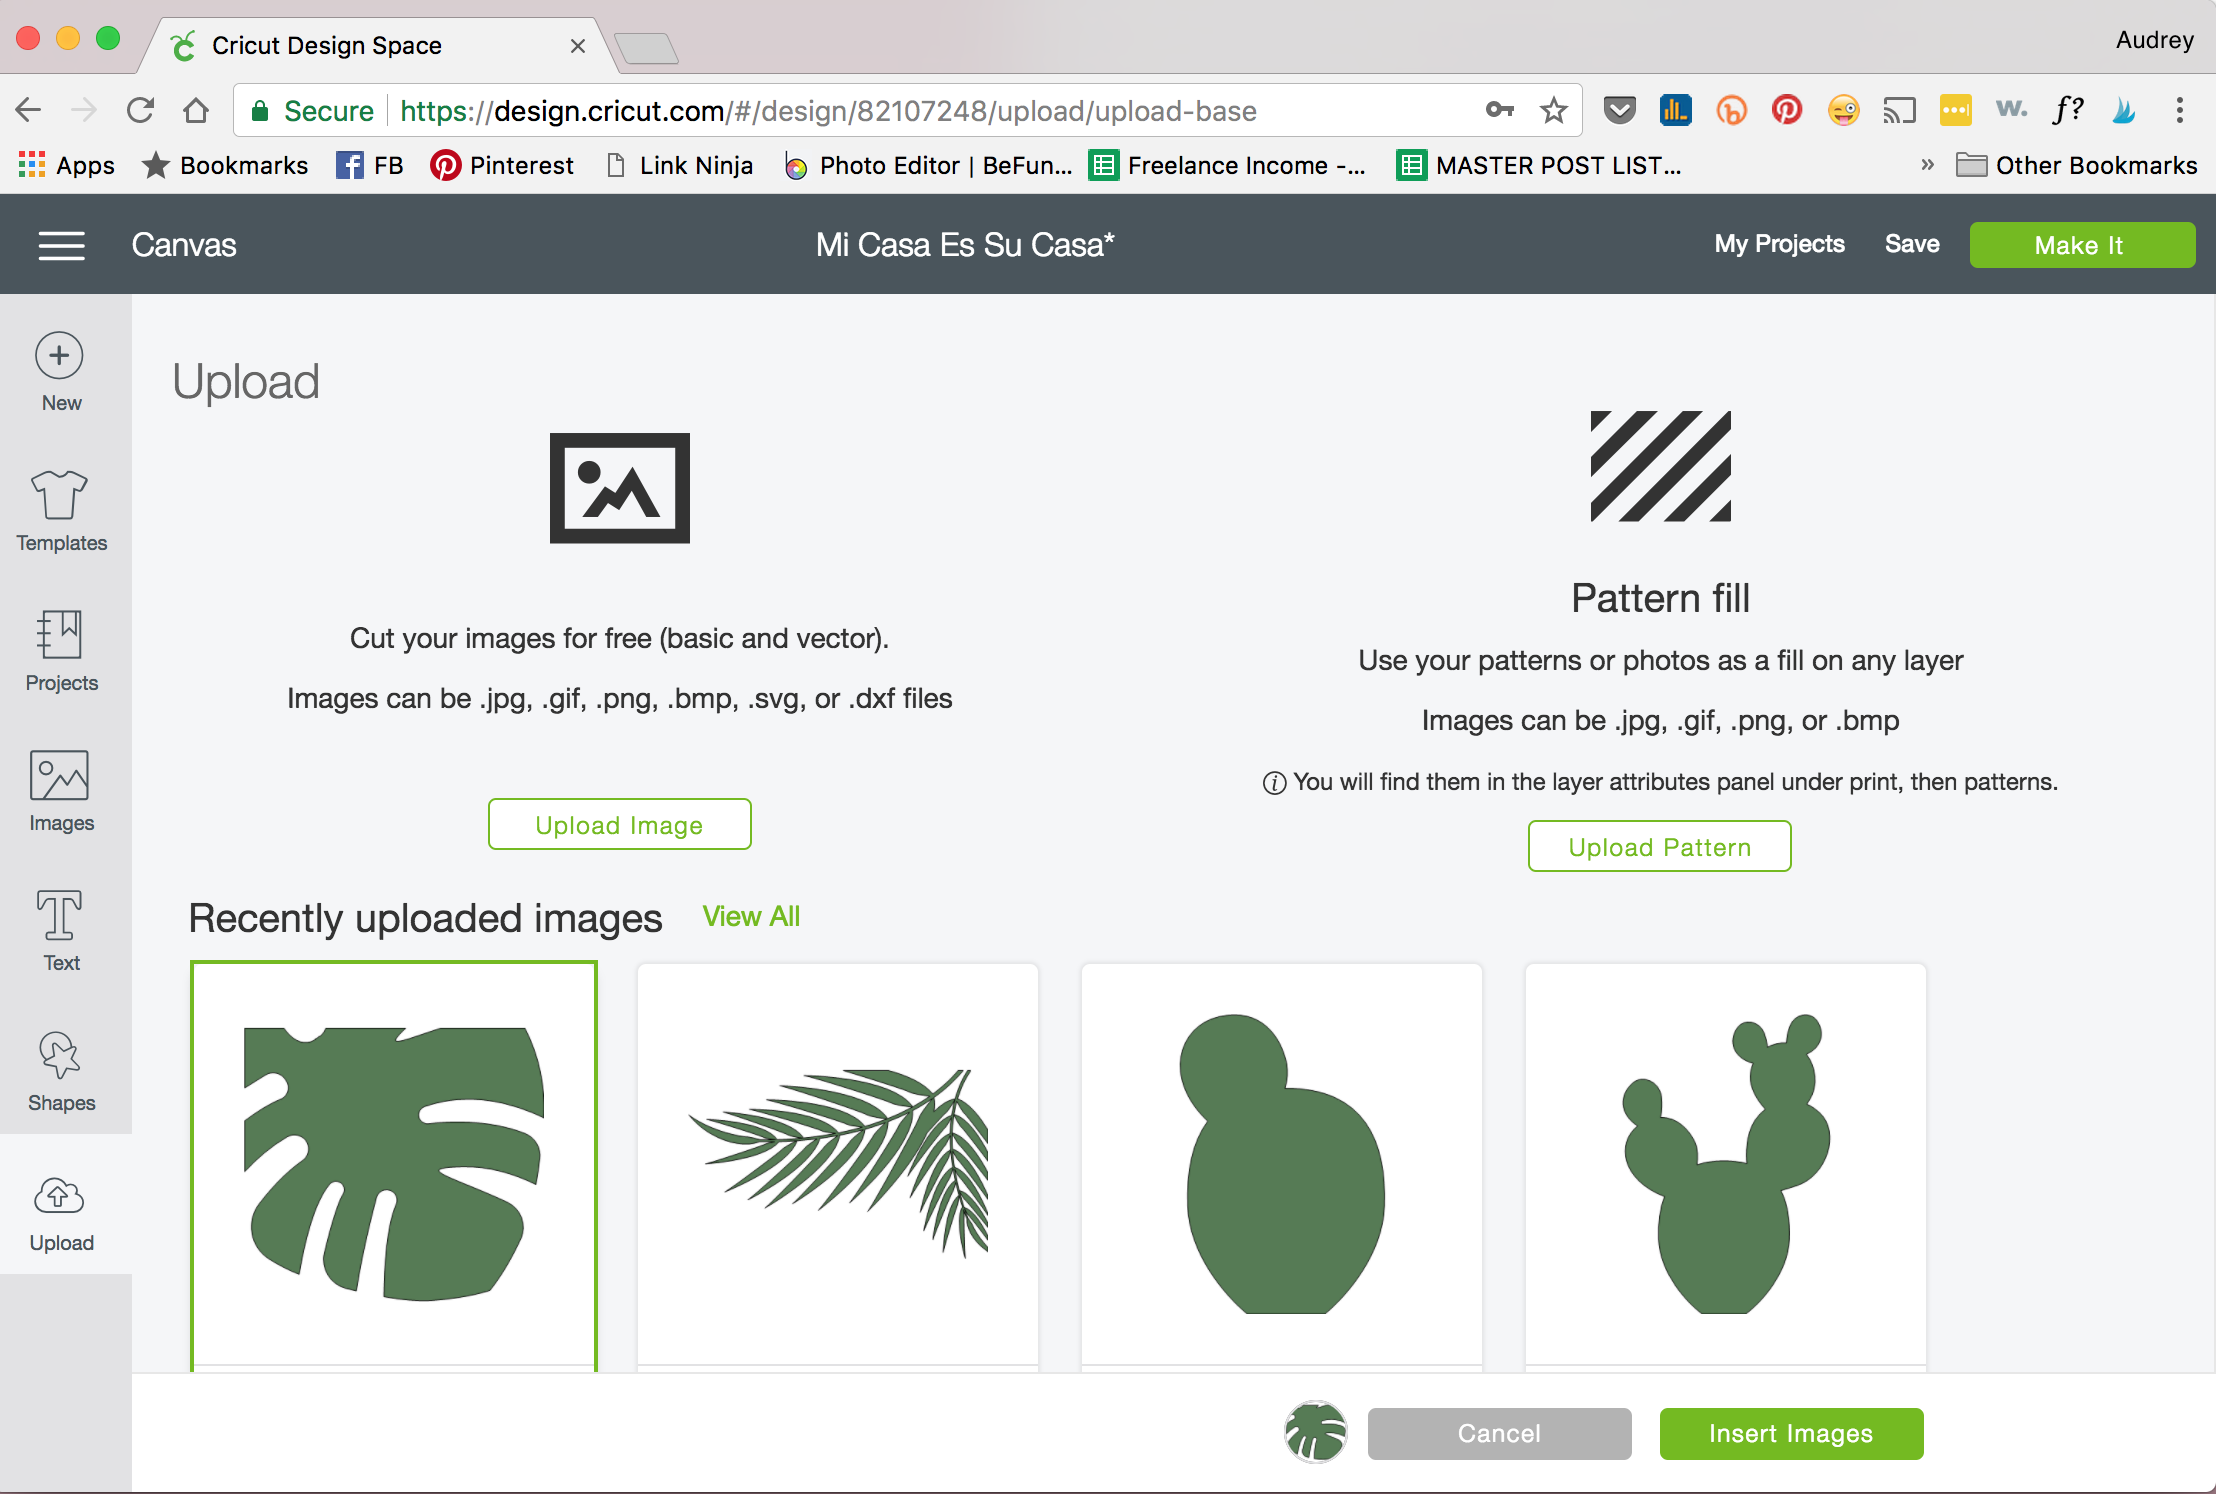

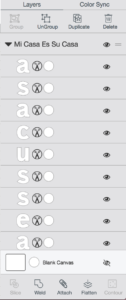
When importing text, it’s important to make sure you “weld” all your text together, or else they will cut all jumbled up. See how they imported separately below? The weld tool is one of my best friends.
Then it was time to cut! I cut everything into some leftover poster board that I had lying around. I have a few bigger mats (longer than the typical 12″x12″) and that was important for keeping elements of this project all together.
While everything was cutting, I painted the doormat a base layer of pink. Note: I would have used spray paint as that would have produced a more even layer, but spray paint is illegal in Chicago and I would have had a heck of a time getting it. Also, I don’t have a backyard or garage to spray paint without the risk of spray paint fumes.
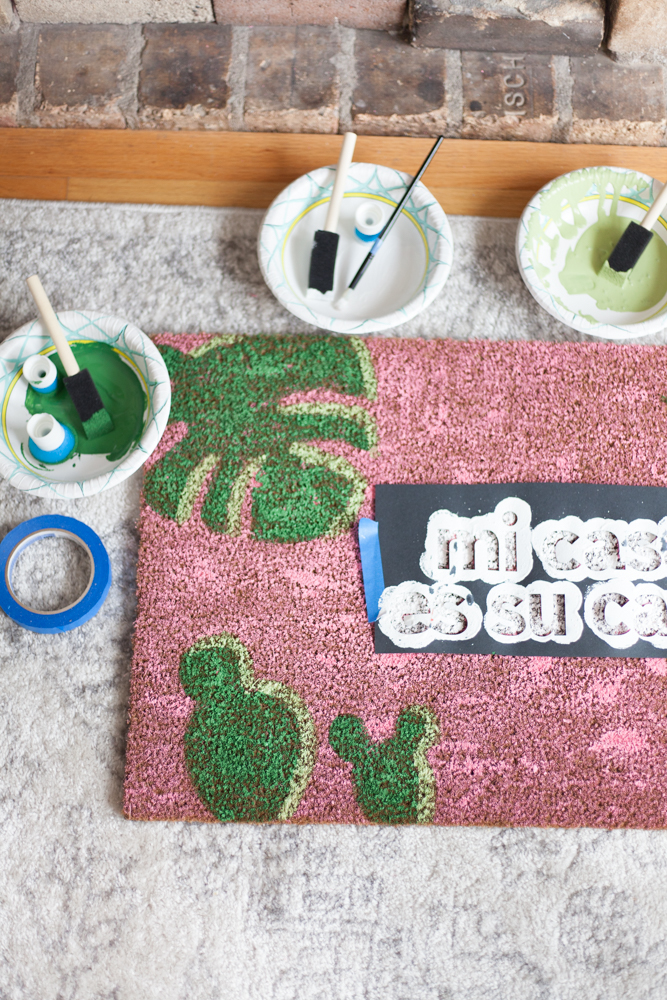
When my stencils were ready, I carefully placed them on the mat and started painting. I used a mix of regular foam brushes and these little dot sponges that I found to be much better for stamping straight up and down.

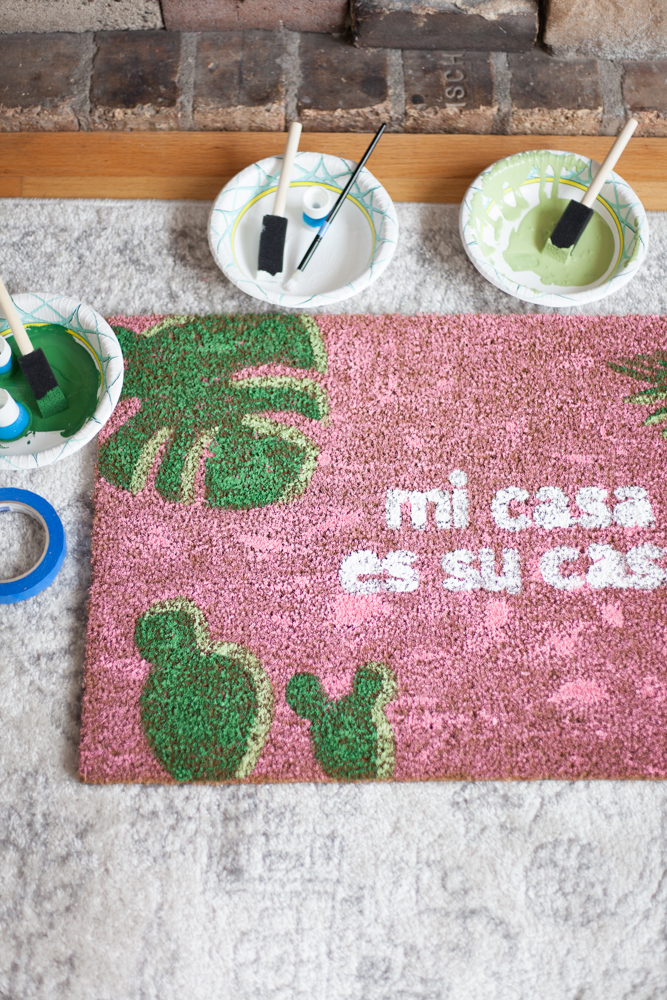
To add a little more depth and texture to the mat, I decided to use a flat sponge brush to paint a lighter green around the edges of the plants. Here’s a quick snap I got with my phone before I painted the lighter green edges:
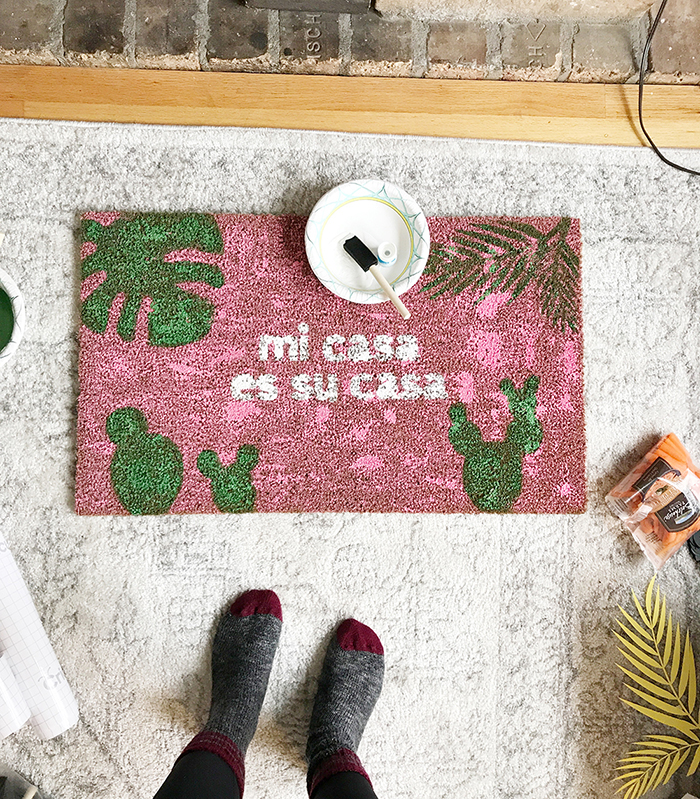
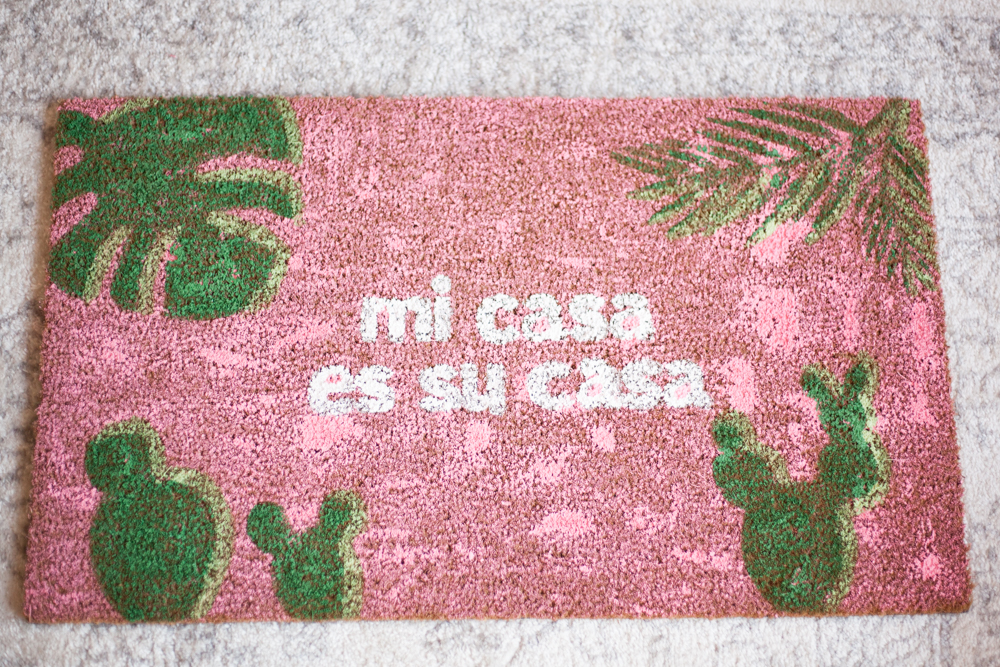
I also painted in the letterforms (a’s and e’s). So much better, right? Also, LOL at my bag of carrots on the side. I take my snacking very seriously.
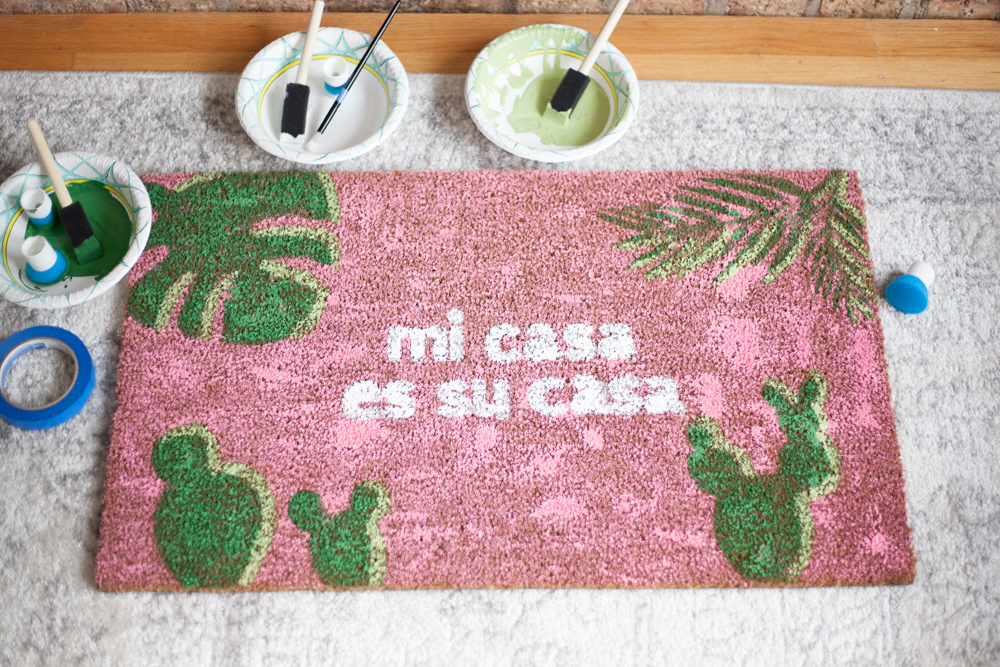
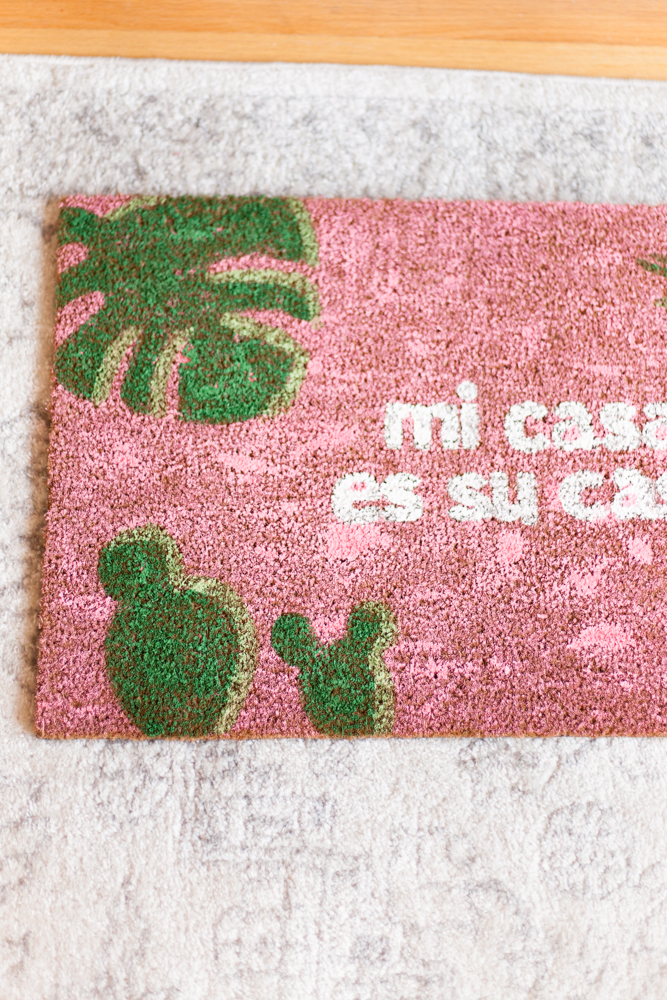
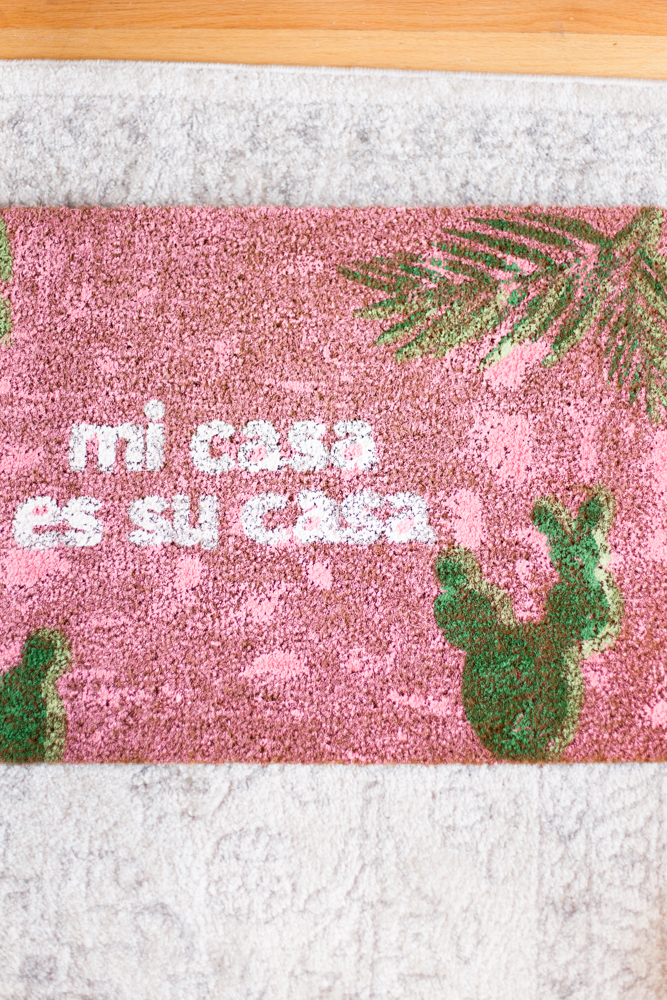
It’s not perfect, but hey! Pretty good for a first-time doormat maker. And I *think* my grandma will be proud.
//
Want to make your own DIY Mi Casa es Su Casa doormats? Find the SVG files here.
Interested in other Cricut projects? Check out this Halloween project, this gift basket idea, and these DIY Valentine’s Day mugs.
//
Save it for later: