Spring is FINALLY here (ish) and I could not be more excited. Don’t you just feel like winter drags on.. and on.. and onnnnn… ? I know I talk about the weather a lot but honestly as a Midwesterner that just kind of comes with the territory. Especially since I’m from Arizona and until 3 years ago, “cold” just wasn’t really a thing for me.
When Pocky asked me to put together an easy dessert bar idea I said HECK YES as fast as I could. Do you blame me? I need some color in my life, especially in the form of sugar.

I can’t tell you how easy this dessert bar was to put together. It would be perfect for a baby shower, bridal shower, brunch, random Tuesday, etc.
Here’s what I used:
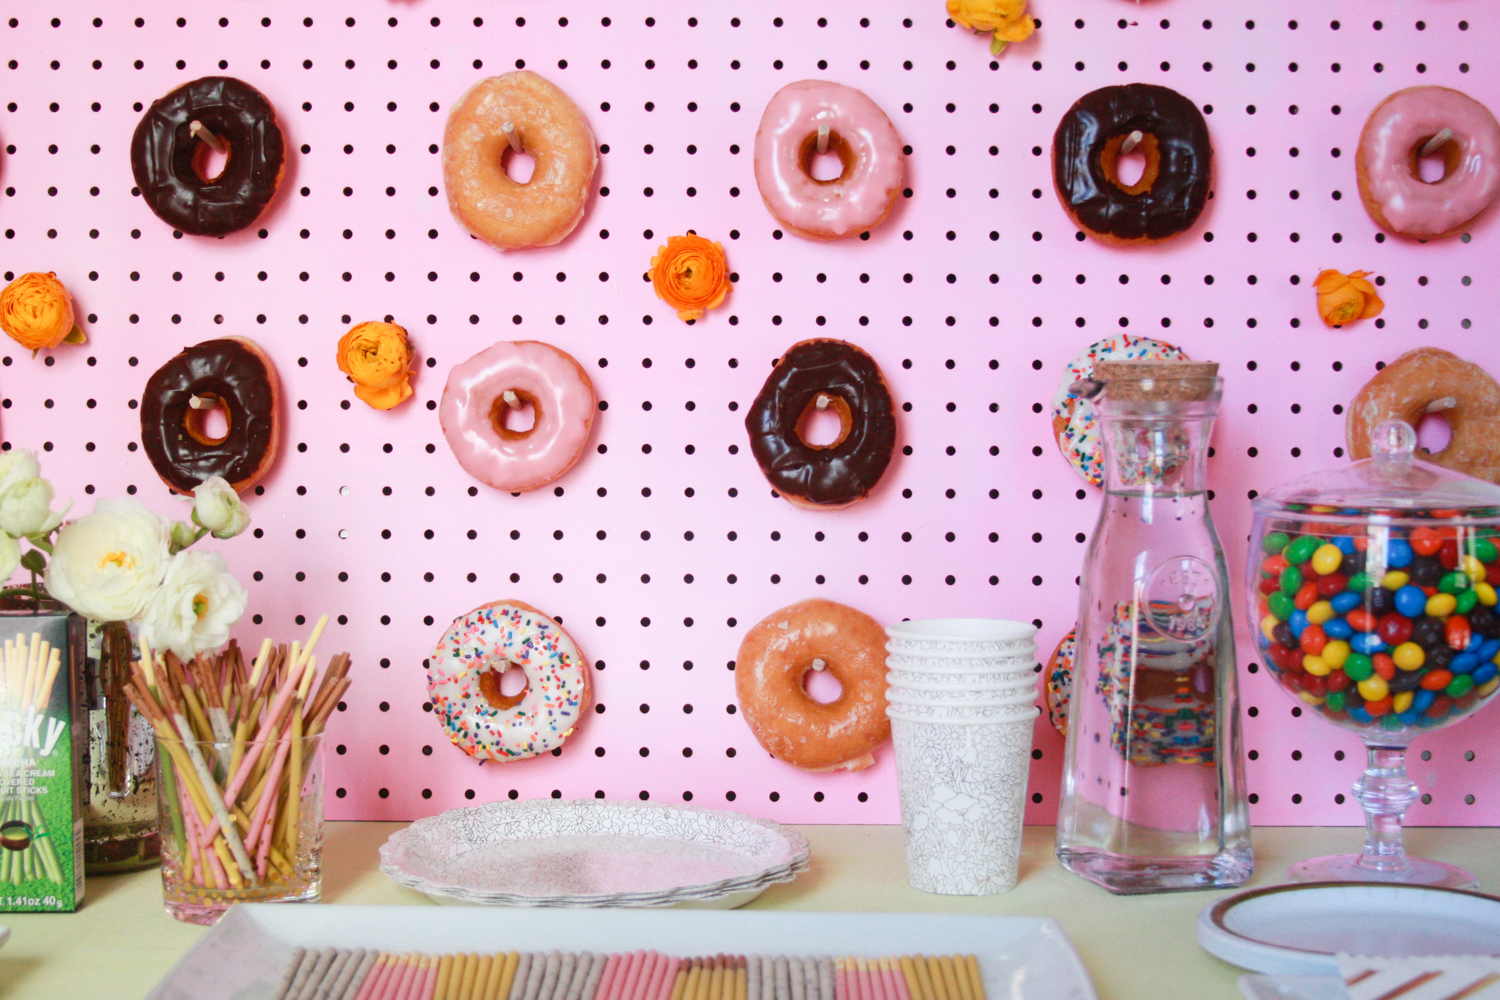
– A donut wall (keep scrolling for instructions)
– Some serving platters (these, these, and these specifically)
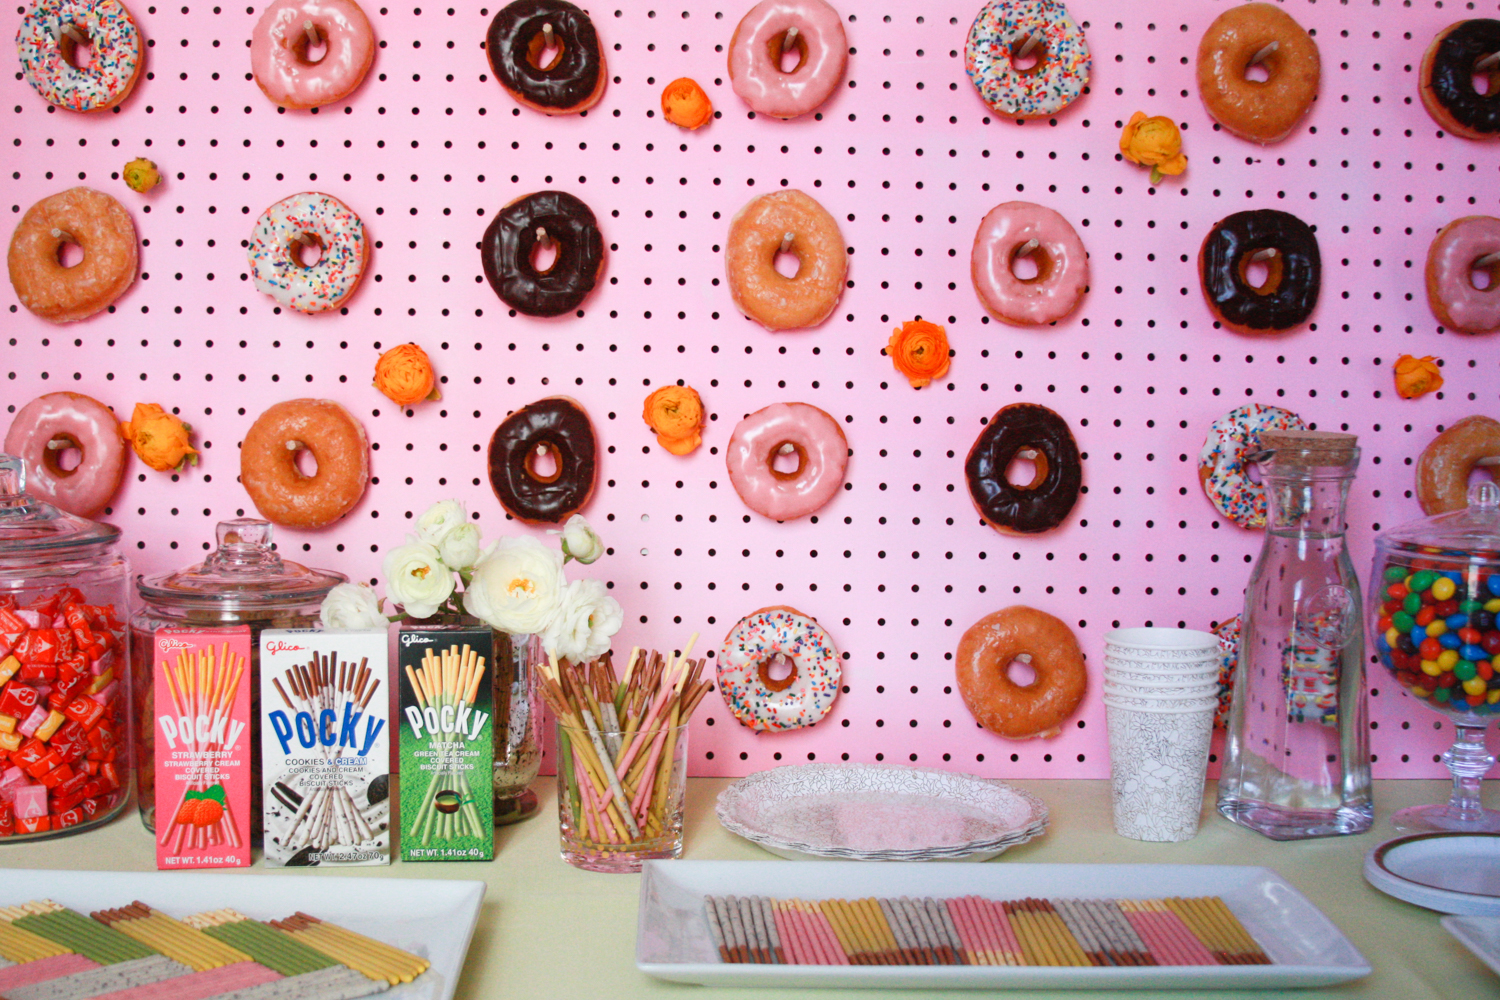
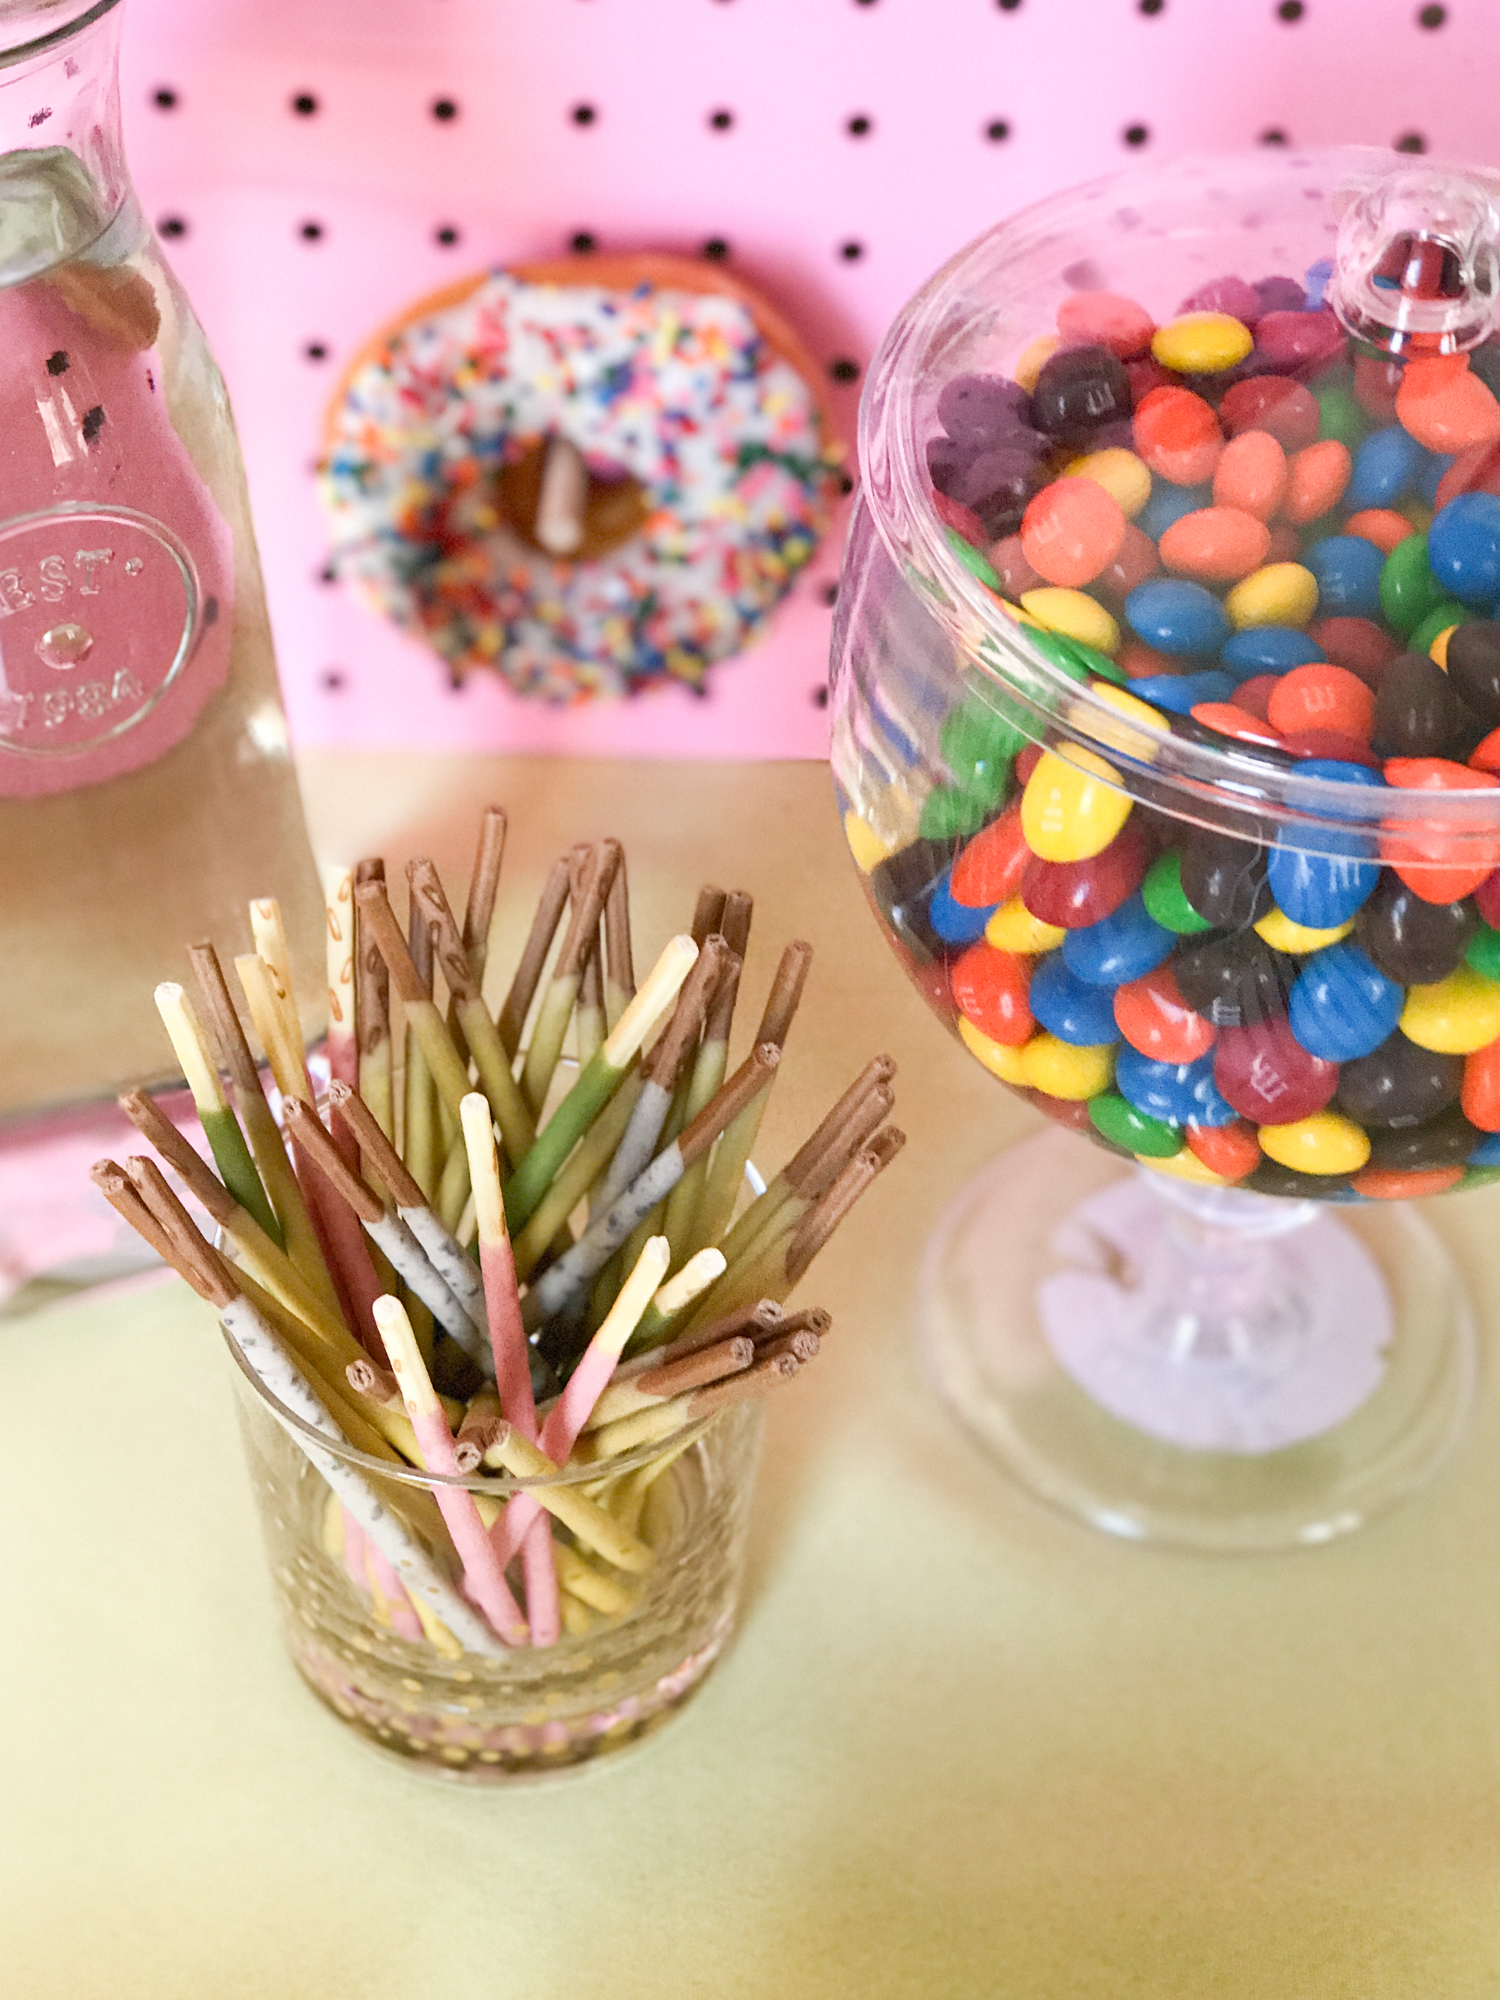
– Some candy jars (less than $10 each at Target)
– A water carafe (this was $3 in the Target dollar section… I know right?!)
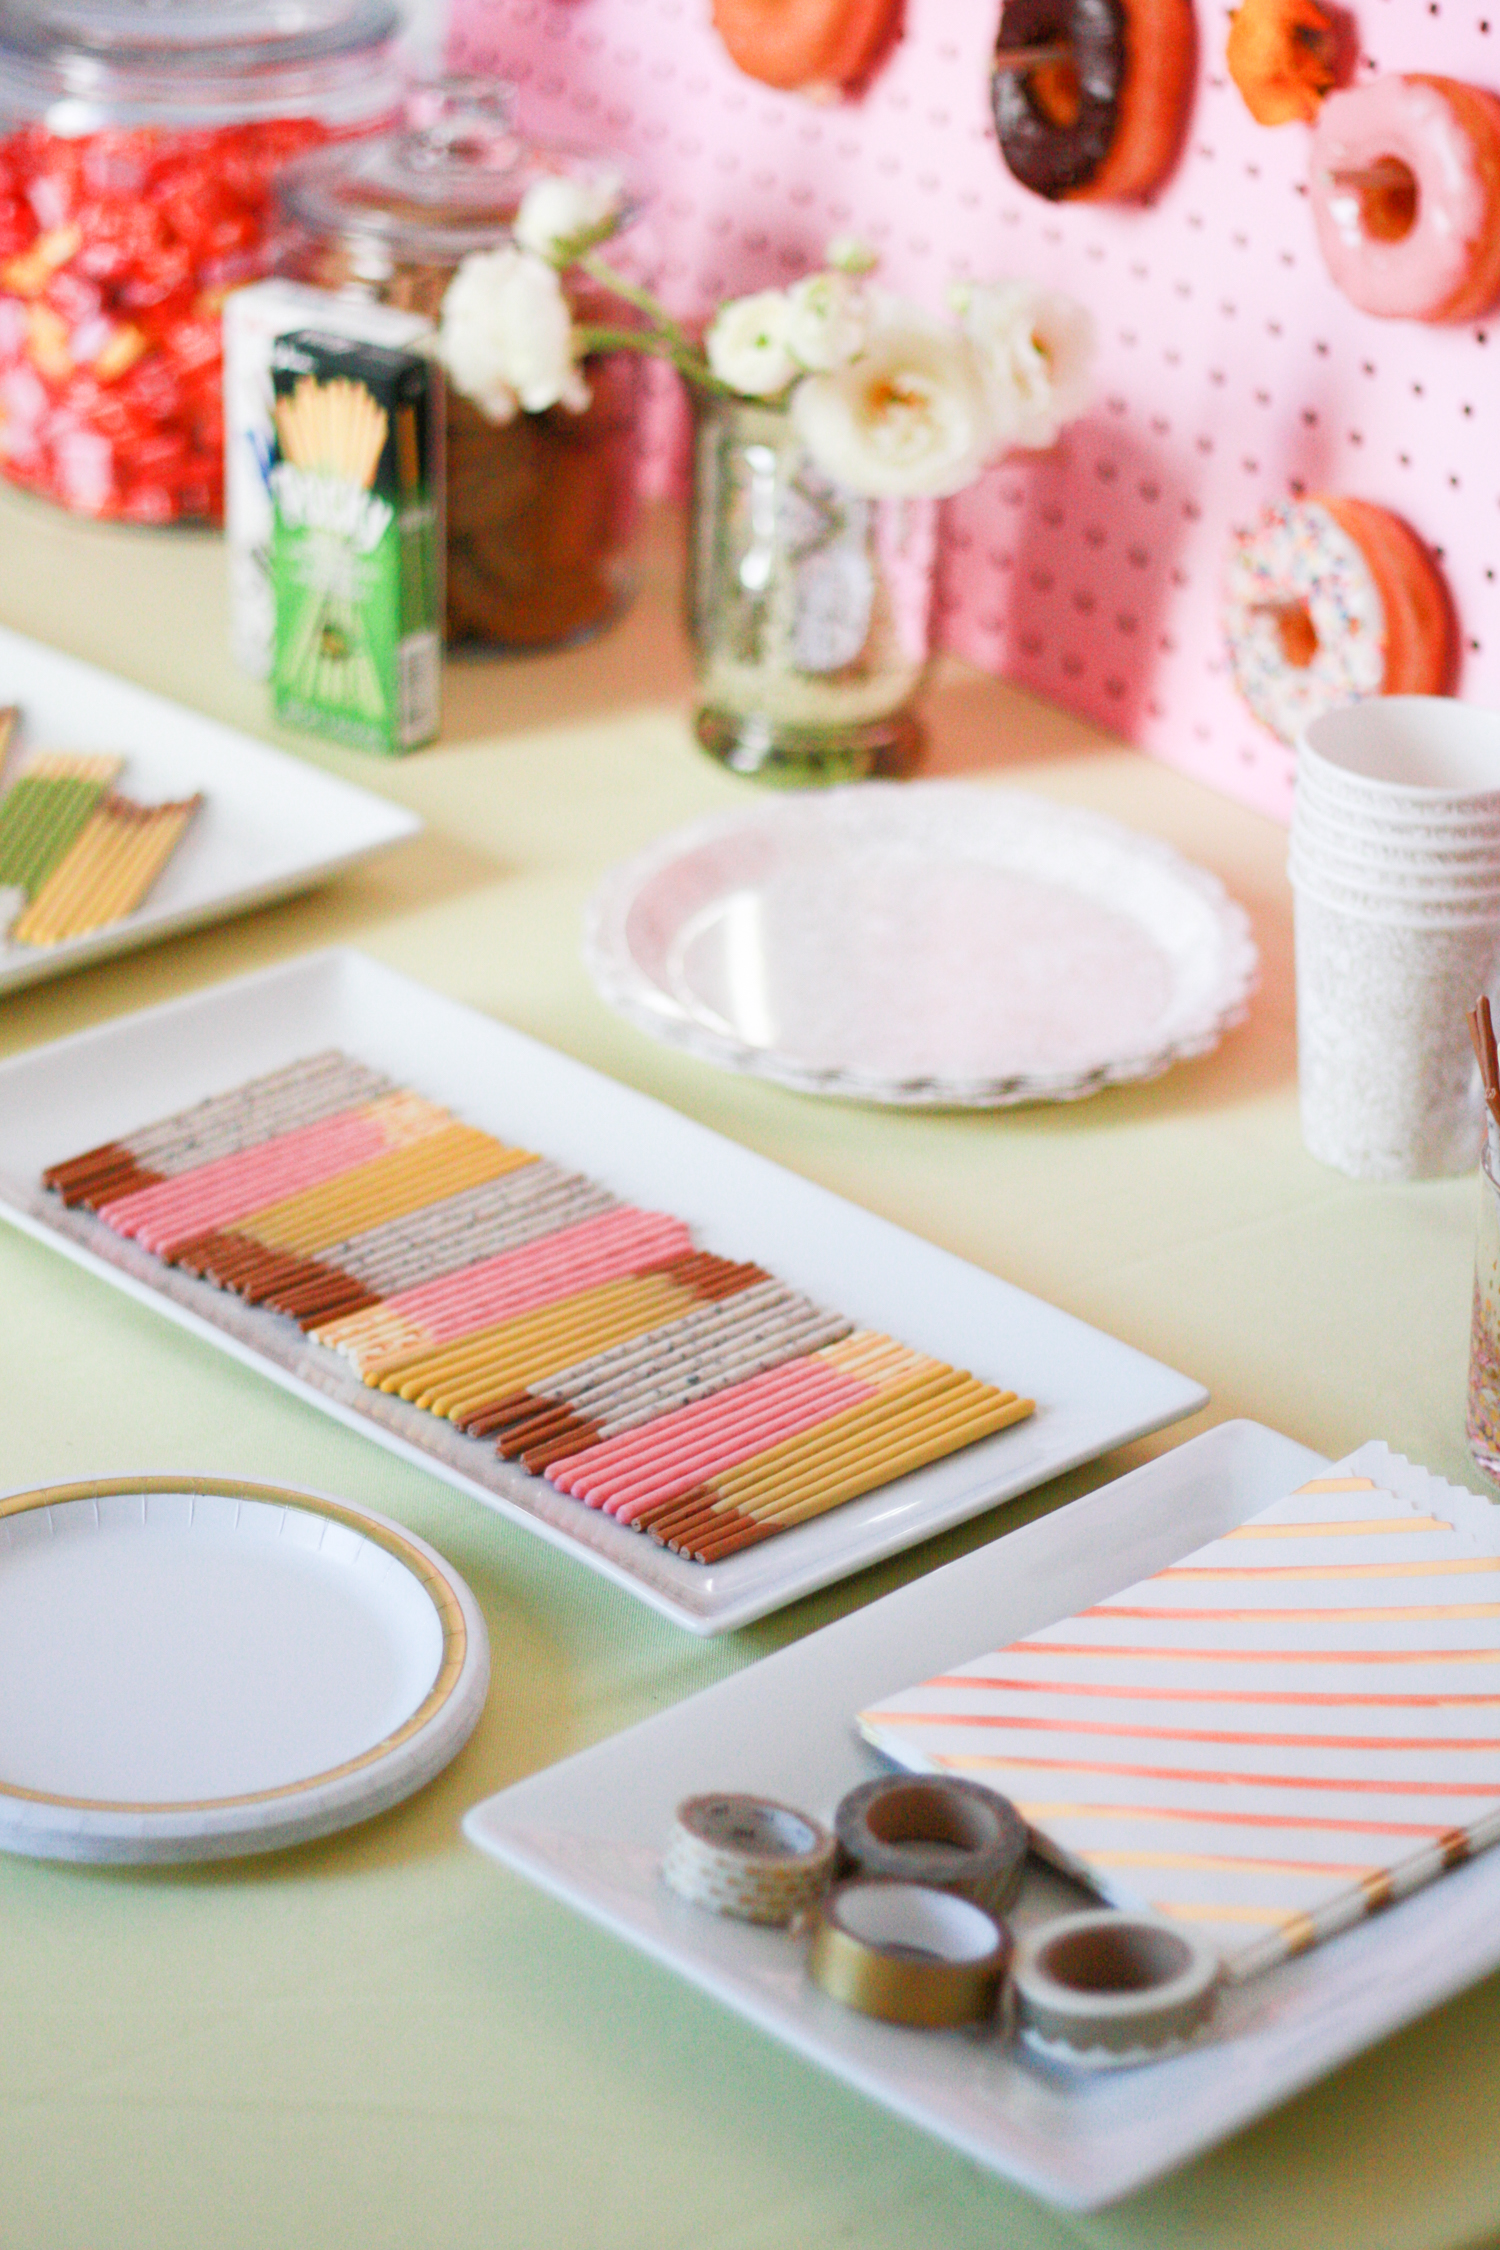
– Some fun treat bags with washi tape (treat bags also from Target)
– Paper plates (c/o Paper Source)
– Fresh ranunculus from Trader Joes
– Candy, donuts, cookies, and Pocky
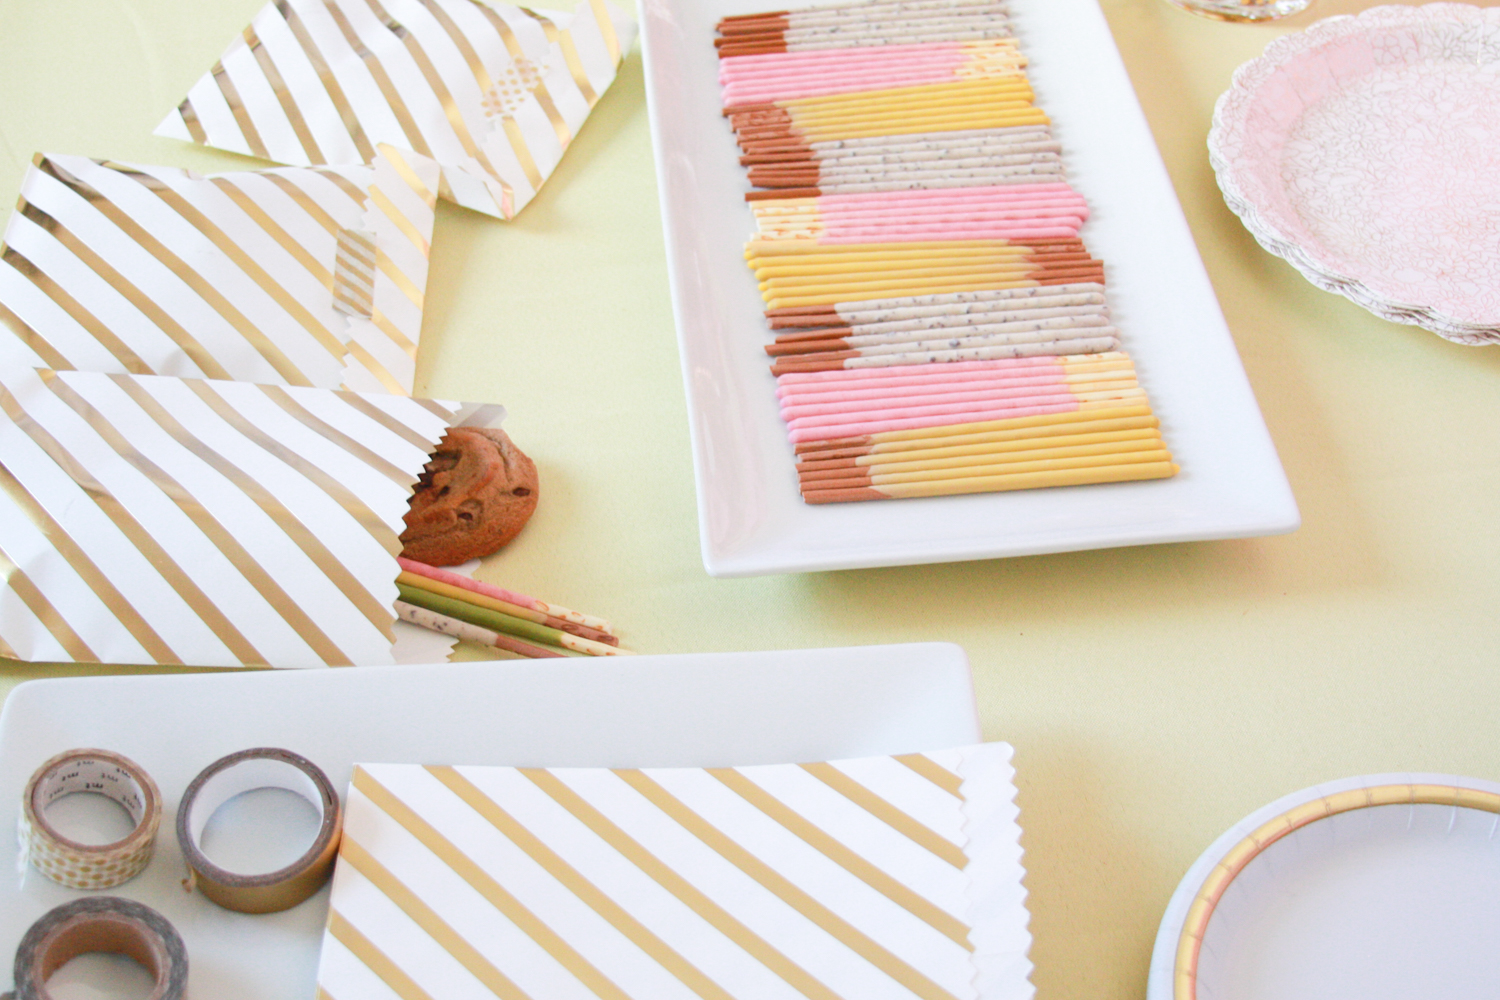
You want your guests to take home treats, right? I know I don’t like to have all of it sitting in the house after everyone leaves. Except I shot this post myself and it’s still all in my apartment… ANYWAYS. Treat bags are a perfect way to make sure everyone takes their share home!

I feel like this is Homer Simpson’s dream blog post.
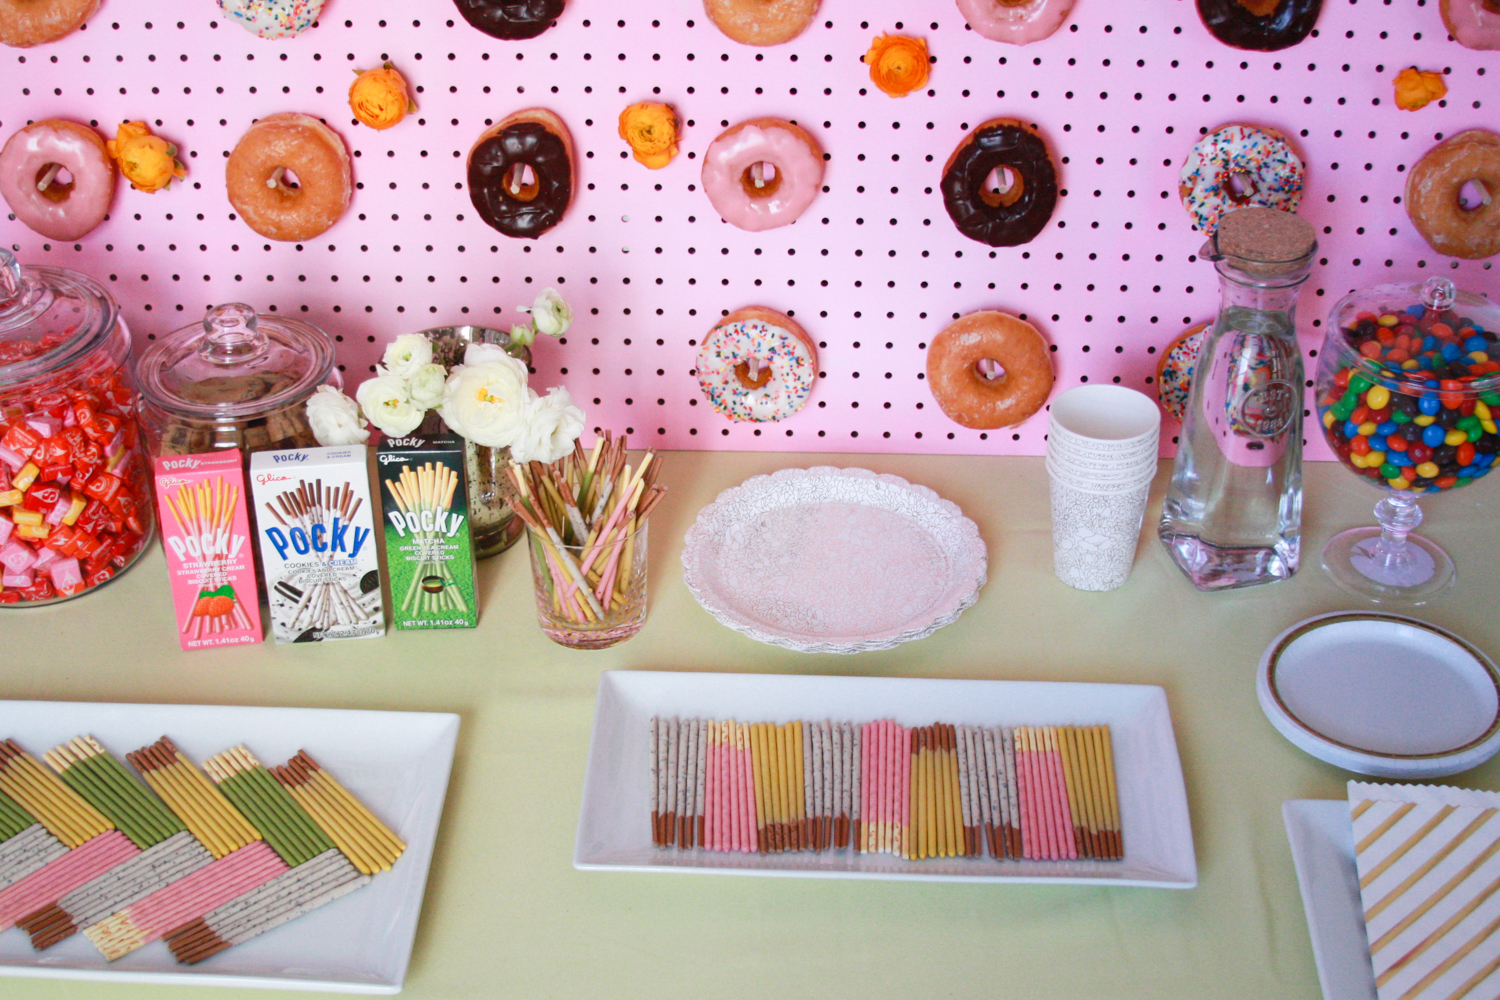
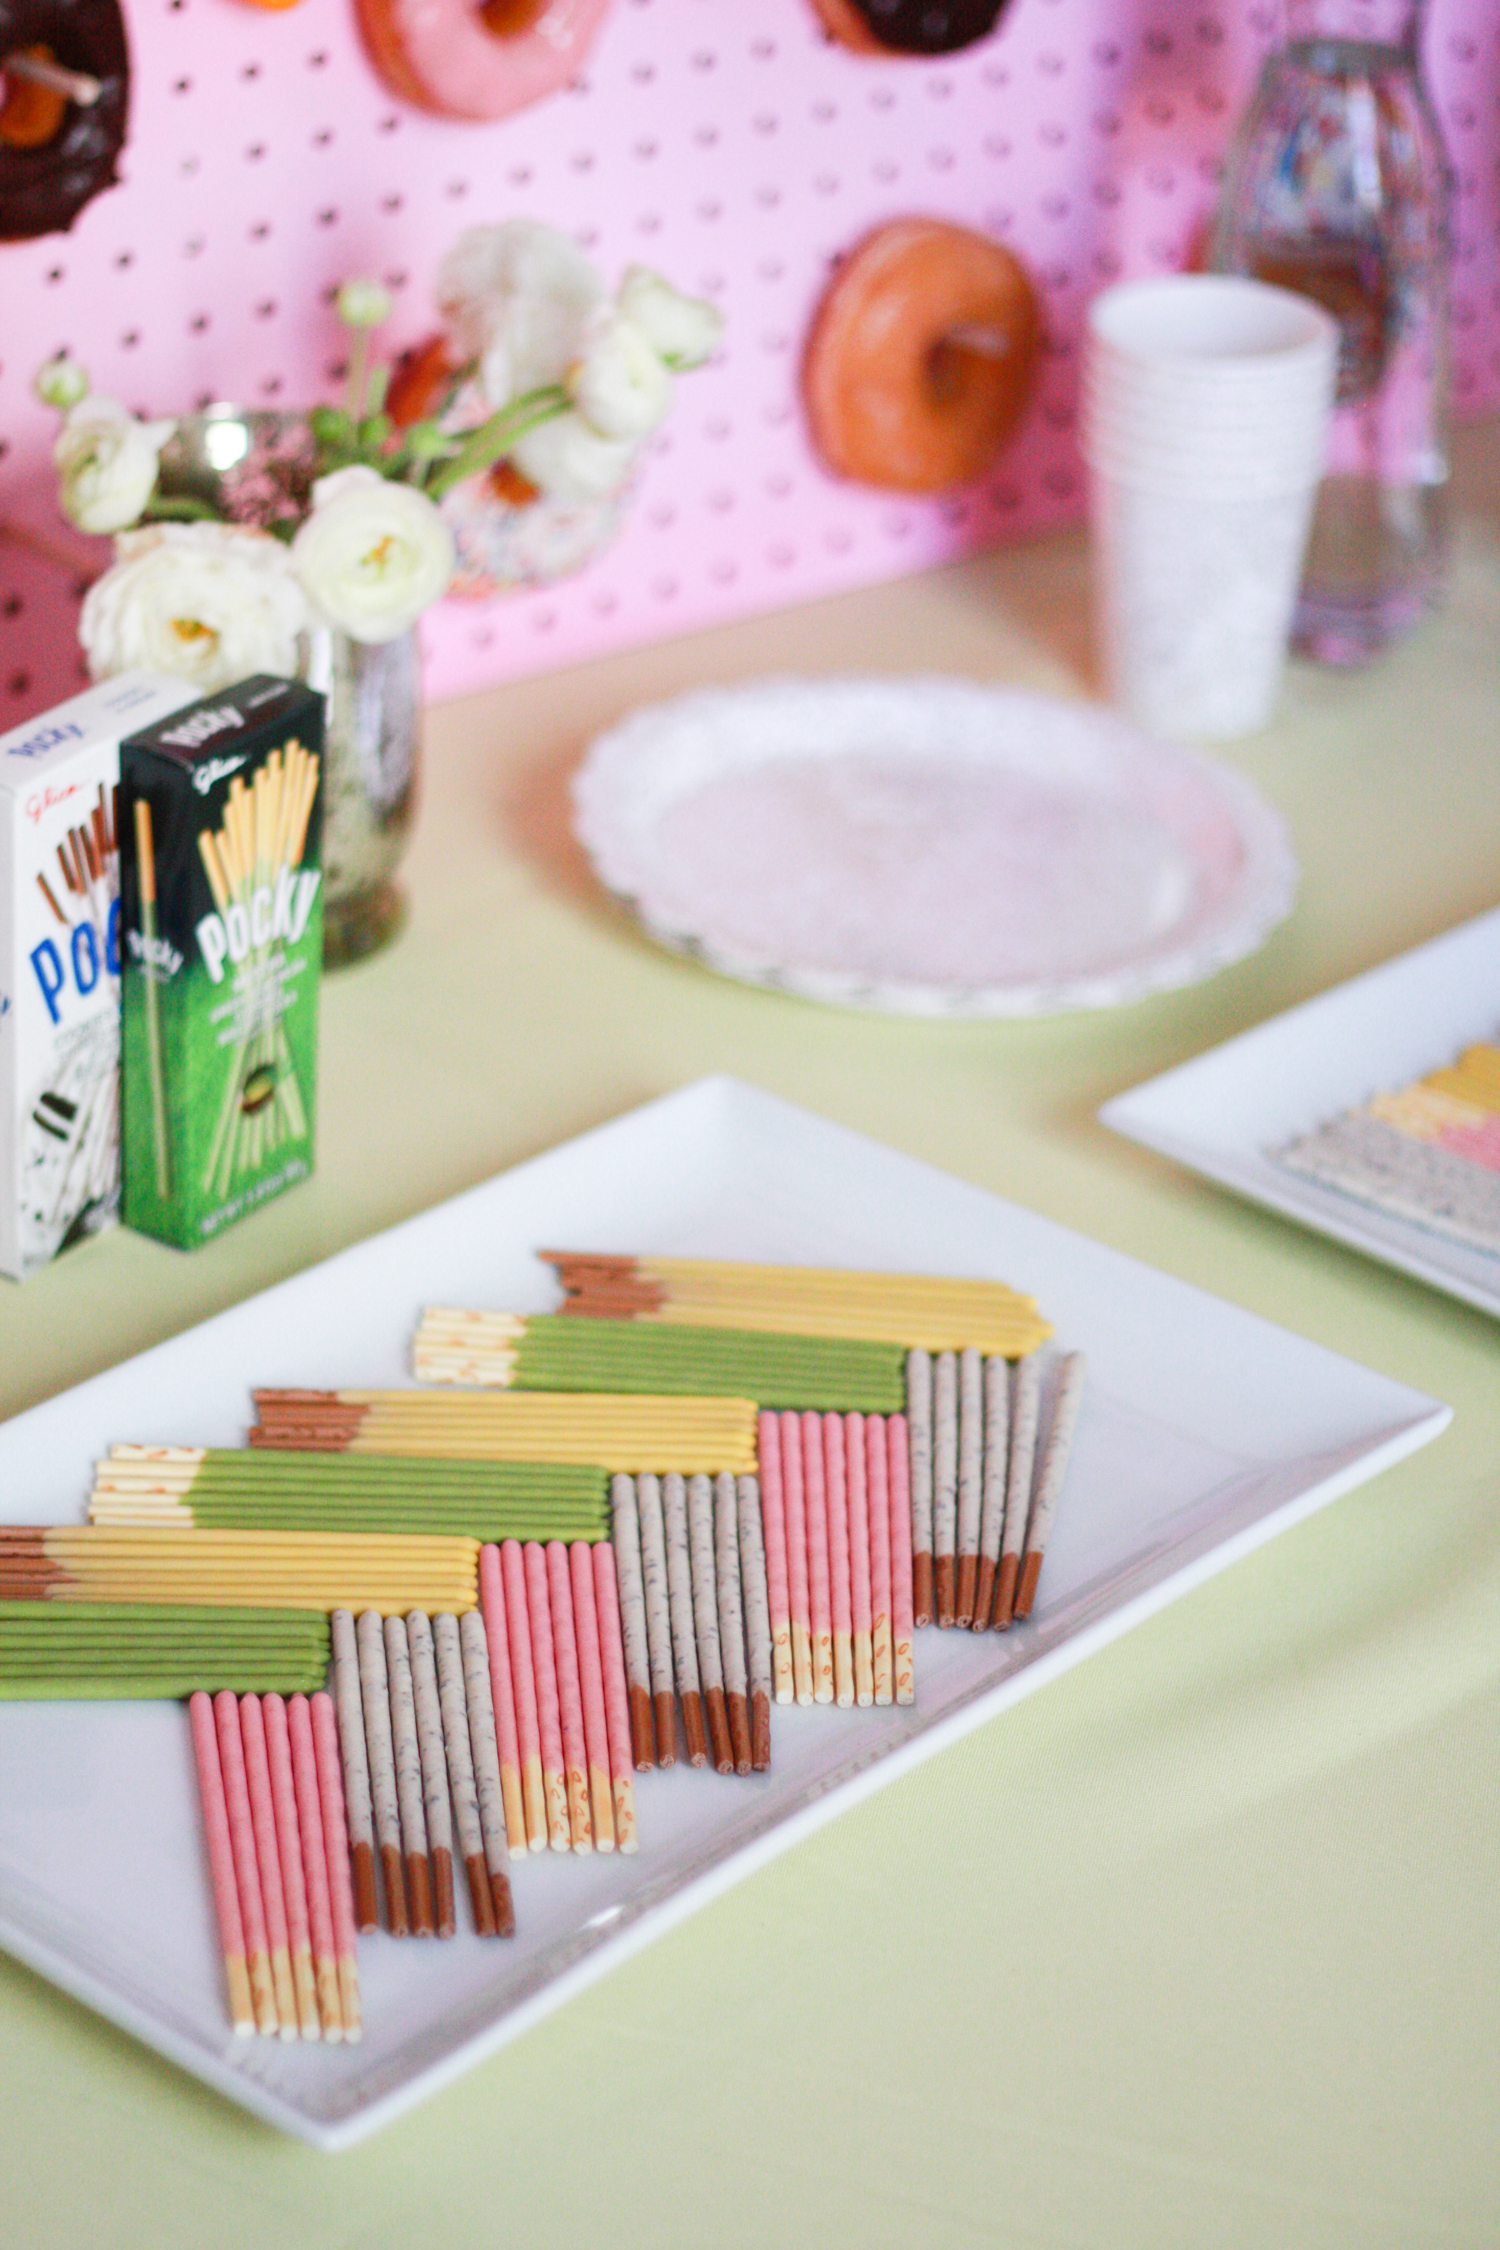
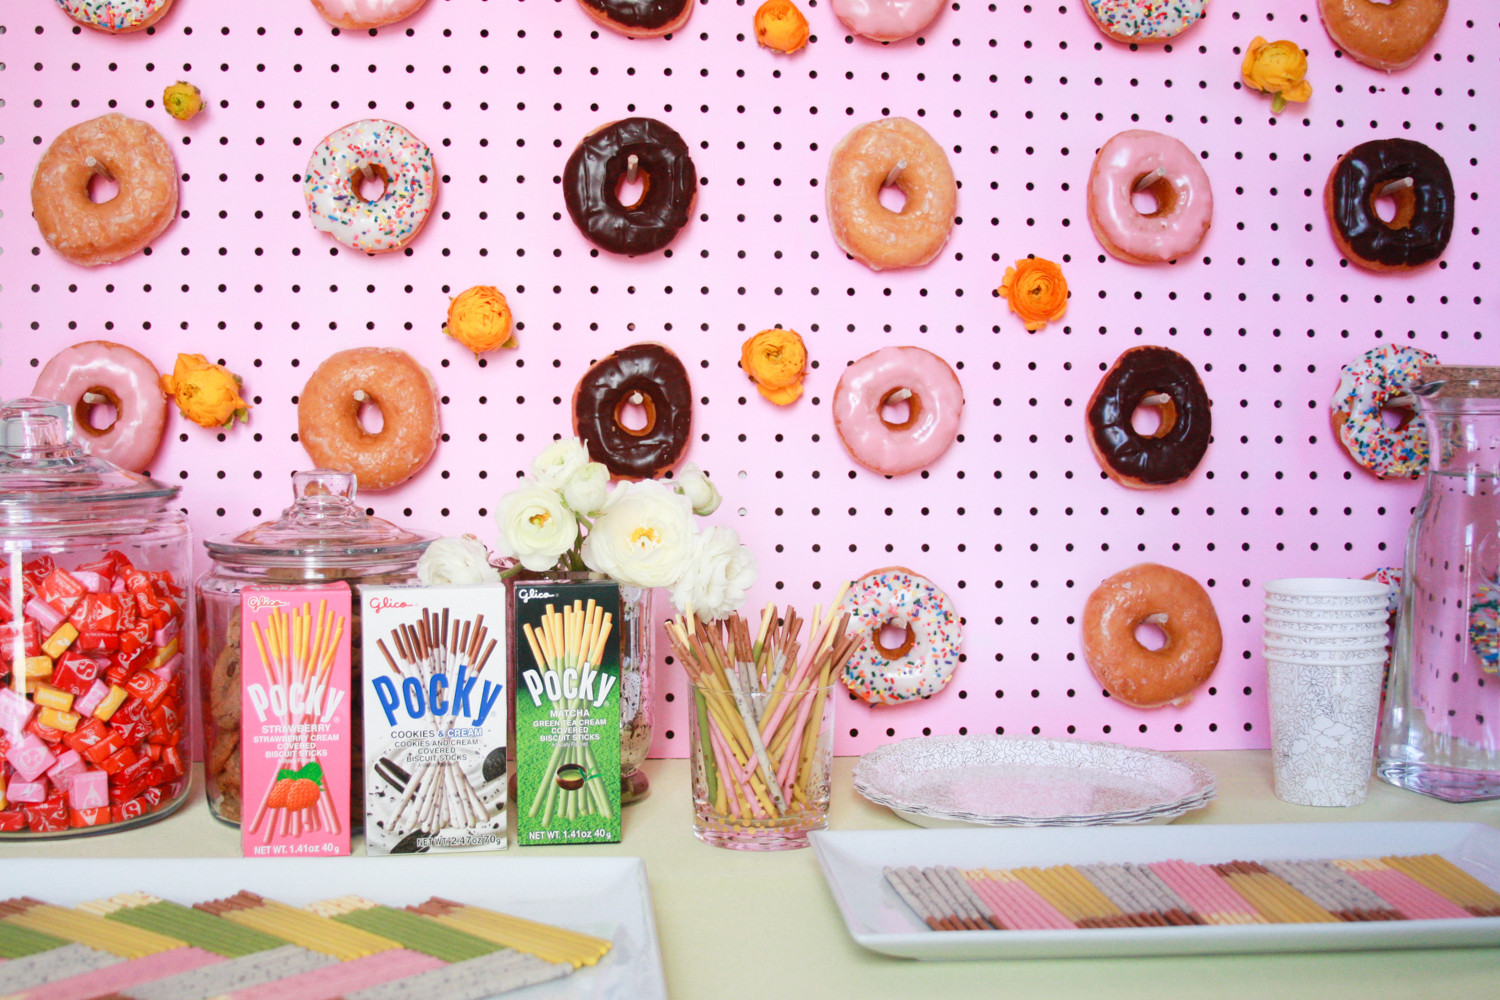
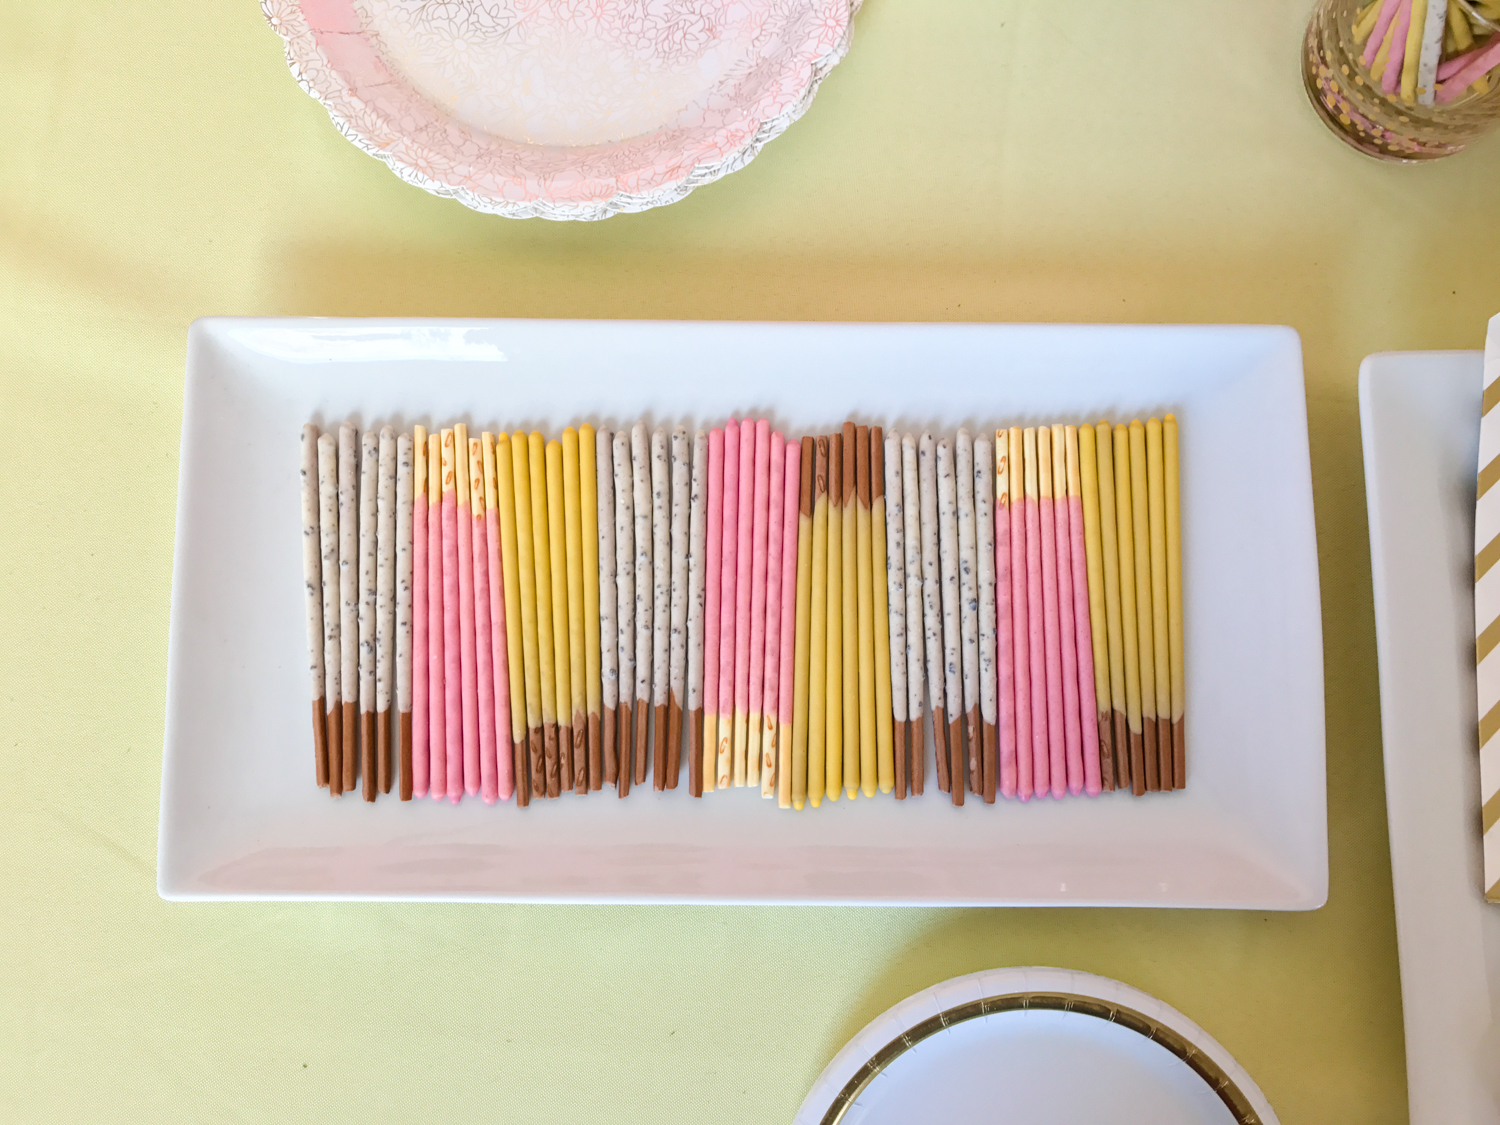
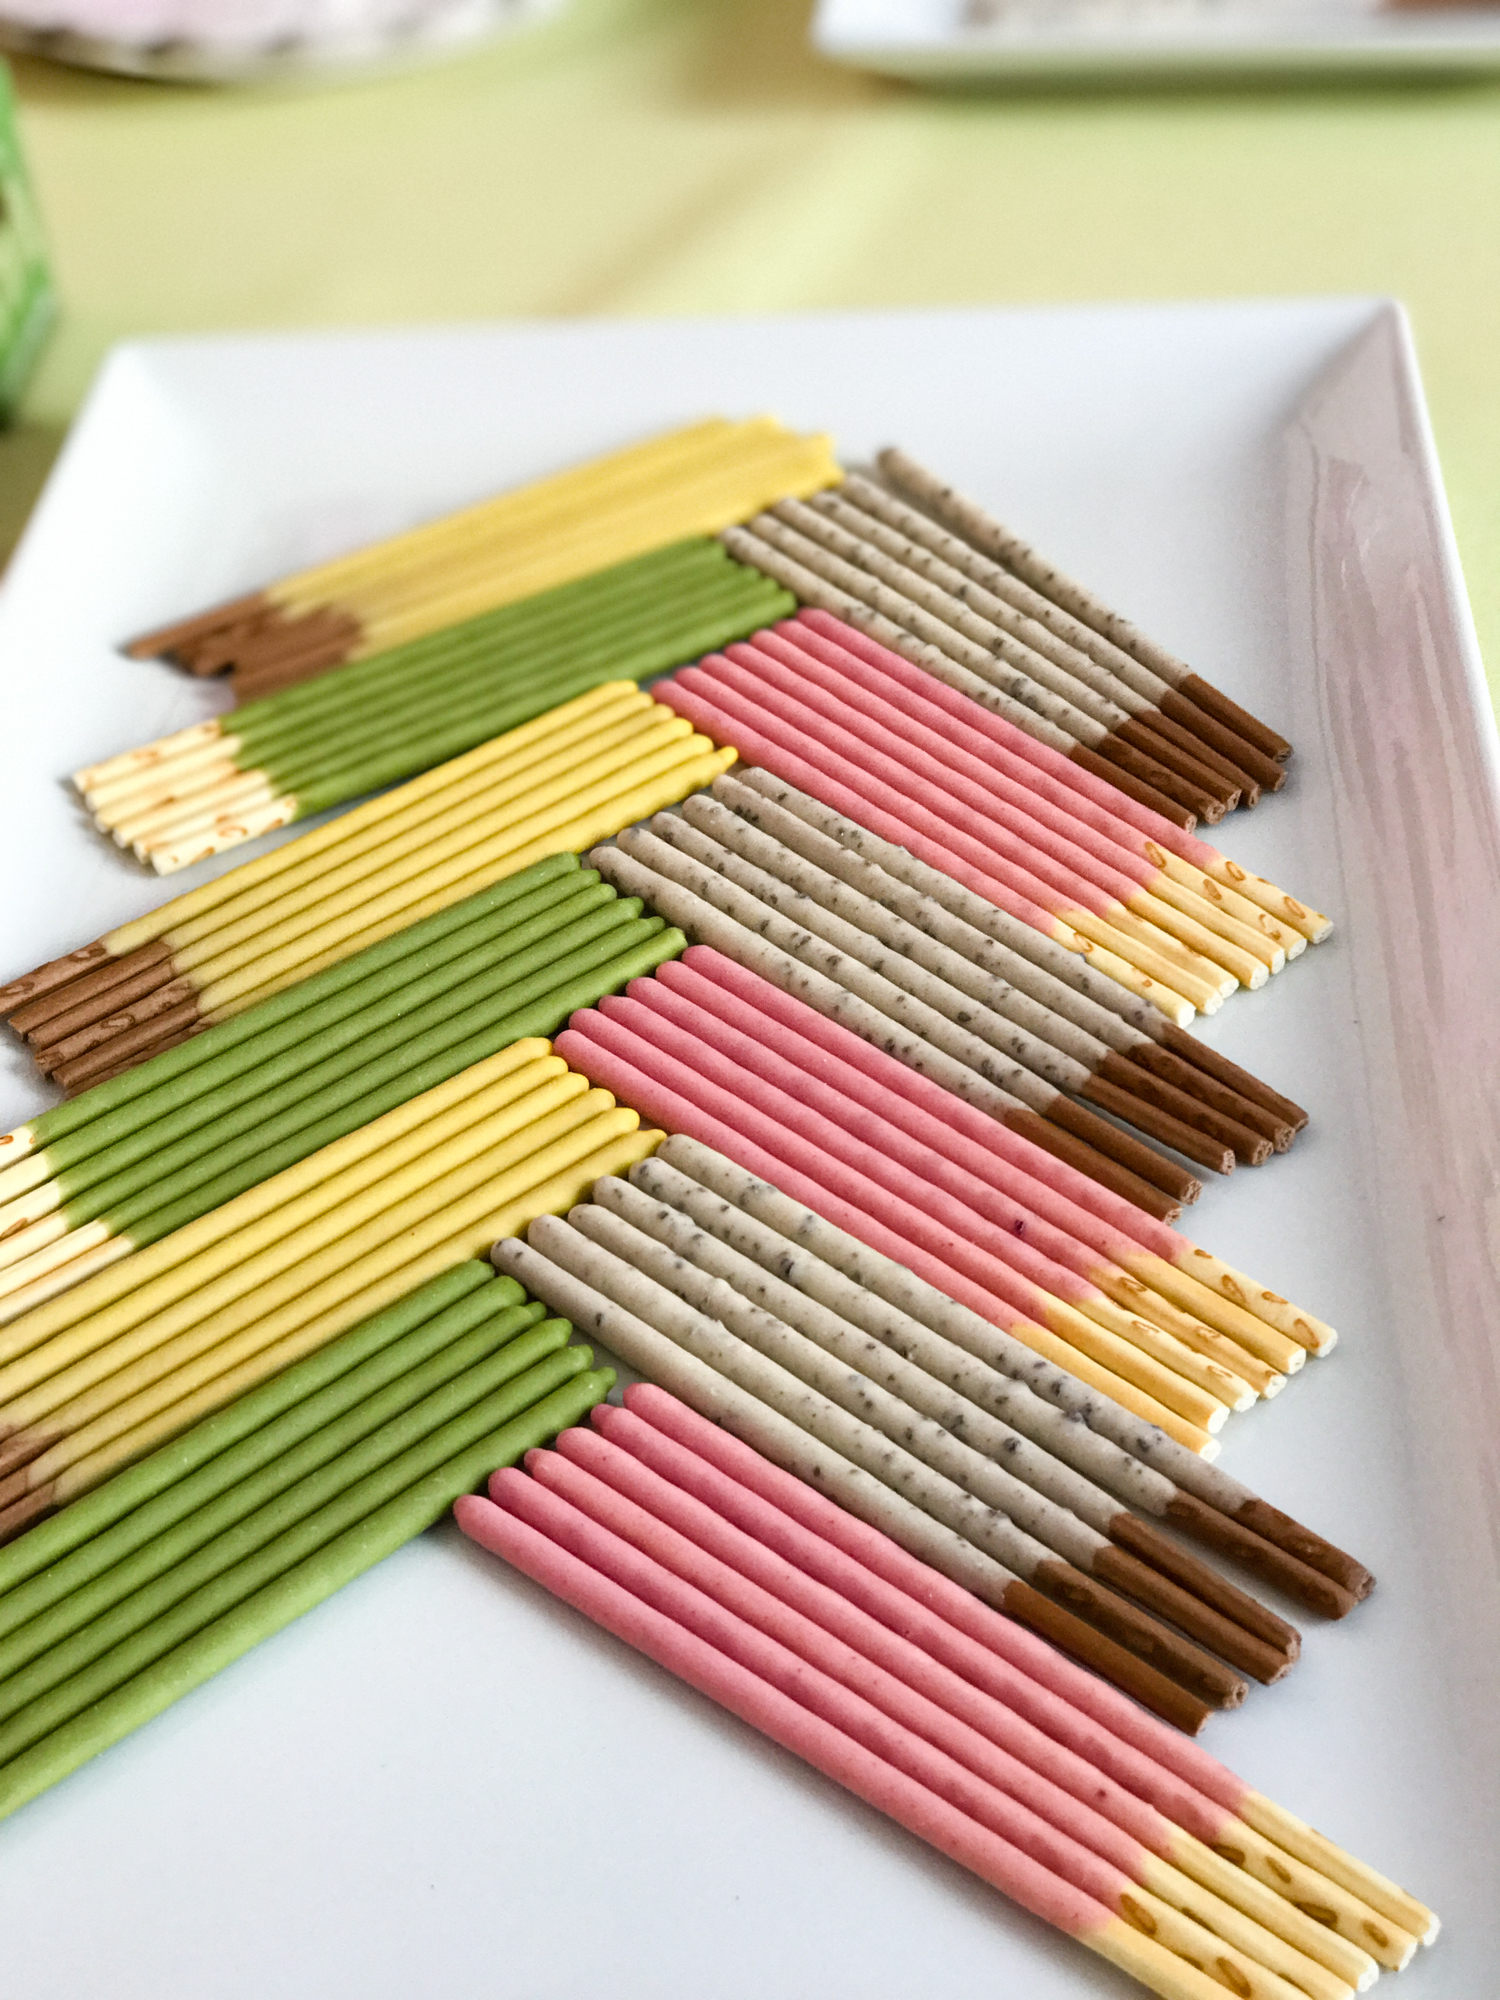
Pocky sticks just beg to be arranged in a fun pattern, am I right?
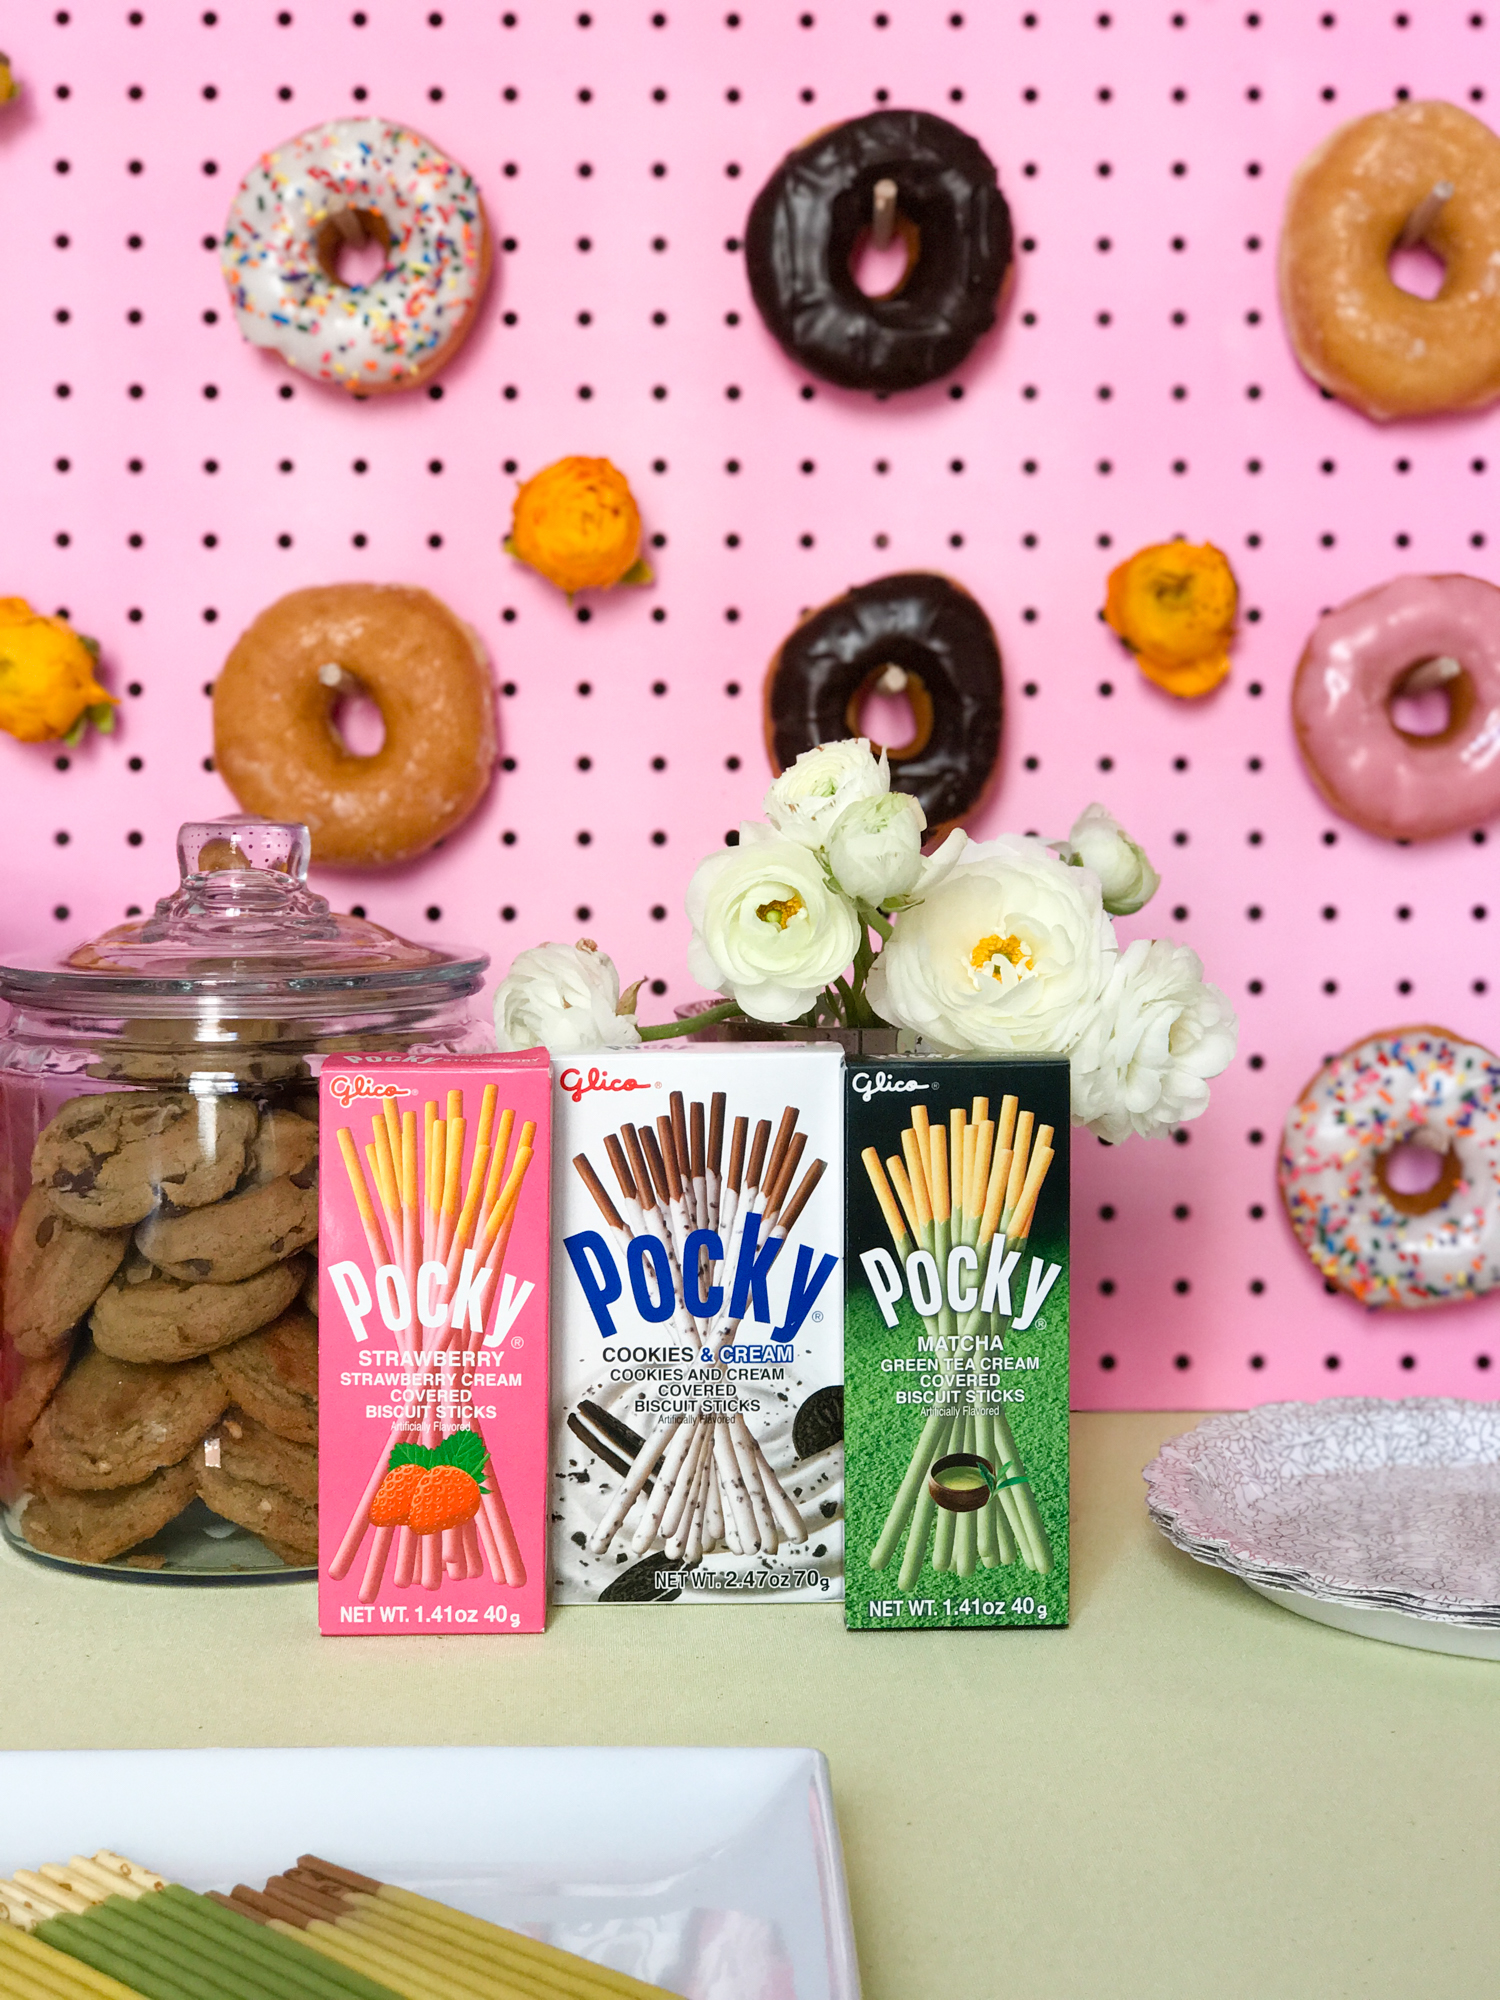
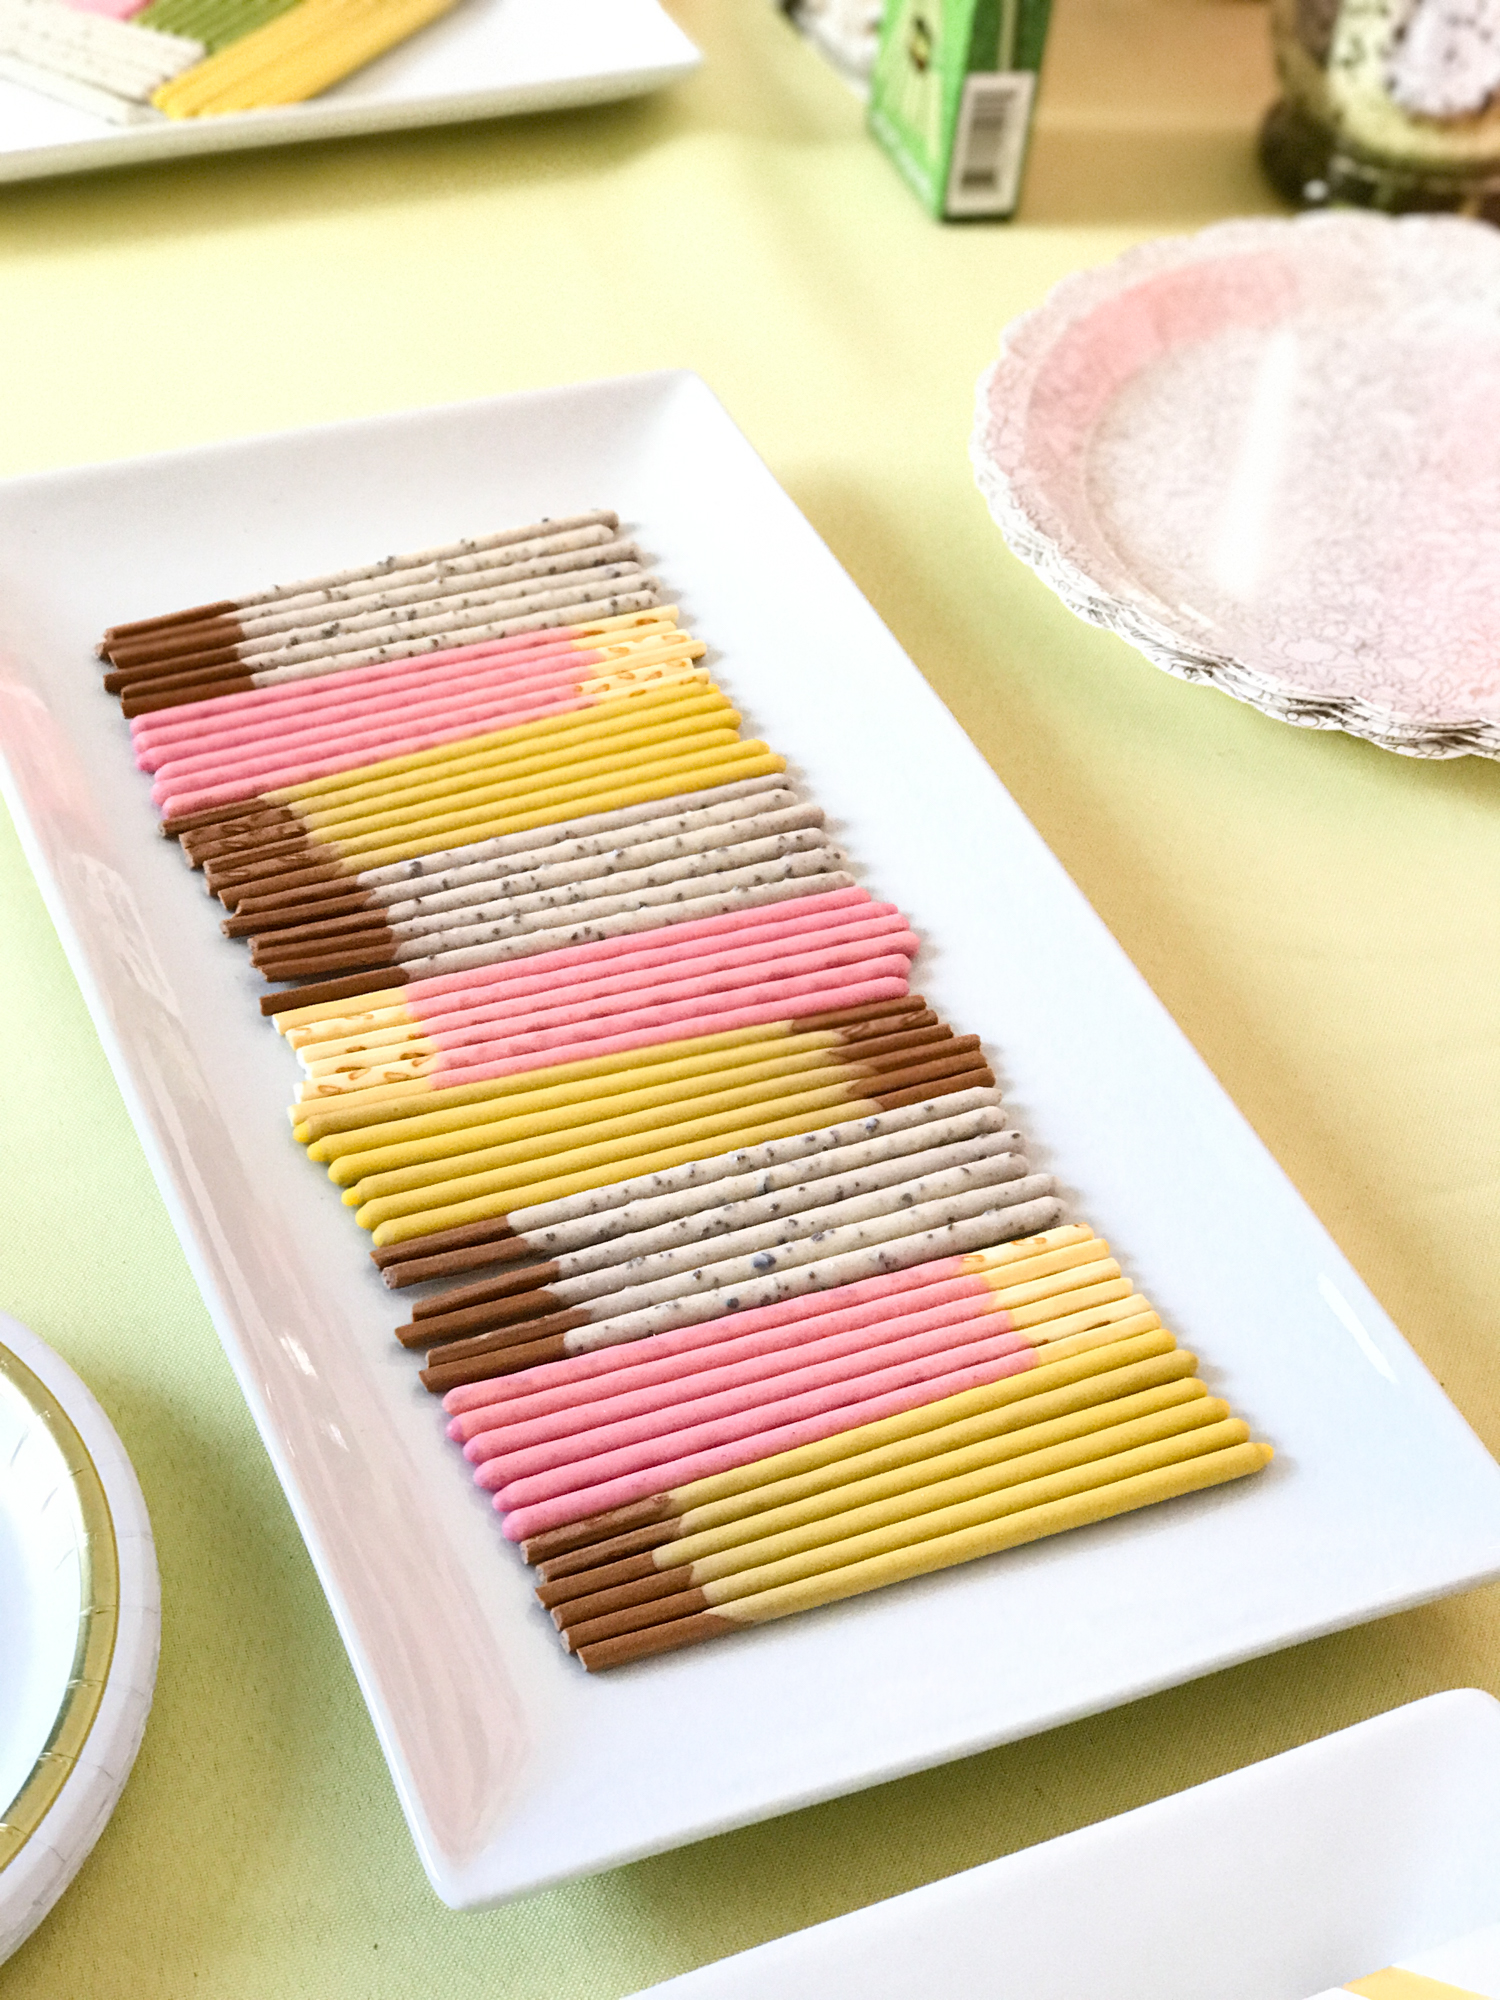
Banana, strawberry, and cookies & cream flavors of Pocky, all lined up in a row.

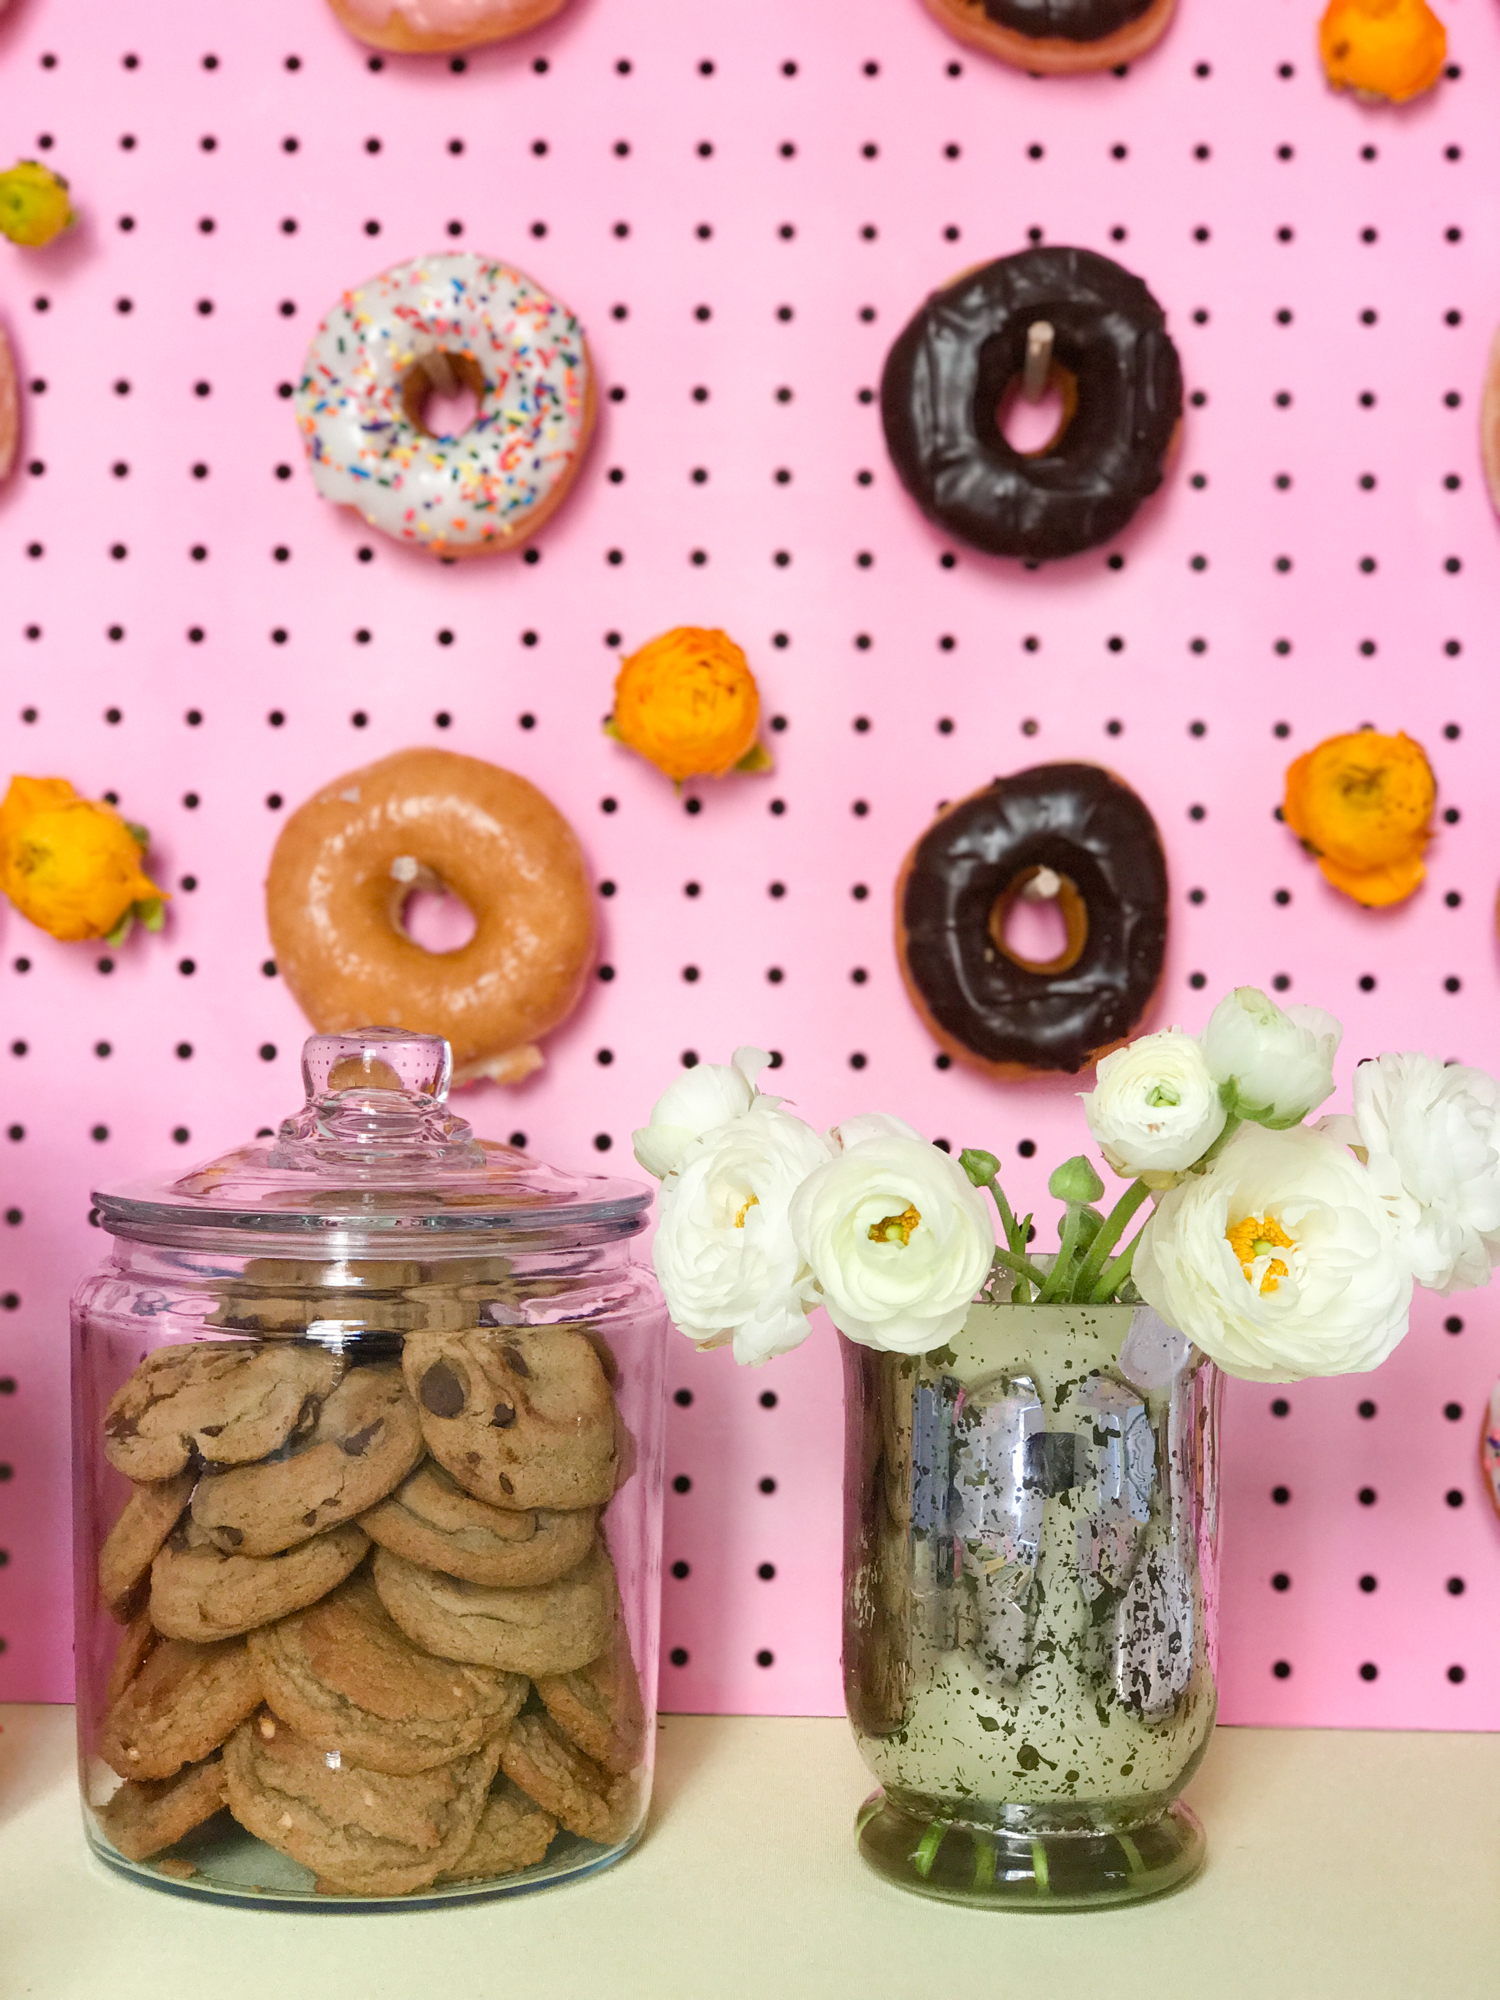
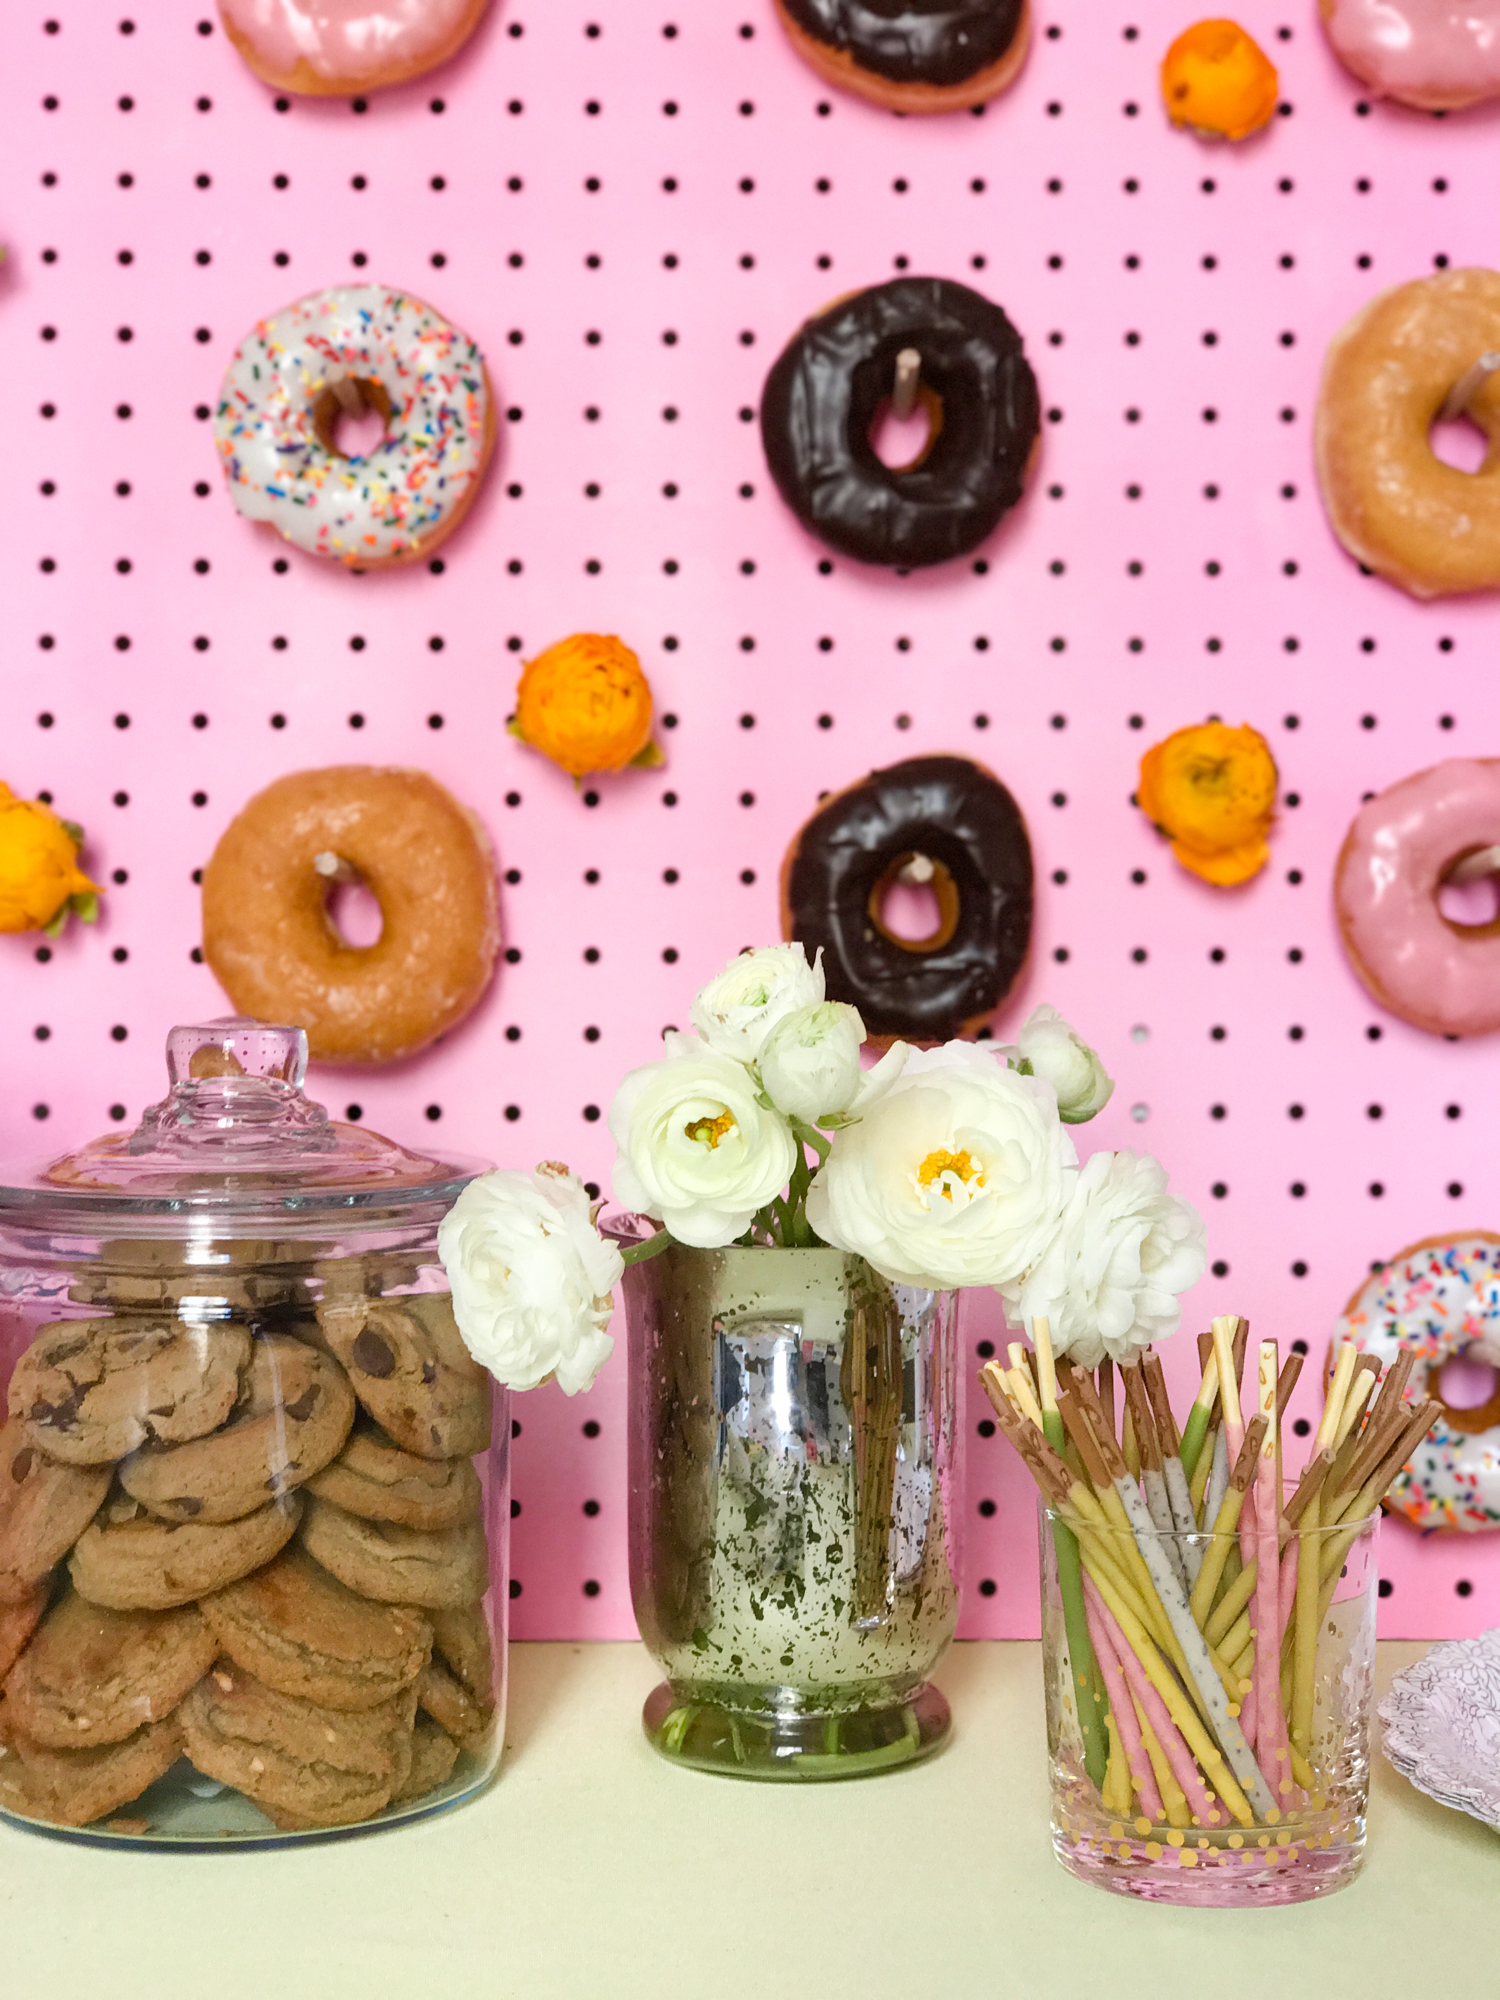
Cookies c/o Matt’s Cookies. Thanks friends! Also, my roommate was super jazzed about us having a real life cookie jar from now on. It is the ultimate test of self control. ;)
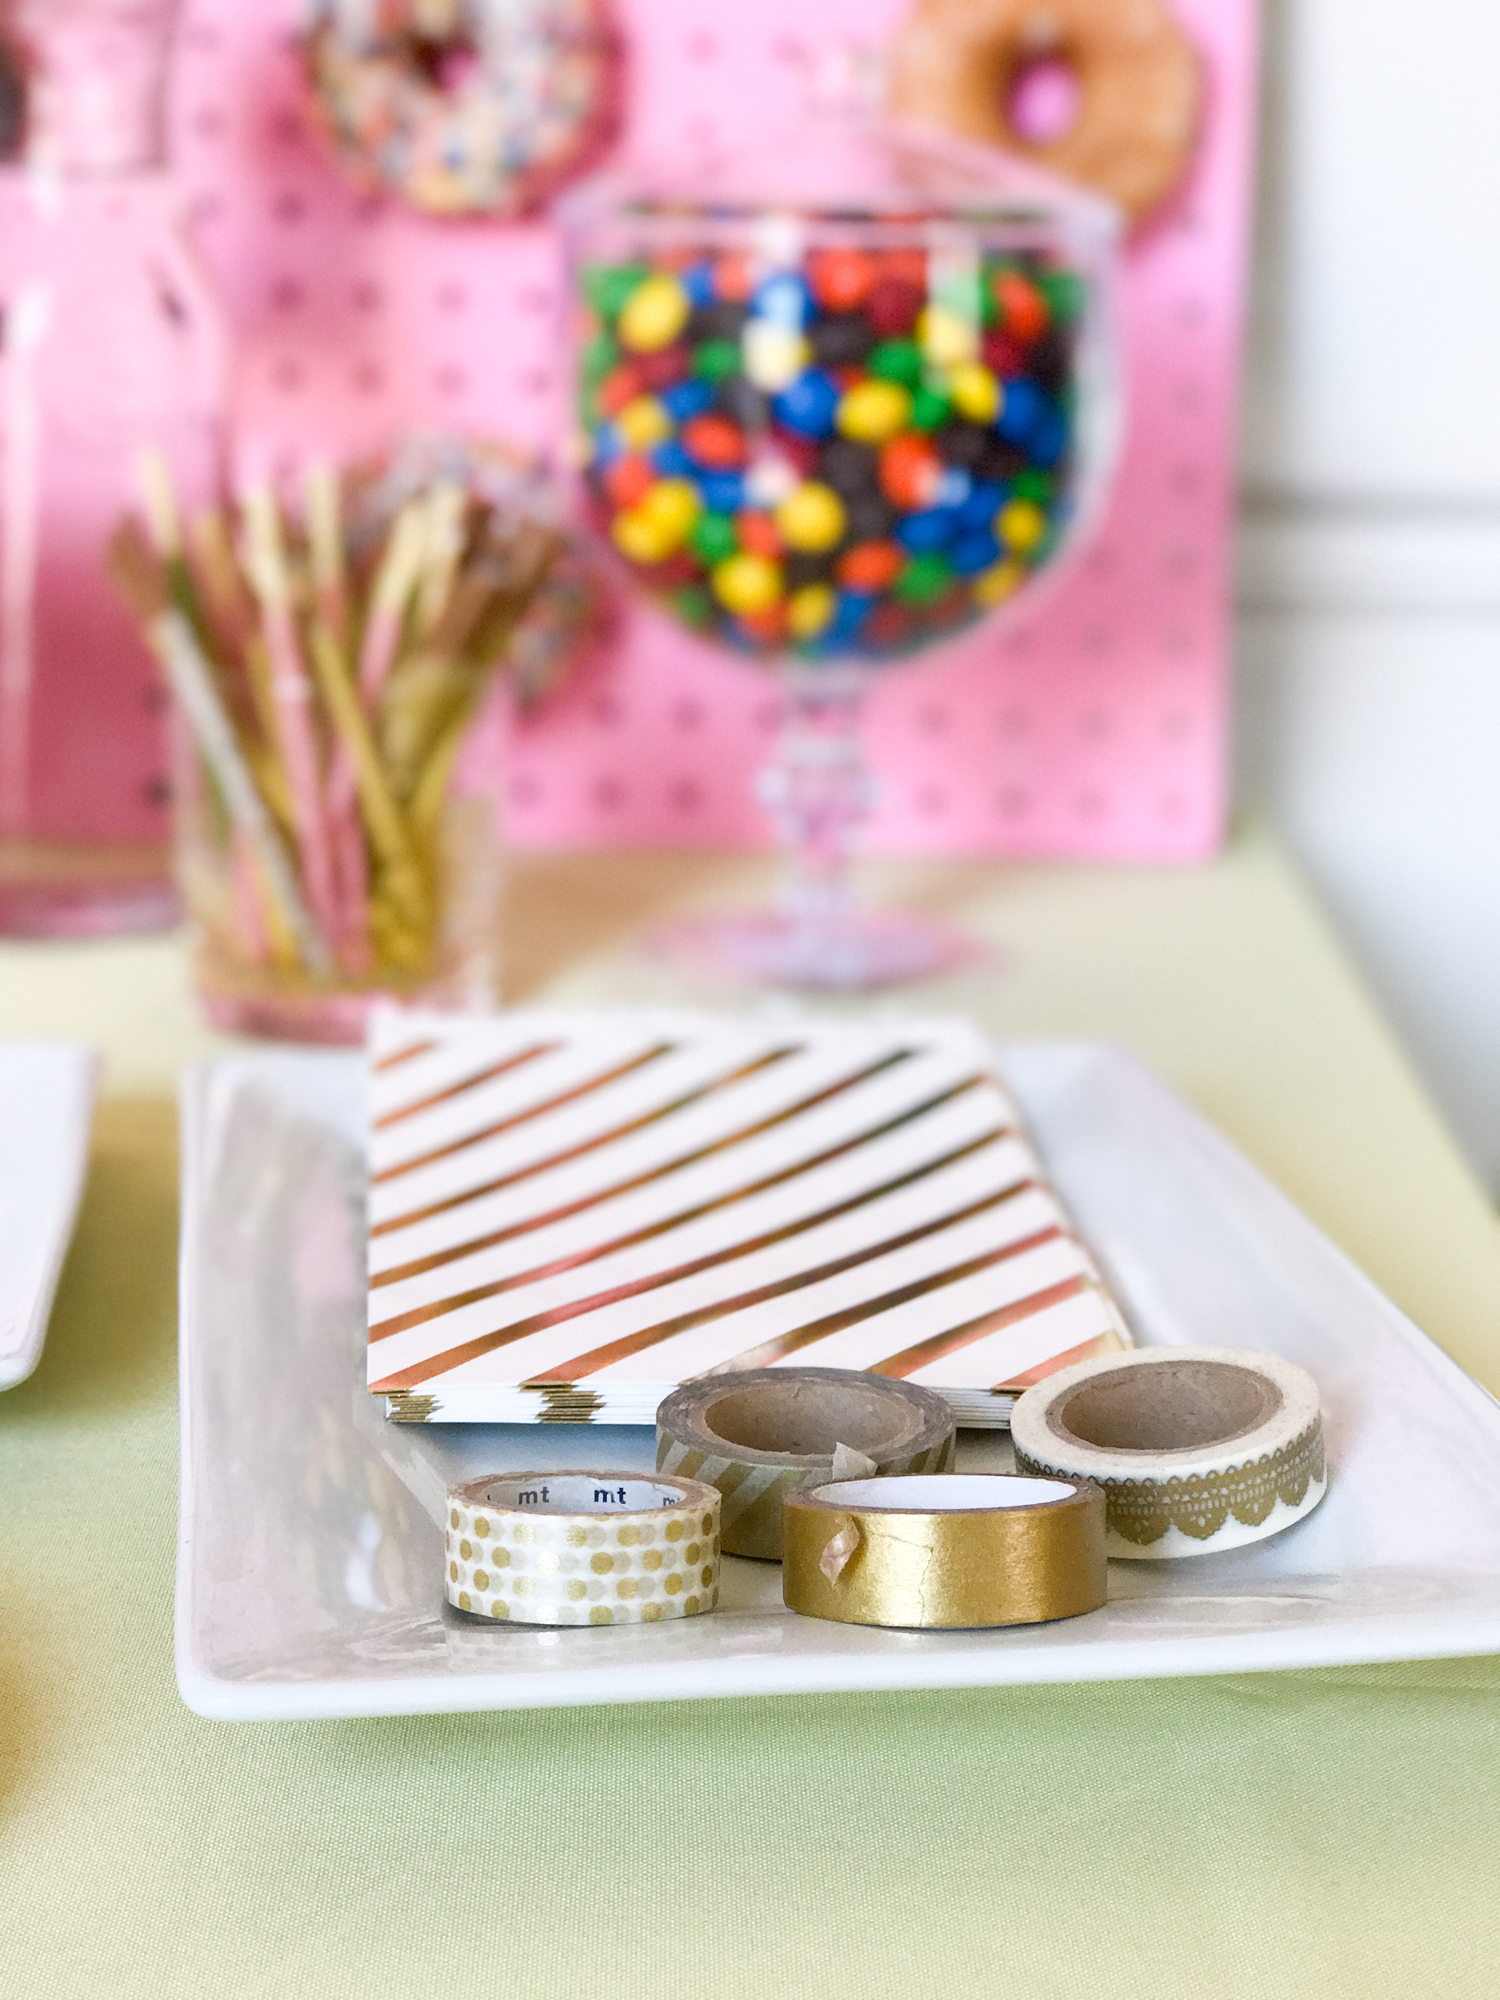
My washi tape collection was put to good use!
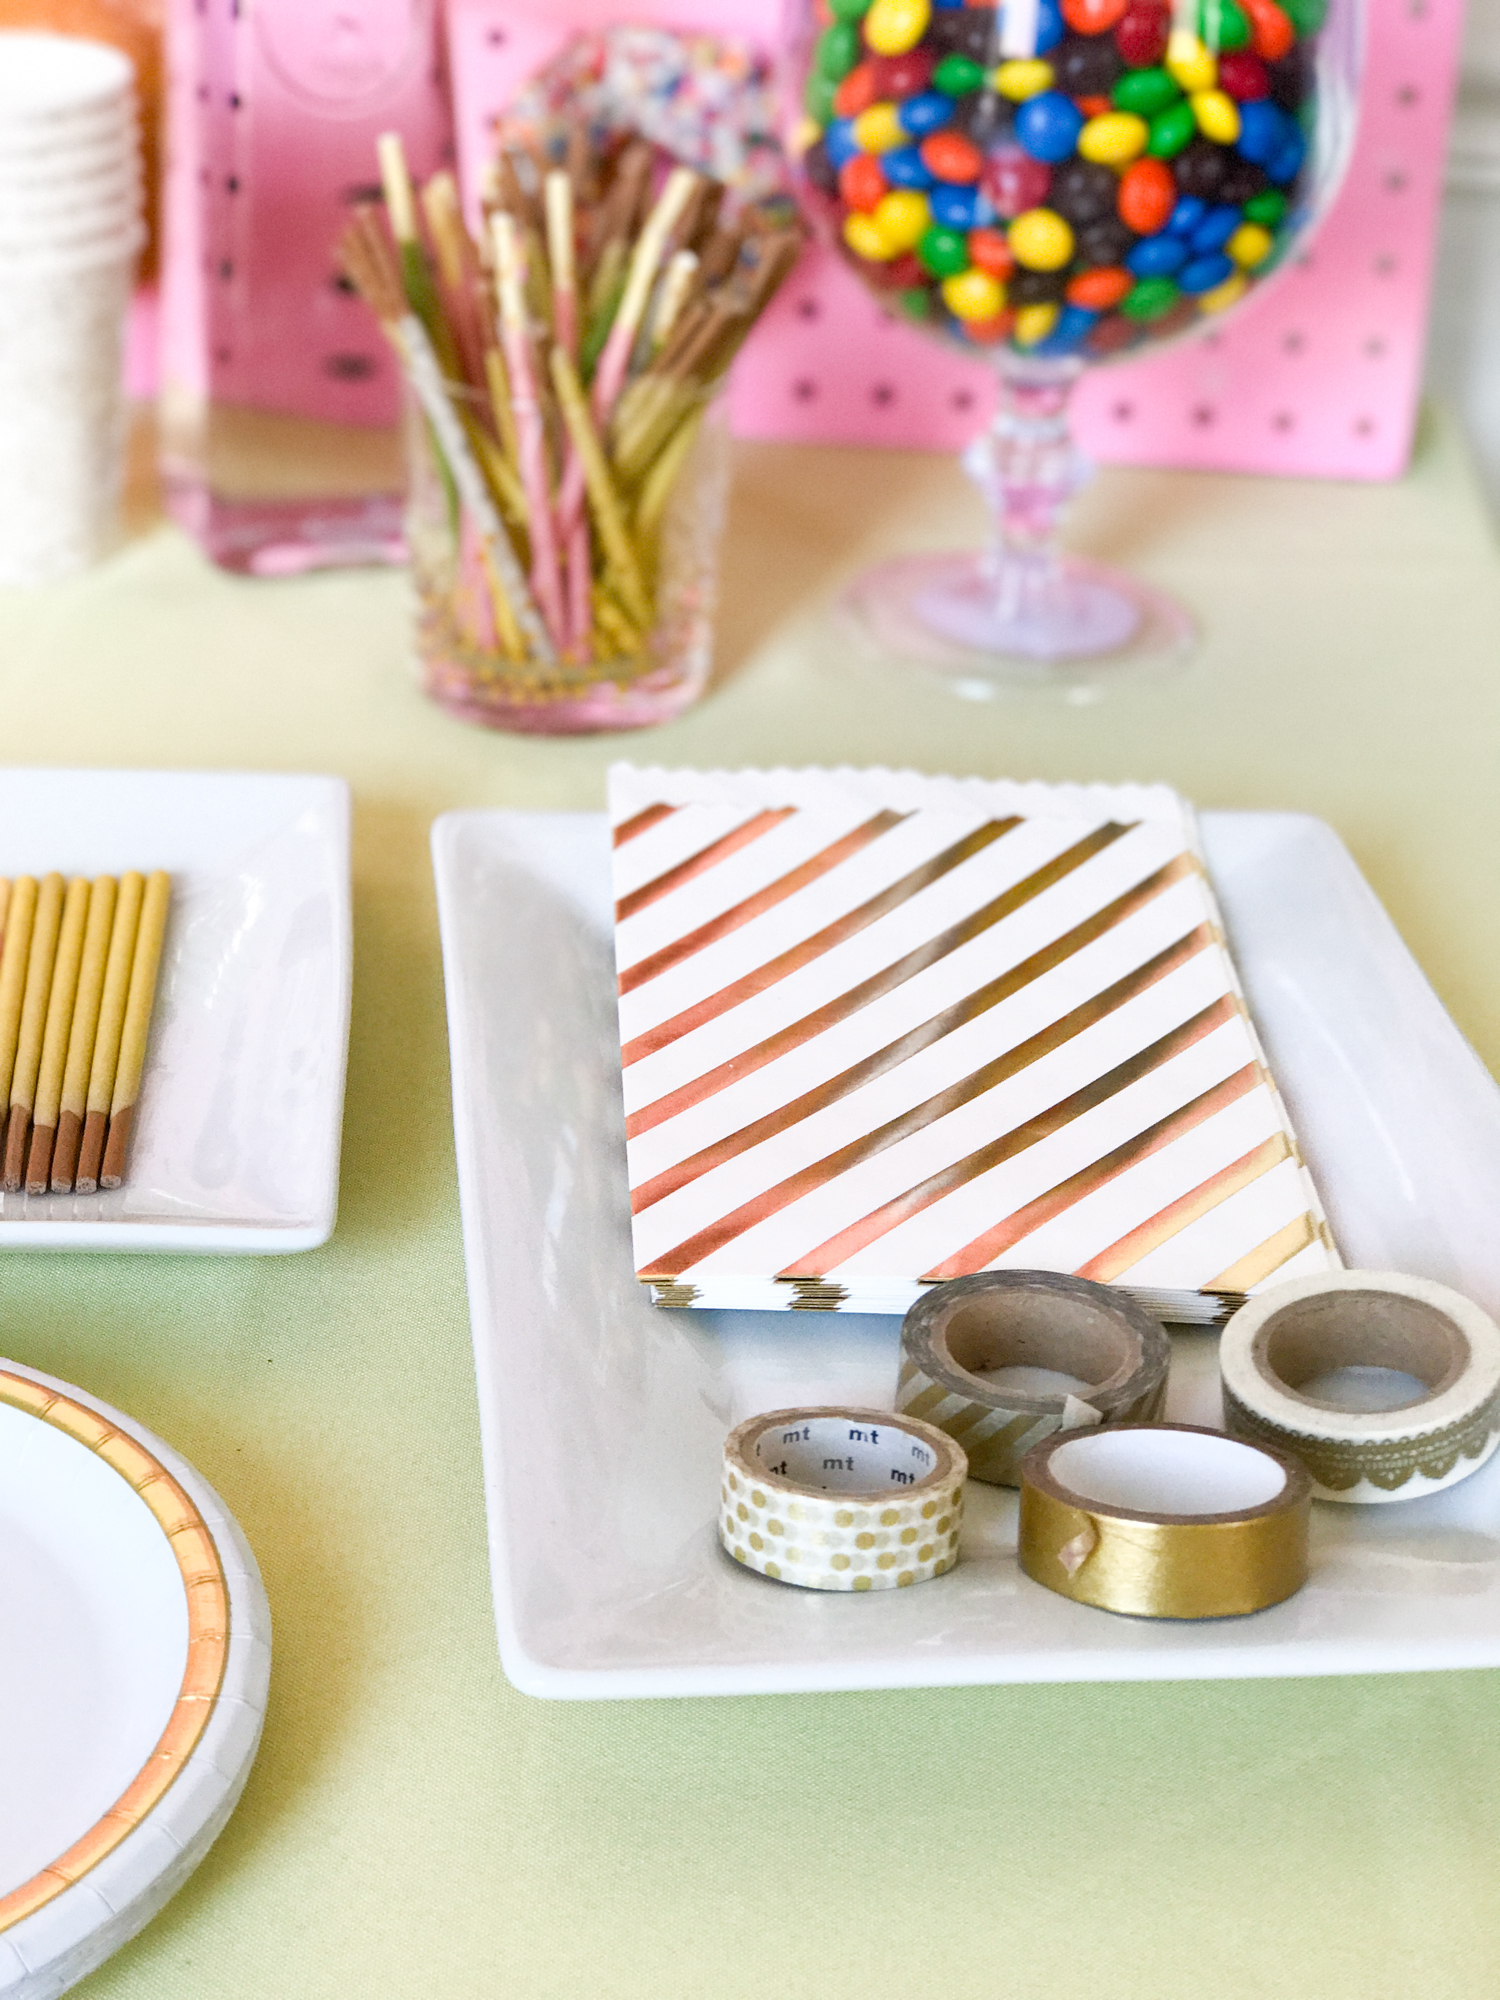
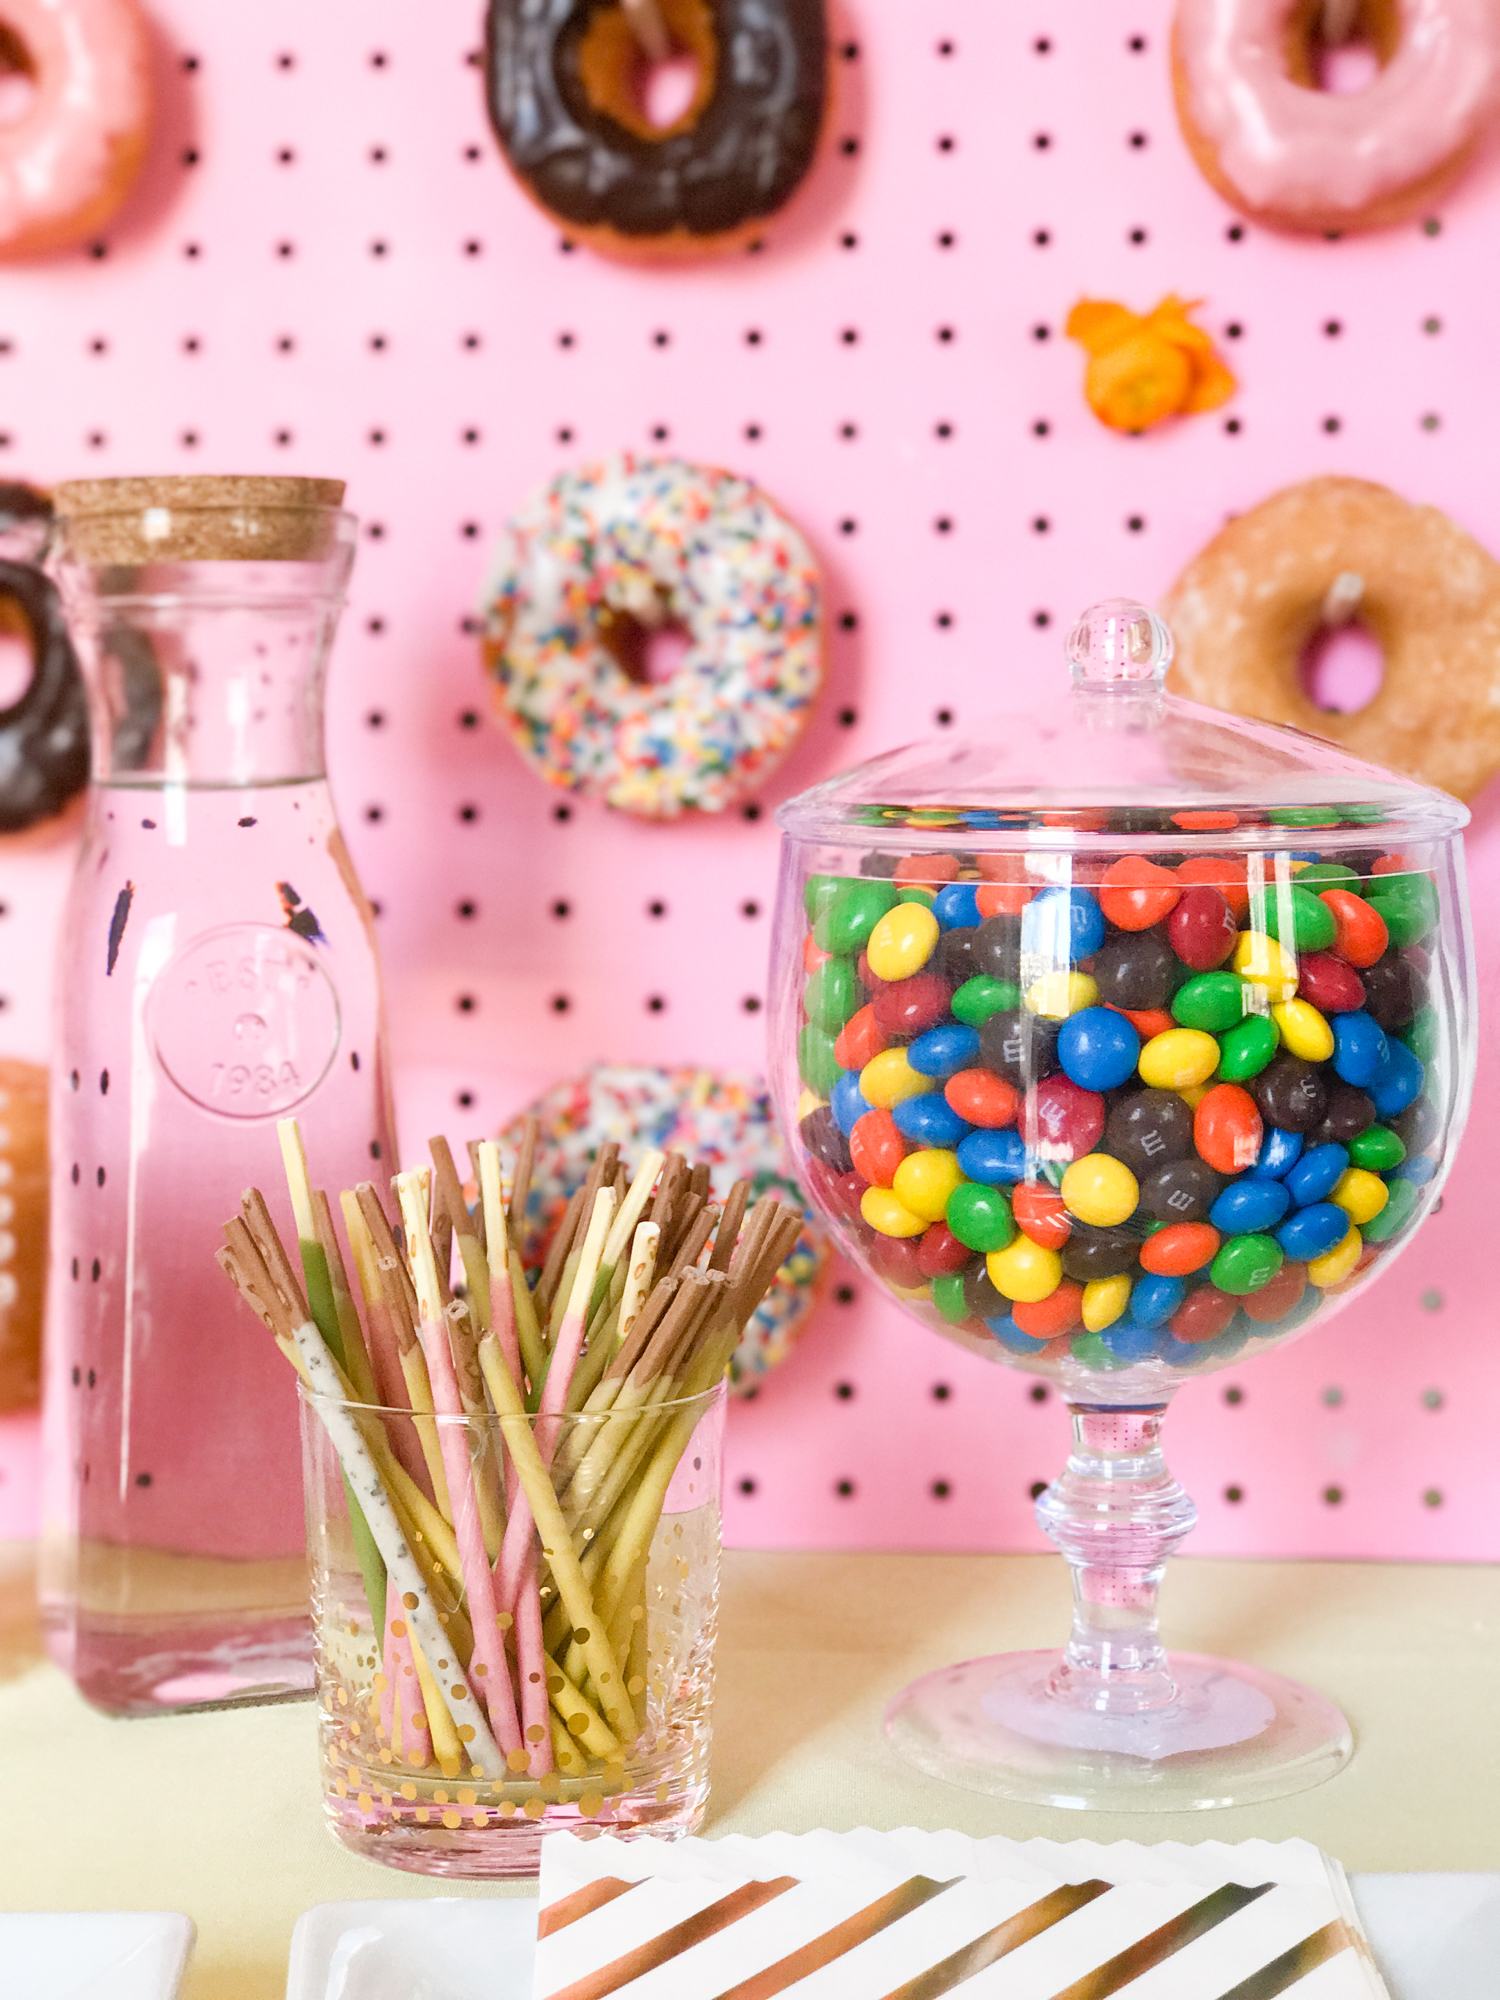
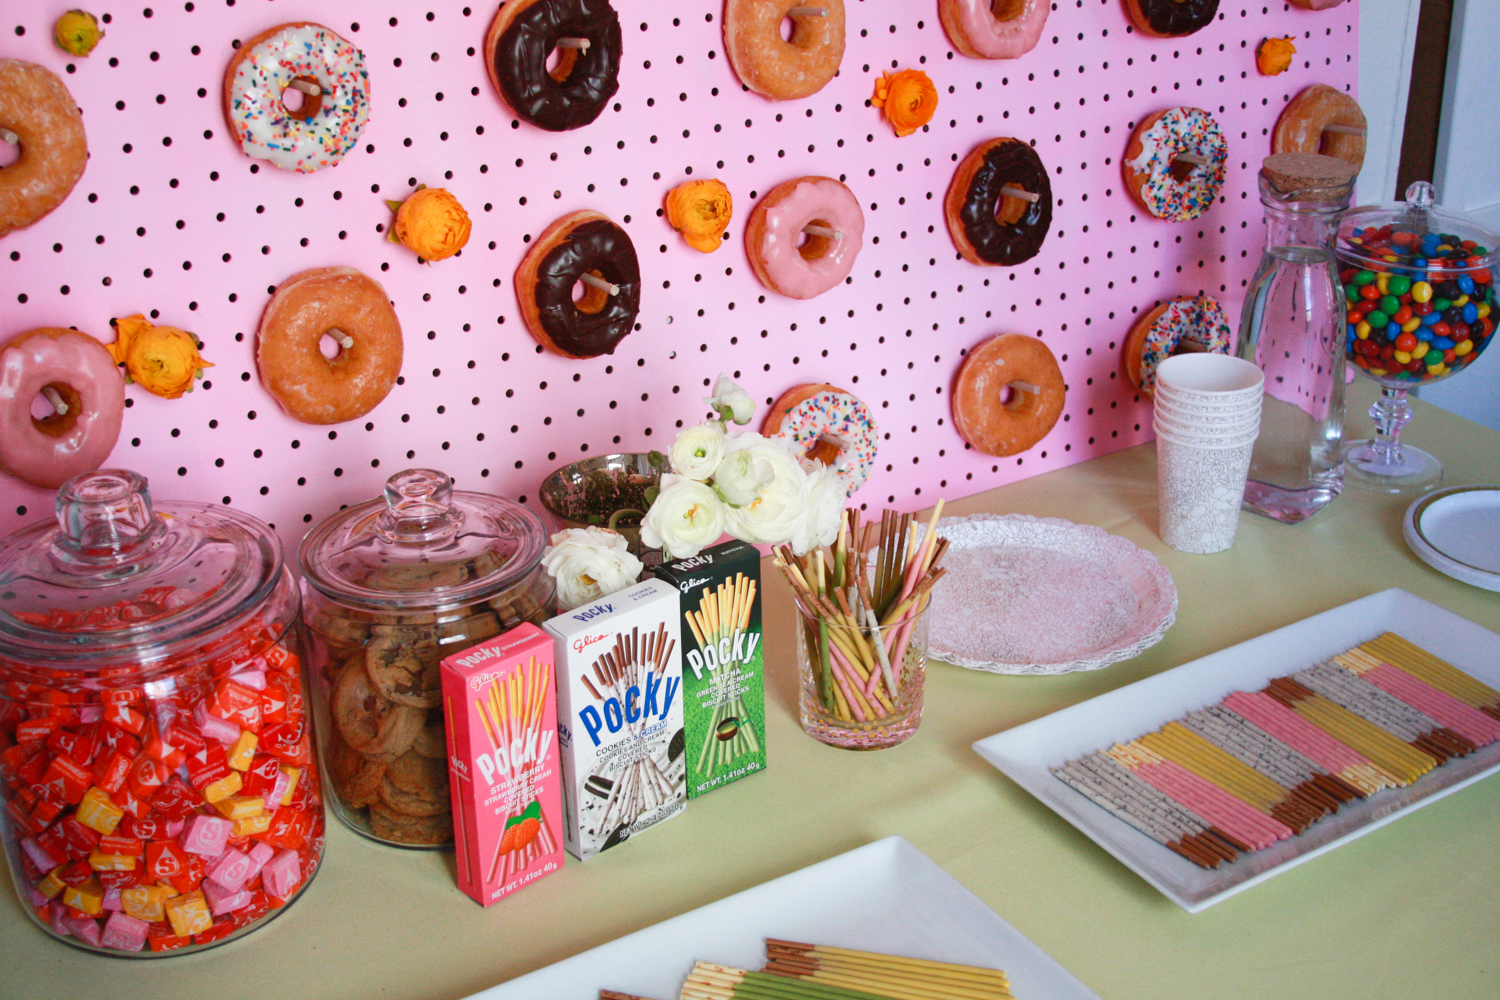
How cute is this candy pedestal jar??
All signs point to a sweet day. ;)
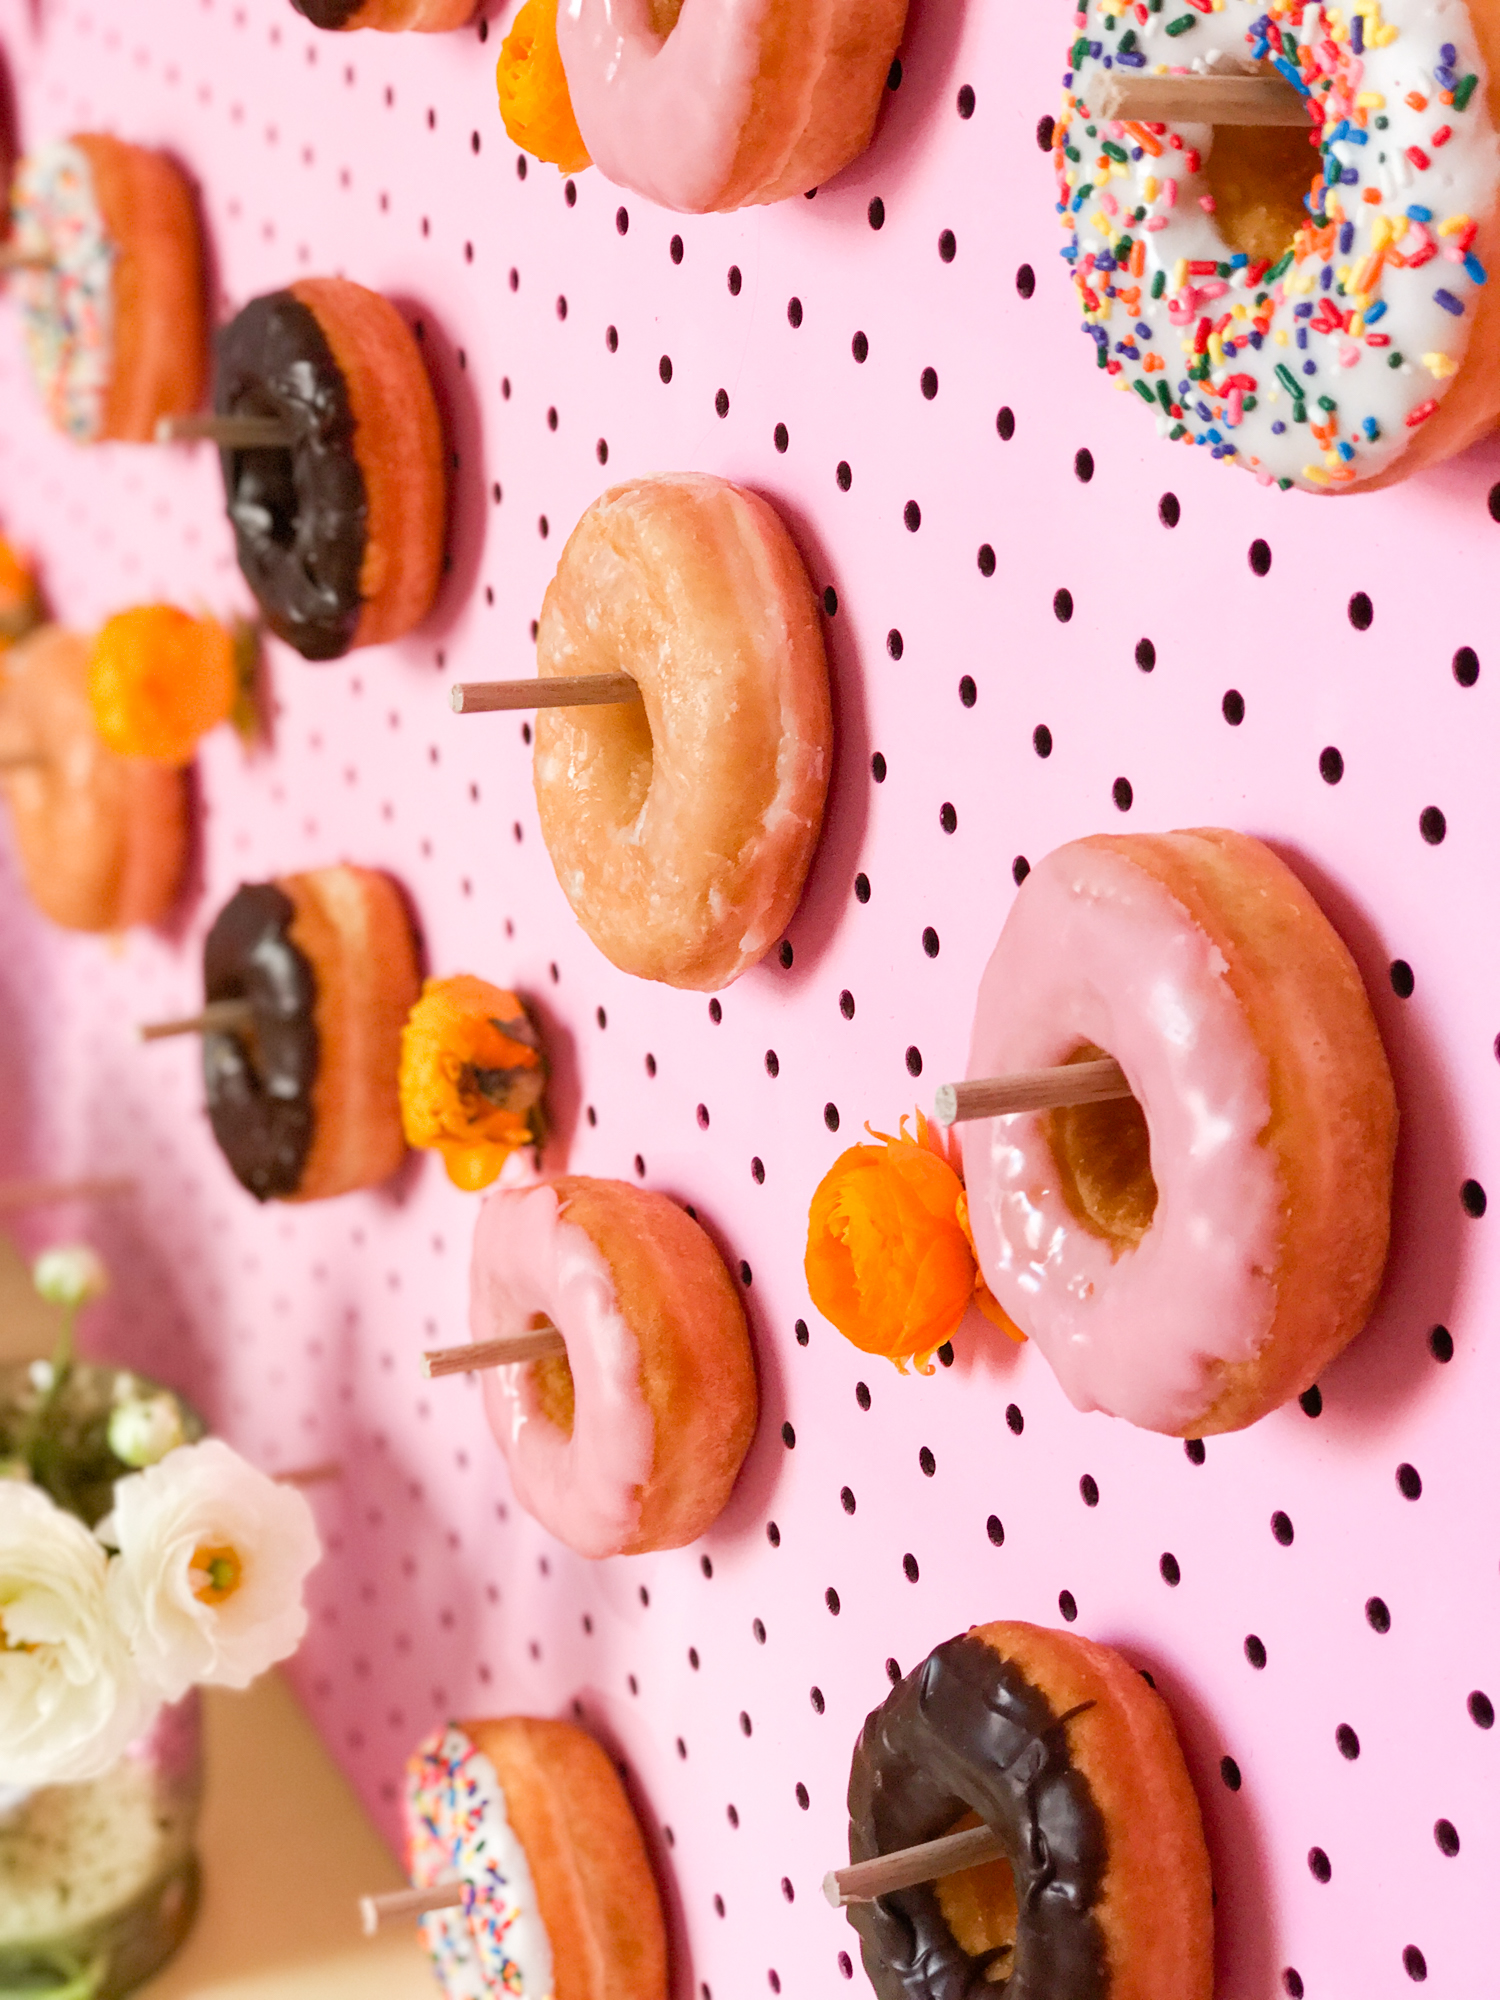
This donut wall is almost too good to eat. Almost.
Here’s how you make it:
– Buy a piece of pegboard from Lowes or Home Depot (I think this was like $10)
– Buy a few wooden dowels (check to make sure they fit in the holes) and have someone at the hardware store cut them into 2.5-3″ pieces (I had to do this part myself with Home Depot’s wood-cutting station, but it was pretty easy, promise!)
– Using a mini paint roller, paint your pegboard in your desired color (pink, duh)
– Space out the pegs (I did them 6 holes apart each) and hammer them in if they don’t fit easily
– Hang your donuts and ‘gram the heck out of your new donut wall!
Bonus: stick some pretty flowers through the holes (randomly) to add even more color!
I got the DIY instructions originally from Oh Happy Day.
What do you have coming up that you could make a donut wall for? I’d love to see pictures!
//
This post is brought to you by Pocky, a treat that I love to enjoy. Thank you for supporting the brands that keep Love Always, Audrey running!