 I’m an avid reader of Designlovefest, and saw this awesome tutorial a few weeks ago! I decided to make my own version of it using alphabet beads and liquid gold gilding.
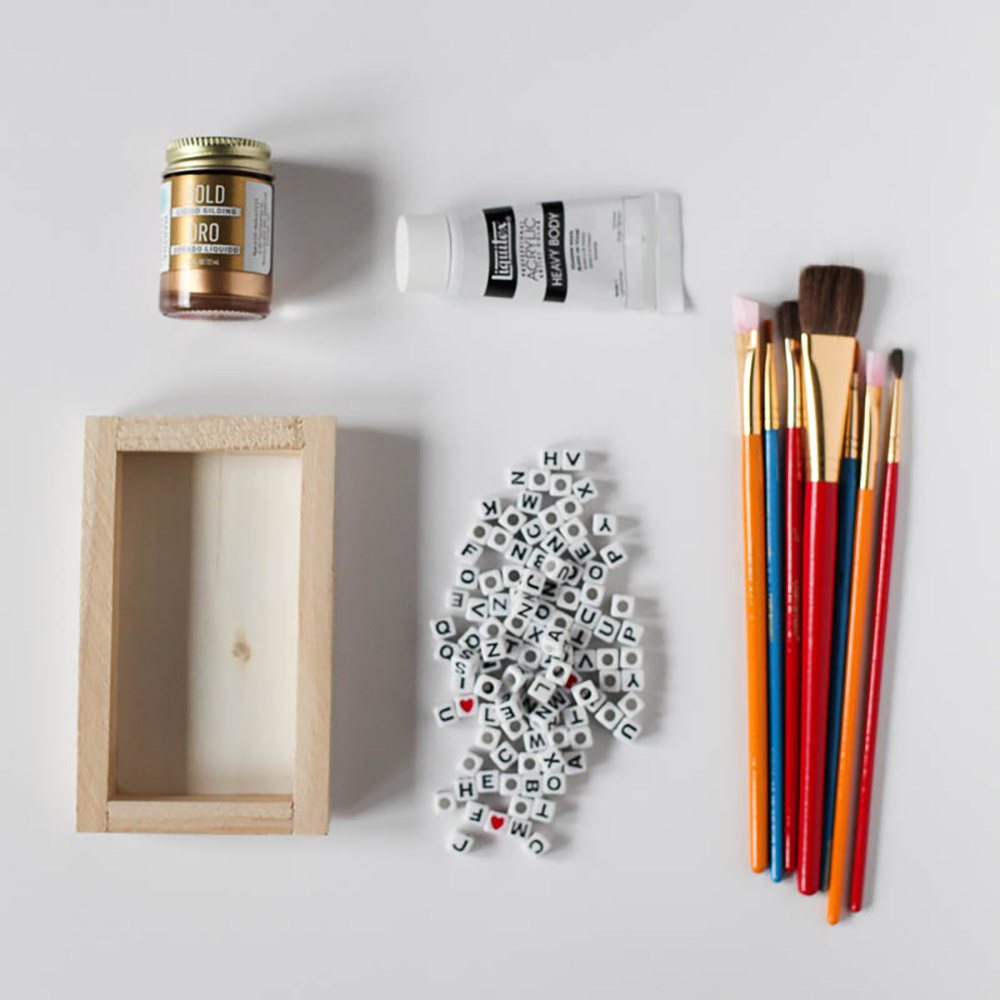 Supplies:
– Tray of some sort
– Alphabet beads
– Martha Stewart liquid gold gilding
– Mod Podge Dimensional Magic (not pictured above)
Directions:
1. Paint your tray however you’d like – I painted the whole thing white, then added a bit of pink scrapbook paper on the bottom. I also painted the edges with liquid gilding. Liquid gilding is better than gold paint because it gives it that really metallic look!
2. Set up your alphabet letters (or another small object) in whatever way you’d like in the tray. TIP: I glued the letters together into words before I placed them in there – this helped a lot with making sure they didn’t move during the process!

3. Pour the Dimensional Magic into the tray – make sure it’s a few centimeters above where the beads end and that your tray is on a level surface.
4. Use a needle to poke out the air bubbles that will be on the surface.
5. Wait a few days for it to dry! You’ll know it’s dry when you can fully see the color in the bottom of the tray. It’s a loooooong process, so be patient!
6. Enjoy!


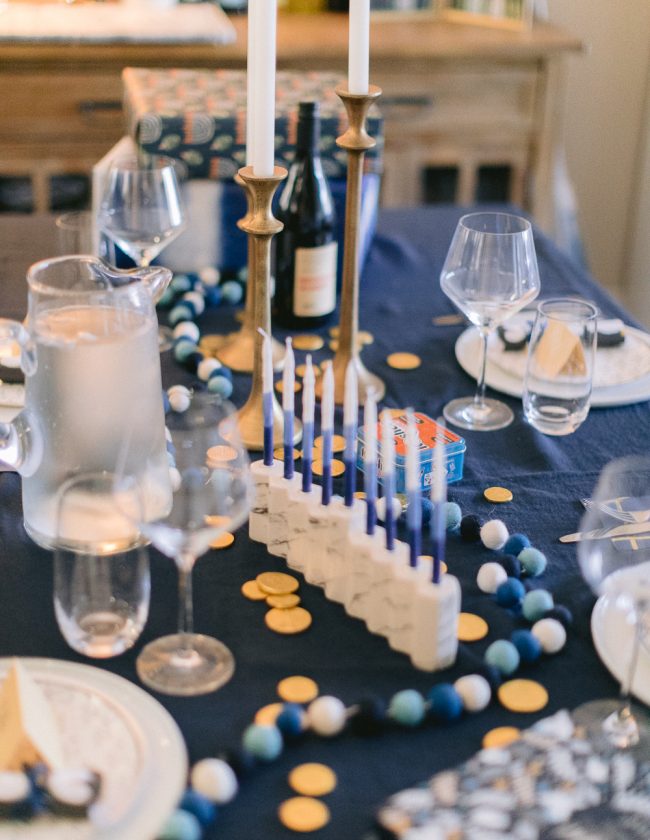
 Oh, and you can use your new tray as a statement piece as well!